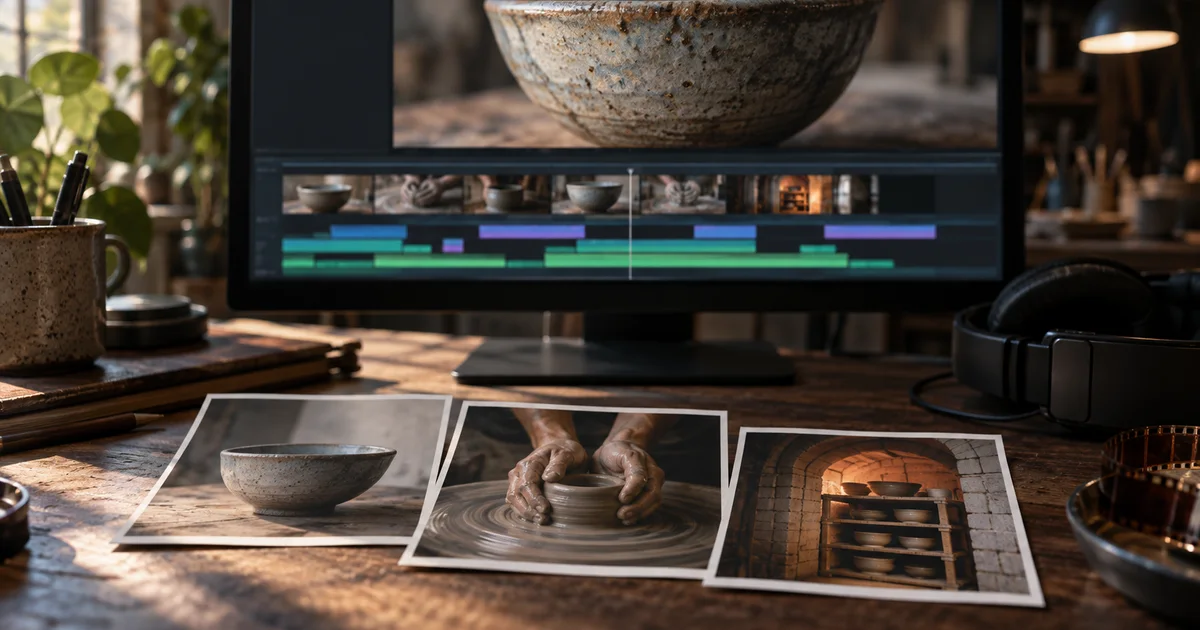

To add text in Premiere Pro desktop, move the playhead to the moment the title should appear, choose the Type tool, and click the Program Monitor to type. Premiere creates a graphic clip on the timeline. Select the title and use Properties to change the font, color, alignment, and appearance. Trim the graphic clip to set the duration without trimming the video under it.
Start with editable text when you expect changes to names, wording, or layout. A lower third introduces the speaker, while an end card gives the viewer a last instruction or piece of information. They can share a style and still live on separate graphic clips.
Create the first graphic above your footage
Open the sequence and place the playhead near the introduction. Make sure you are using the Program Monitor, which shows the sequence. Click where you want the title and type the first line. Switch back to the Selection tool after typing so you can select and position the object rather than entering more characters.
Select the title in the Program Monitor or the associated graphic clip. Open Properties if it is hidden. Adobe's desktop title instructions show the Type tool and the Edit Properties action from the title's context menu. Older tutorials may show a different panel. Use the controls available for the selected graphic in your installed version.
Put the graphic on a track above the footage it should cover. Scrub a frame before its start and a frame after its end to verify the cut points. If the text appears unexpectedly early, check the clip's timeline position before changing the footage. If the text is not visible, check the track visibility and whether the playhead is over the graphic.
Make a lower third that works on a phone
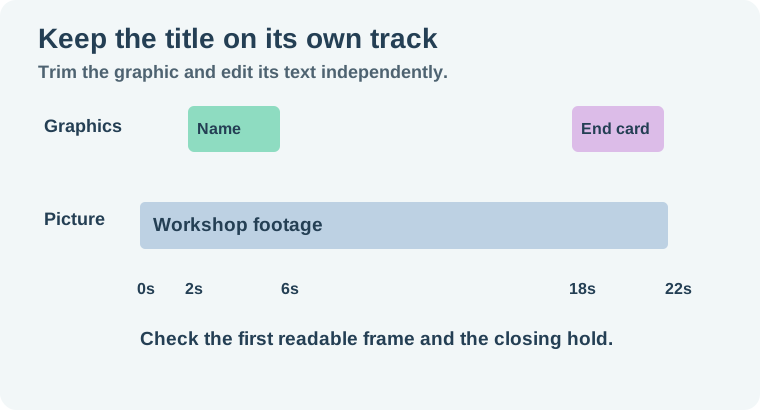
For a 22-second workshop clip, introduce the host at 00:02 and keep the lower third through 00:06. Use two lines. Make the name slightly more prominent than “Workshop host.” Position it over a stable part of the scene so it stays clear when the host gestures.
Watch the region behind the title across all four seconds. The first frame can have a dark jacket behind the words and the last frame can reveal a bright window. Add a restrained background shape or text styling when needed to keep contrast consistent. Compare it in motion. A thin outline that looks sharp in a still image can disappear after scaling on a phone.
If the lower third contains two editable layers, use Properties on the actual text layer you mean to change. If you select the whole graphic and move it, both lines should stay together. The vertical video safe-zone guide helps you choose placement when a distribution app will place controls or captions over the picture.
Make an end card with a separate duration
Place the end-card graphic from 00:18 to 00:22. Keep the copy short and give it time to register. Use an editable text layer for the main instruction and keep any logo or decorative image on a separate layer. If you duplicate the first graphic for style, remove the old role line and check that the new copy stays inside the frame.
Watch the end from the preceding shot, without stopping. If the title appears at the same moment as a busy action or loud audio hit, the viewer may miss the first second. Consider delaying the title, simplifying the cut, or increasing the hold. For a branded close with a longer instruction, the end-card workflow covers the arrangement and review decisions.
Add dialogue captions as their own workflow. A manually typed name or title is part of the visual design. A caption track has a different job, including timing and potential separate delivery. Reserve space for both if the video needs them.
Fix common title problems before handoff
When text will not edit, check whether the clip is a graphic, a caption, a template with restricted controls, or a flattened image. A title baked into a PNG cannot be changed with the Type tool. Rebuild it as type or obtain its editable source. If the wrong text changes, inspect which text layer is selected in the graphic.
If a second editor sees a different typeface, identify the intended font and make sure they have access to it. Inspect the longest name or line in the replacement font. A substitute that looks similar can wrap differently, especially on a narrow vertical frame. Check the start and end of the graphic after copying it to another sequence.
Export a short section with both titles and play it away from the editor. Look at the first frame that should display each graphic, the highest motion behind it, and the last readable frame. Keep the graphics editable in the Premiere project even though the exported text is rendered into the picture.
If the title must stay visible over a jump cut, put a marker on the first frame of the next shot and review the title there too. A single graphic can span the cut while the picture changes under it. When the graphic crosses a bright transition, try moving its start or using a stable backing plate before adding more decoration.
How QuestStudio helps
Use Video Lab when you need a separate title background or insert for the sequence. Bring the clean footage into Premiere and add the words there, where a spelling change stays easy. The Premiere B-roll workflow covers inserting and checking extra visual material.
The title sheet records copy and duration in the same place. Confirm both before duplicating the layout for another version.
Download the premiere title timing sheet.
Frequently asked questions
Why can't I see the text I typed?
Check the playhead, graphic track visibility, and whether the graphic is above the footage. Look at the selected layer in Properties.
Where do I change font and alignment?
Select the title or its text layer, then use the available text controls in Properties.
How do I keep the title on screen longer?
Extend the end of its graphic clip on the timeline and review the new cut point.
Can I edit text inside an imported PNG?
A PNG is a flattened image. Create a new editable text layer or use the original editable source.
Do titles replace captions?
A title conveys an on-screen label or message. Captions convey spoken and relevant audio information and need separate timing review.