
If an AVI will not import into CapCut, inspect the video and audio inside it before changing the filename. AVI is a container. Two files with the same extension can hold different streams, and a damaged file can fail even when its nominal format looks suitable. Preserve the original, identify the failing step, and test a separate compatible copy.
For this guide, we created an eight-second timing clip and encoded it as two different AVIs. Both appeared in the media bin and opened a source preview in CapCut 9.4.0.4015 on Windows. That is a useful counterexample to “CapCut cannot import AVI.” It is not a guarantee for every AVI, operating system, or editing/export path; those later paths were not tested here.
Describe the failure before converting anything
Separate a file-selection problem from a decoding problem. Does the file appear in the picker? Does CapCut display a message immediately after selection? Does it import but show a black preview? Is the picture present while the audio is missing? Record the exact symptom and the application version. These observations lead to different next steps.
Start with a non-sensitive local copy in a simple folder. Confirm that the file has finished downloading or copying, and that its size is plausible. If the source is on a disconnected drive or an unavailable cloud placeholder, a codec conversion will not fix the missing bytes. Keep the original filename in your notes even if you shorten the working copy's path.
Open the copy in a suitable player and check the beginning, middle, and ending. Playback in one program does not establish CapCut compatibility, but failure everywhere is a reason to investigate the source before editing. Ask the sender for a fresh export when the file is truncated or cannot be decoded reliably.
Read the streams inside the AVI
Look for the container, video codec, pixel format, dimensions, frame rate, duration, audio codec, and audio sample rate in your inspection tool. The extension provides only one of those facts. CapCut's import-troubleshooting guidance makes the same distinction between a filename extension and the actual encoding. Renaming an AVI to MP4 changes neither stream.
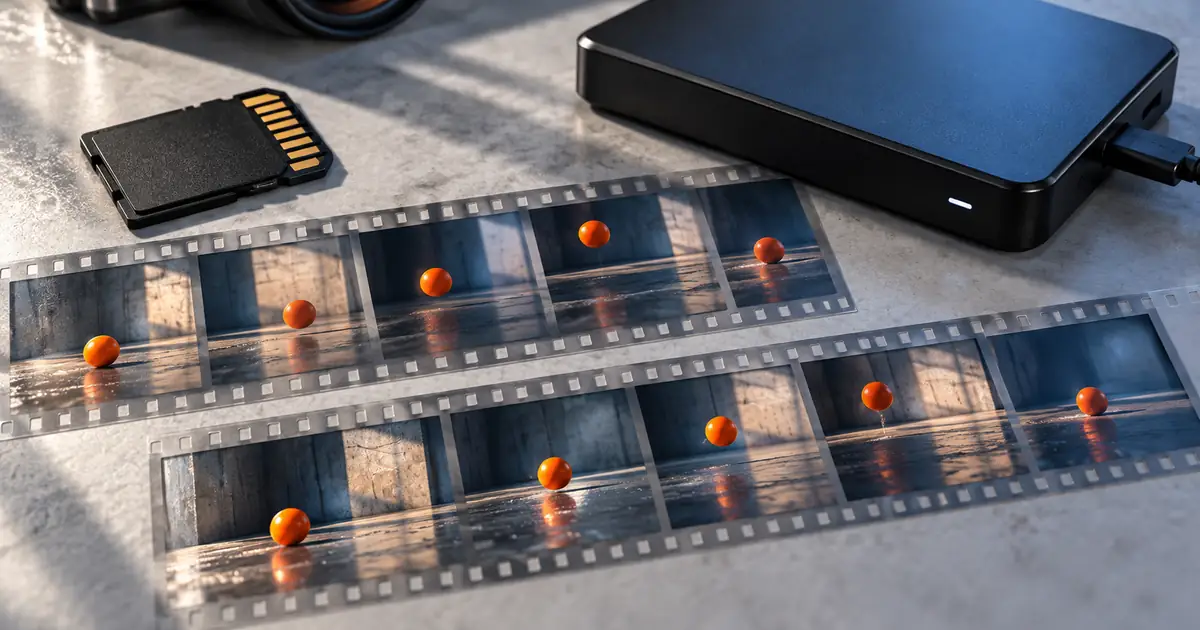
Here are the actual stream differences in our owned fixtures. Each had the same 640 × 360 picture, 24 frames per second, eight-second duration, and original timing markers. Matching content made it easier to compare the encodings without confusing a different scene with a different format.
| Fixture | Video | Audio | Observed native import |
|---|---|---|---|
| timing-mjpeg.avi | MJPEG, yuvj444p | PCM 16-bit, 48 kHz mono | Media bin showed 8 seconds; source preview opened |
| timing-mpeg4.avi | MPEG-4 Part 2, yuv420p | PCM 16-bit, 48 kHz mono | Media bin showed 8 seconds; source preview opened |
| Separate MP4 reference | H.264, yuv420p | AAC, 48 kHz mono | Media bin showed 8 seconds; source preview opened |
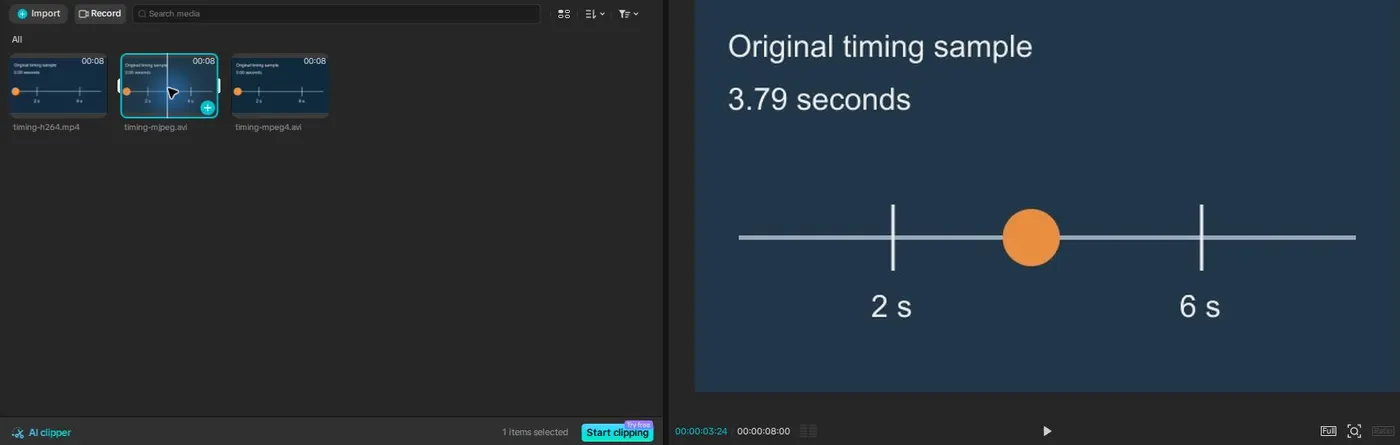
The stream-inspection record includes file sizes and hashes as well as the observed import scope. A hash identifies the exact fixture; it does not certify that an arbitrary file with similar properties will work. Use the record as an example of useful troubleshooting notes.
Make an editing copy when the original fails
If the source decodes correctly but your editing route rejects it, create a separate MP4 copy using settings your editor supports. A common compatibility target is H.264 video with a standard pixel format and AAC audio. Preserve the source dimensions and timing where practical. Do not overwrite the only original while investigating.
Our conversion used the installed Windows FFmpeg build, which exposes the h264_mf encoder. The following command reflects that tested route. Encoder availability differs between builds; if this encoder is missing, choose an available H.264 route in your own conversion tool rather than assuming the command is universal.
ffmpeg -i timing-mjpeg.avi -c:v h264_mf -b:v 400k -pix_fmt yuv420p -c:a aac -movflags +faststart avi-compatible-copy.mp4The 400 kb/s video setting belongs to this small, simple practice clip. It is not a quality recommendation for detailed 4K camera footage. Choose an appropriate quality or bitrate for the source, then inspect the result. Re-encoding can change fine detail, color, file size, and audio; a smaller file is not automatically a better editing source.
We decoded the resulting MP4 completely with FFmpeg and checked its stream description. That verifies this output could be decoded by the conversion tool. It does not replace an import and export check in the application you will actually use.
Check more than whether the file opens
After conversion, compare duration, orientation, frame dimensions, sound, and the first and last usable frames. If the original includes speech, check lip sync at several points. A correct opening frame can hide progressive audio drift or an incomplete ending.
Import the copy into a new practice project before replacing media in a client timeline. Scrub across it, listen through the sections you need, and make a short export with the intended delivery settings. Reopen that export. This is the practical acceptance check still required after the limited native-import observation reported above.
For the owned timing clip, the two marker events provide obvious comparison points. For real footage, choose similarly recognizable events such as a clap, an object contacting a surface, or a spoken consonant. Do not judge synchronization solely from a silent landscape shot.
Use the symptom to choose the next step
If the picture works but sound does not, inspect the audio stream rather than immediately lowering video resolution. If the file works in one version but not another, record the platform and version before changing multiple settings. If every file in a folder fails, investigate access, storage, and the application route as well as encoding.
If a converted file still fails, keep the exact error and a non-sensitive sample for troubleshooting. Repeatedly changing extensions or running several conversions without notes makes the evidence harder to interpret. The AI video editing workflow explains how to preserve source, working, and delivery versions throughout a larger project.
Use Video Lab when the next task is creating new footage from a brief or approved reference. It is not presented here as an AVI repair utility. Keep codec repair and timeline acceptance in a compatible media tool, then bring the reviewed asset into the rest of your production workflow.
Frequently asked questions
Does CapCut support every AVI?
No universal claim follows from our test. Two owned AVI encodings imported in one Windows version; other streams and platforms need their own checks.
Can I rename AVI to MP4?
Renaming does not transcode the video or audio. Inspect the actual streams and make a separate conversion when needed.
Should I delete the AVI after making an MP4?
Keep the source until the working copy and final delivery have passed your review and your retention requirements are satisfied.
Why does the video import without audio?
The audio stream may need separate investigation. Check whether it exists, decodes, and is compatible with the specific editor route.
Was a CapCut export tested for these AVI fixtures?
No. The native observations cover the media bin and source preview. The separate converted MP4 passed a full FFmpeg decode check.
Create new footage from a checked brief
For a new generation task, start in Video Lab with approved inputs. Use a compatible media tool for AVI inspection, conversion, and timeline acceptance.