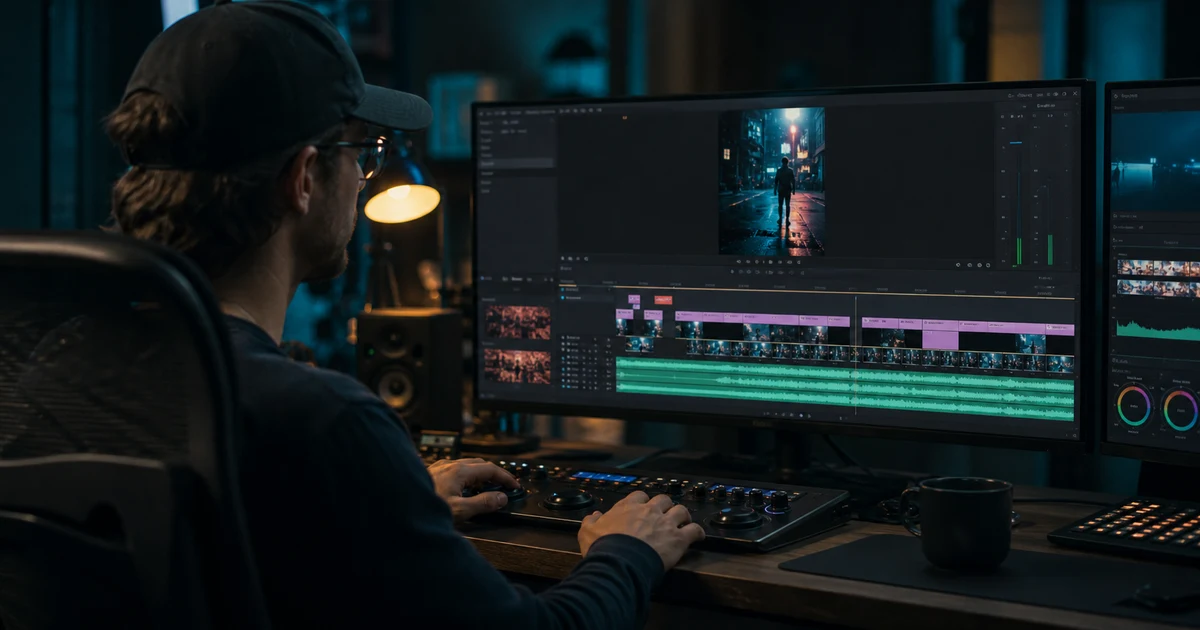

AI Video Editing Workflow: Raw Clips to a Finished Short helps you complete one real creation job with a repeatable process and a clear approval standard. It focuses on the decisions that determine whether the output is useful, accurate, and ready for its destination.
Start with the deliverable, not the timeline
Before importing a clip, write one sentence that defines the viewer, the action you want, the channel, and the maximum duration. “A 20-second vertical product demo that proves the bottle does not leak and sends mobile viewers to the product page” is an edit brief. “Make this cinematic” is not.
Collect the aspect ratio, safe zones, caption requirement, music rights, logo file, verified claims, pronunciation notes, and final call to action. This prevents a polished 16:9 cut from becoming an awkward 9:16 crop after approval.
1. Log footage by function
Name files by project, scene, shot, take, and status. Then tag each clip as hook, context, proof, detail, reaction, transition, or close. AI-assisted scene detection can accelerate the first pass, but it cannot know whether a shot proves the claim or merely looks attractive.
Reject clips with identity drift, unreadable product labels, broken hands, impossible motion, or unlicensed material before editing. Cutting around a structural defect usually moves the problem into continuity.
2. Build a silent radio cut
Place only the clips required to understand the idea. Watch without music. The opening should establish tension or value quickly, the middle should demonstrate, and the close should resolve and direct. If the story needs a trendy transition to make sense, the sequence is not ready.
A reliable short-form beat map
- 0–2 seconds: show the outcome, question, or visual interruption.
- 2–6 seconds: establish what is being made, tested, or changed.
- 6–15 seconds: show two or three proof beats, each adding new information.
- Final 3–5 seconds: resolve the promise and leave a readable next action.
Cut on meaningful motion, gaze changes, completed actions, or new information. Do not cut on every beat merely because the soundtrack has one.
3. Repair continuity before adding polish
Check screen direction, eyeline, object position, wardrobe, weather, time of day, product geometry, and motion phase across every edit. Generated clips need extra scrutiny: the same person, package, room, or vehicle may quietly change between shots.
Use a bridge shot only when it adds orientation or evidence. A close detail can hide a time jump; a reaction can connect two actions; a wide shot can reset geography. Random B-roll creates rhythm but weakens comprehension.
4. Build audio in layers
Start with clean dialogue or voiceover, then room tone, necessary effects, and music. Dialogue should remain intelligible on phone speakers. Duck music around speech instead of making the narrator compete with it. Use a short ambience bed to prevent dead digital silence between clips.
Listen once without looking. Abrupt ambience changes, clipped breaths, inconsistent loudness, and a music edit that fights the sentence are easier to hear when the screen is ignored.
5. Add captions, graphics, and versions
Captions should be accurate, synchronized, high contrast, and inside platform safe areas. Break lines by phrase rather than by arbitrary character count. Verify names, prices, units, and claims character by character.
Create channel versions from an approved master. Record what changes—opening frame, duration, crop, caption treatment, or CTA—while preserving the same core proof. This makes performance differences interpretable.
Common editing failures
Fast but confusing
Remove any cut that does not add proof, context, or emotion. Let the critical demonstration breathe.
Generated continuity drift
Lock reference frames and compare faces, products, hands, text, and direction at every seam.
Music-first storytelling
Rebuild the silent cut. Music should support the edit rather than supply missing structure.
Looks good in preview only
Review the actual export on a phone, with sound on and off, before approval.
Final export checklist
- The first frame communicates a useful reason to continue
- Every shot has a story job and continuity holds across cuts
- Dialogue is intelligible and all audio is authorized
- Captions, names, claims, prices, and product details are verified
- The exported file passes a full watch at destination size
In QuestStudio, keep the source clips, approved rough cut, audio choices, and final exports together. The goal is a repeatable edit decision—not just one lucky render.
Frequently asked questions
What should I edit first in a short video?
Start with the silent story cut. Do not color grade, add music, or animate captions until the sequence communicates clearly.
How many clips should a 20-second short use?
Use only the number needed to establish, prove, and resolve the idea. Five deliberate shots can outperform fifteen decorative cuts.
Can AI edit a full video automatically?
It can accelerate logging, cleanup, captions, and versions, but a person should still verify story logic, continuity, claims, rights, and the final export.
How do I make generated clips feel consistent?
Use locked references and compare identity, product geometry, direction, light, and motion at every cut.
When is the edit finished?
When the destination export communicates the promise, passes continuity and audio checks, and contains no unverified claim or asset.
Before applying a shared look, use the AI video color-matching workflow to compare the start, middle and end of every shot.
For a focused next step, read Premiere Generative Media Tool: Make B-Roll That Fits the Cut.