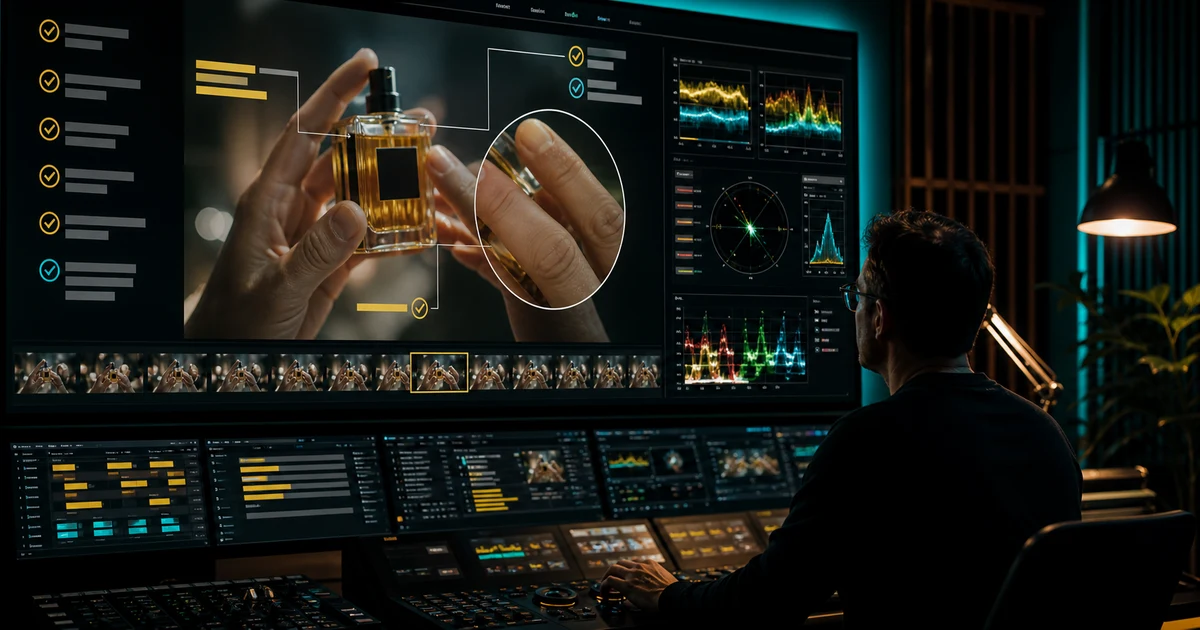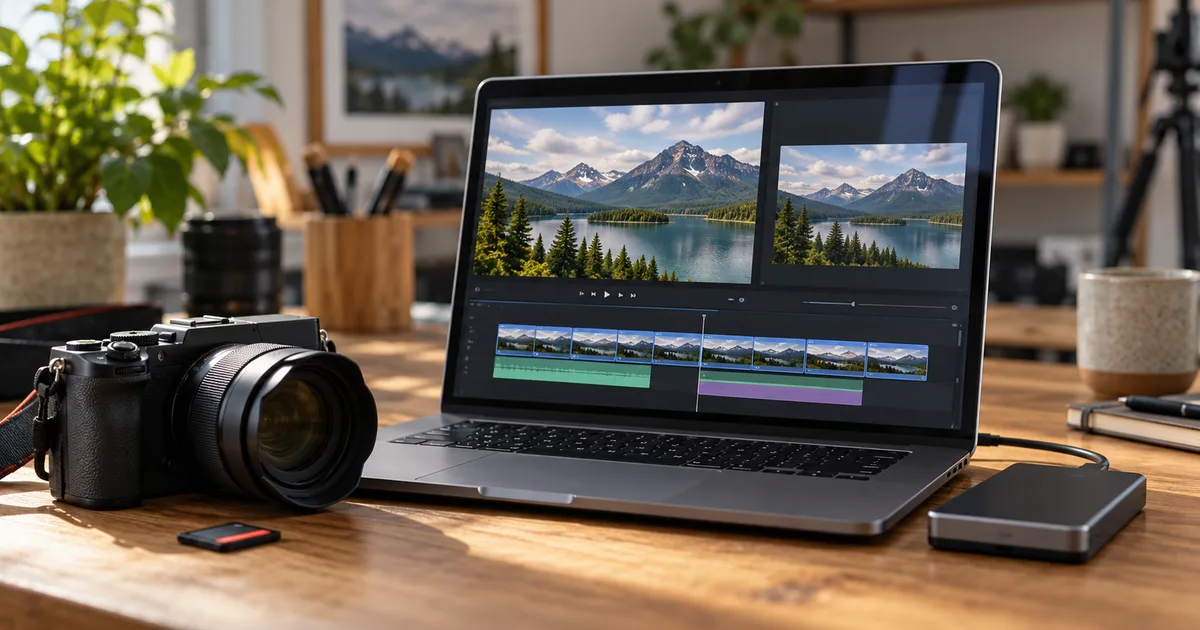

To export a video from DaVinci Resolve, go to the Deliver page, choose a render preset or Custom Export, and set the filename, location, and timeline range. For one finished video, select Single Clip. Confirm that video and audio are enabled, choose Add to Render Queue, and then start the render with Render All or the control for the selected job.
Open the exported file before sending it. A successful render can still contain the wrong range, a missing audio bus, or the wrong version of your sequence. Decide what the recipient needs before choosing a preset.
Confirm the timeline and choose the range
Select the approved timeline and play the first and last few seconds. Confirm that the opening has no temporary slate and that the closing title stays up as long as intended. If you need the whole program, choose the entire timeline. For a short proof, set the intended In and Out range and verify the range selection in Deliver.
Range matters when switching between a proof and final delivery. A ten-second render can look perfect while leaving out the rest of the project. Read the range and expected duration before adding the job. If you queue several outputs, confirm the range on each job, particularly if you previously rendered only a selection.
Use Single Clip for a continuous exported timeline. Individual Clips serves different workflows, such as handing separate shots to another application. If a folder suddenly contains many short outputs, inspect that mode before assuming the timeline was broken.
Choose settings for the actual recipient
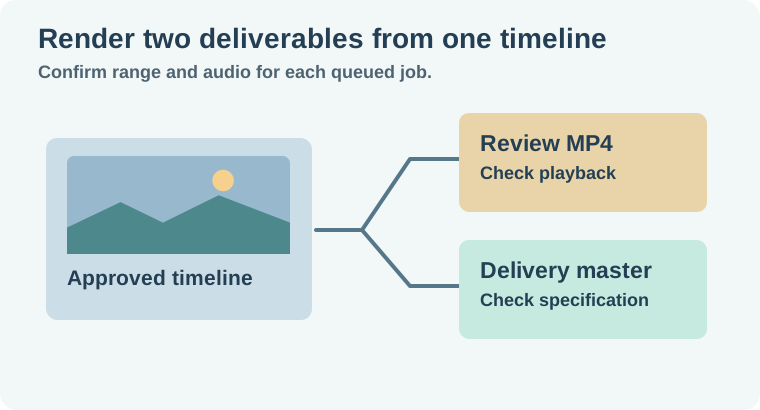
For a straightforward review copy, an MP4 with H.264 video and a compatible audio track is a practical starting point when the recipient accepts it. Match the requested resolution and frame rate. Choose a clear name with the timeline revision and deliverable, such as workshop-v04-review.mp4. The person opening it should be able to tell which cut it contains without comparing dates.
A delivery master may require a different container, codec, bit depth, or channel layout. Start from the written specification. Use a high-quality supported intermediate only when it matches the next editor or platform. Available encoding options can differ by system and Resolve edition, so confirm the settings your installation exposes. Blackmagic's Resolve training resources cover the delivery workflow in the editing materials.
A codec encodes the picture. A container packages that picture alongside audio or other streams. Changing an extension after the render does not change the encoding inside. If the request says only “MOV,” ask what the file will be used for and confirm the expected codec and audio before committing to the master.
Send the right sound along with the picture
In the audio render settings, enable audio and check which timeline output you are delivering. For a basic stereo review, verify that the main mix contains the dialogue, music and intended effects. If the specification asks for stems or discrete channels, review the routing and export mapping before queuing the master. A stereo mix and separate tracks serve different jobs.
Play a spoken section and a section with music. If either is missing from the file, check the active timeline, the muted or soloed tracks, and the render output settings. A track that can be heard in one monitor setup may not be routed where you expect for export.
Queue the render and verify the file
- Choose the file name and output location. Keep the proof and master in a place where they cannot overwrite each other accidentally.
- Confirm Single Clip, the range, and the current video and audio settings.
- Add the job to the queue and verify the listed name and path. Start the intended job or render all queued jobs when they are ready.
- Open the resulting file in an external player. Check duration, dimensions, the first and last frames, and the audio.
- For a color-critical or specification-driven delivery, inspect the file on the agreed playback path and compare the approved reference. Check the actual file properties rather than relying on its name.
If a platform makes the upload look soft, compare the local render with the processed upload. The blurry after upload guide separates file defects from platform processing. If the recipient needs a smaller review file, start from the master or approved sequence and use the video size reduction guide.
When there is an especially difficult shot, render a short proof using the intended output settings before committing to the full master. A moving gradient, noisy shadow, or finely detailed title is a better stress test than a static talking head. If the proof exposes banding or lost detail, check the local source and timeline first, then change one encoding variable and compare the same range.
After changing a setting, inspect the job already in the render queue. Make sure the queued job contains the revision you intend to run. A useful naming habit is to include both the cut revision and the destination, especially when a client wants a review copy and a master on the same day.
How QuestStudio helps
Use Video Lab for a separate insert before you lock the final timeline. Bring it into Resolve and review its framing and duration with the rest of the edit. The video quality-control checklist helps you inspect the actual result after rendering.
Keep the approved timeline and verified files together. A short note that says which file is the review copy and which one is the master saves a surprising number of handoff mistakes.
Download the davinci resolve export checklist.
Frequently asked questions
Why did Resolve only render part of my video?
Check whether you queued an In and Out range instead of the entire timeline. Correct the range and add the intended job again.
Why did I get multiple clips?
Check whether Individual Clips was selected. Choose Single Clip for one continuous timeline export.
Is H.264 right for every master?
Use the recipient's specification. H.264 can be suitable for review or web delivery, while some post-production workflows require a different master format.
Why is the render silent?
Confirm audio export is enabled and check the chosen bus, mutes, solos, and audio tracks in the finished file.
What should I check first after rendering?
Play the start and end, verify duration and picture size, then listen to a passage that contains the intended dialogue and music.