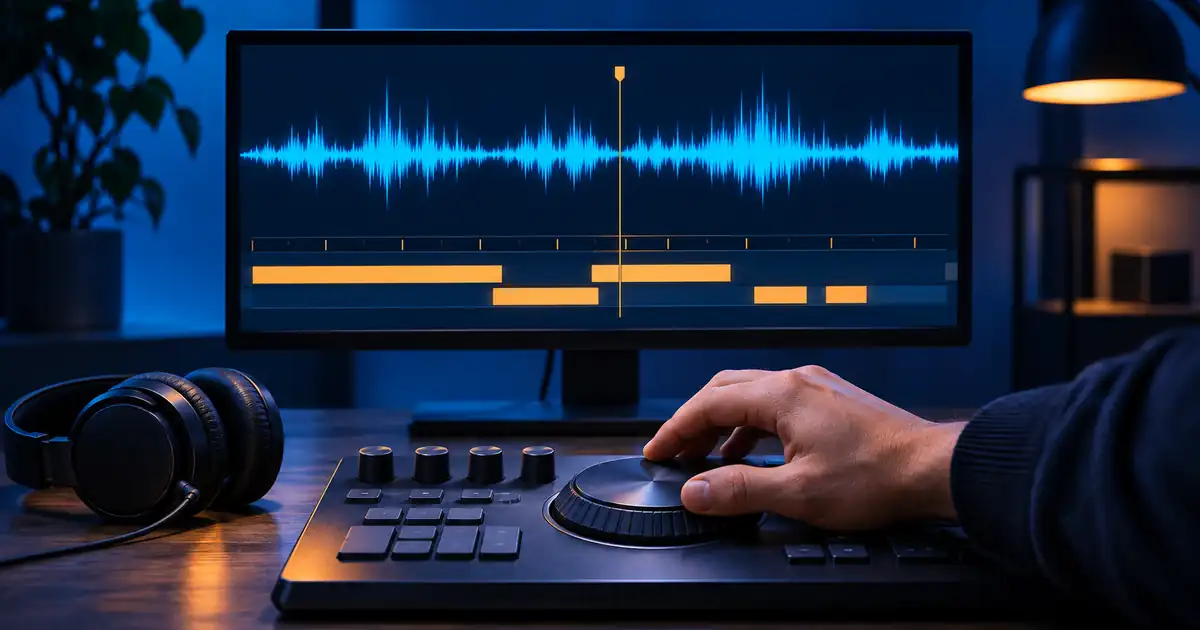

Find song beats in CapCut by putting the audio on the timeline, listening for a recurring pulse, and marking the downbeats that should anchor your cuts. Use the waveform to locate each impact more precisely. Start with two or three deliberate cuts and review them in playback before adding more.
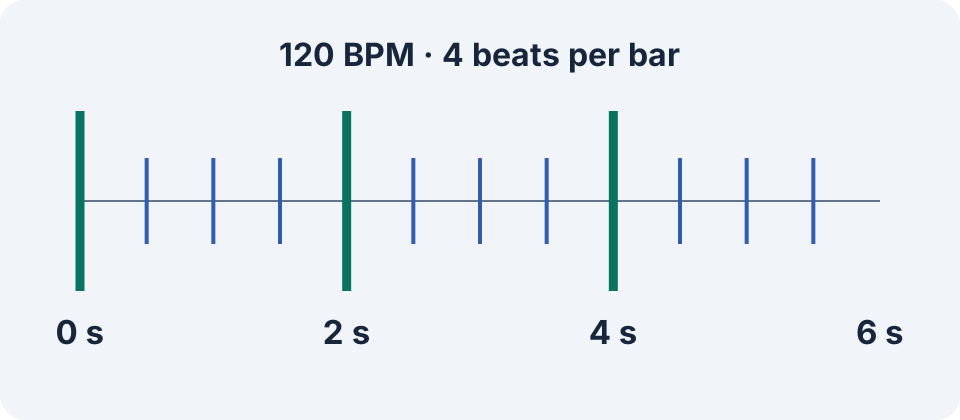
The six-second practice file below has a steady 120 beats per minute and a stronger sound at the start of each four-beat bar. You can import it into an editor with three clips or stills. It is an original timing exercise with no external music recording.
Hear the beat, then find the first beat of the bar
A beat is the pulse you tap along with. The downbeat is beat one of a bar. A song can also contain smaller subdivisions, pickup sounds, vocal syllables, and loud hits that land between the main beats. Identify the repeating pattern by listening first. A tall peak on the waveform can be an accent that does not begin the bar.
Play the first two seconds and count one, two, three, four. Then repeat the count for the next two seconds. In the exercise the strong beat occurs at 0, 2, and 4 seconds. At 120 BPM, the time between beats is 60 divided by 120, or half a second. Each four-beat bar therefore lasts two seconds.
Real tracks may have silence or a pickup before the first strong beat. Mark where the first downbeat actually occurs. If the music starts a quarter second into the edit, shift the planned marks by that offset. When the tempo changes, listen and mark each phrase instead of carrying one interval across the whole file.
Download the 120 BPM practice WAV.
Import the audio and mark the phrase in CapCut
Add the song file to your project and place it on an audio track under the clips. Zoom in until you can distinguish nearby peaks. Start at the first downbeat you heard. Use the available beat-marker control in your CapCut build, or use the playhead and make the video split at the marked time. Keep the audio in one piece so it remains a consistent timing reference.
CapCut’s desktop match-cut workflow uses timeline placement and splits for syncing clips. Its help also describes music-driven Auto Cut on supported desktop and mobile versions. When that option is available, use it on a draft and listen to the proposed cuts. For the original practice file, manual placement gives you a direct way to test where the downbeats are. CapCut’s desktop match-cut guide and Auto Cut documentation.
If a marker lies before the sound you hear, inspect the beginning of the waveform rather than dragging it to the tallest peak. Percussive sounds have an attack, and the part you hear as the start can happen before the waveform’s maximum. Play the audio and video together to decide what actually feels aligned.
Build a three-cut practice edit
Use a wide establishing shot until two seconds, an action shot until four, and a clear ending through six. On the practice track, the start of each shot then lines up with the first beat of its bar. That gives you a version simple enough to review. Duplicate the project before trying changes so you can compare the edits.
In the second version, try a brief cut at 3.5 seconds just before the final reveal. This is beat four of the second bar. It creates a lead-in to the strong beat at four seconds. Watch the two versions back to back. Choose the cut that keeps the action easy to follow while using the music’s natural emphasis.
For a demonstration, let the main product action finish before the next cut if the viewer needs to see it. A clip can begin on the beat and show its strongest action several frames later. Move the clip or adjust its trim so the action itself lines up with the intended accent. The product reveal sync guide explains that single-event alignment in more depth.
Repair timing at the right scale
If every shot feels equally late, inspect the start position of the music and the first anchor. If the first cut is correct and later cuts get farther off, revisit the track tempo and phrase boundaries. If only one cut feels late, look at its motion and audio attack before shifting the whole edit.
At 30 frames per second, one frame lasts about 33 milliseconds. Use small nudges around an anchor when a scene seems early or late. When you change frame rate or use speed changes, inspect the export again because its frame boundaries may differ from the editor preview. Judge the cut at normal speed after inspecting the timeline.
Save the planned time and observed time in the CapCut beat map worksheet. Play the exported file with audio and check the first beat, the reveal, and the ending. If there is narration or dialogue, verify that the cut does not swallow the last word and that the music supports the speech.
Frequently asked questions
Should I cut on every beat?
Choose the beats that support the scene. A clear demonstration often needs a longer hold, and a phrase change may be a stronger edit point than every pulse.
How do I find the first beat when the music starts softly?
Listen for the repeating count, mark the first clear downbeat, and work backward when needed. Use the waveform to confirm its timing.
Can CapCut automatically cut to music?
CapCut documents music-driven Auto Cut on supported desktop and mobile builds. Review the proposed timing and adjust the draft where the action needs a different cut.
How far apart are beats at 120 BPM?
They are half a second apart at a steady 120 BPM. A four-beat bar lasts two seconds.
Why does the cut feel late after export?
Compare the actual visible action and the audible beat in the exported file. Inspect the track offset, frame boundaries, and any changes to clip speed.
Prepare a rhythm-friendly shot
Bring one approved shot into Video Lab, then use the beat map to choose where the action should land in your edit.