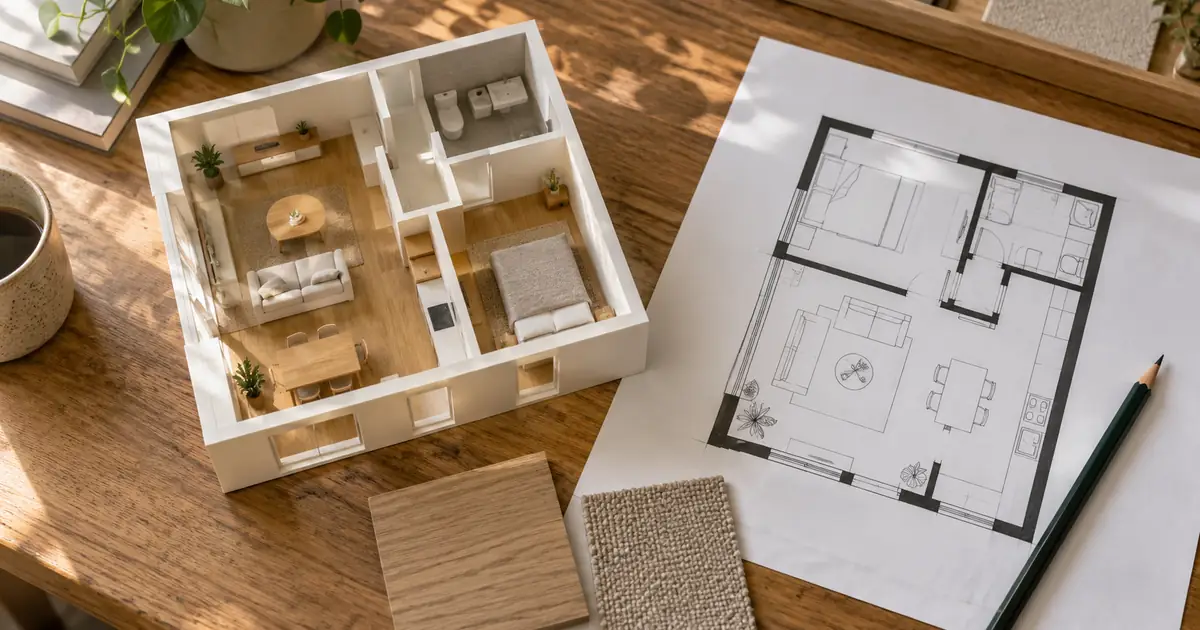

To turn a floor plan into an AI render, first decide whether you need a concept image or a measured 3D model. An image generator can suggest materials, furniture and atmosphere. It can also move a doorway or stretch a room. Use the original plan to check every important spatial relationship, and use modeling software when exact dimensions must survive.
This workflow uses a fictional one-bedroom apartment to explore a living-room finish. It produces a reviewed concept image, not a buildable design. The key deliverable is a short record of what matches the plan, what remains unknown and what the image is allowed to communicate.
Choose the output before choosing the prompt
A top-down furnished illustration helps explain room relationships. An eye-level image helps discuss finishes and atmosphere. An editable 3D model supports camera changes and measured geometry. They are different deliverables, even when all three are described casually as a “3D render.”
If you need to verify furniture clearance, construction details or a design that will be built, establish measured geometry in appropriate software and obtain the necessary professional review. A realistic image cannot prove those things. SketchUp's image-import guidance describes using an imported image as a basis for tracing into a model.
For the apartment exercise, our question is narrower: does pale oak or a darker floor better communicate the intended living-room mood? The walls and openings are fixed. We are not using AI to decide whether the room can be made larger.
Prepare a clean copy while preserving the measured original
Keep the original plan with its dimensions, scale and revision date. Make a separate image copy for visual interpretation. Crop away unrelated title blocks if necessary, but do not remove a wall or opening just because its linework looks untidy.
Use a straight, high-contrast export. A phone photograph taken at an angle can distort the proportions before the model sees them. If the drawing is ambiguous, resolve it from the source documentation rather than allowing the generator to choose the most attractive interpretation.
Record missing information. A floor plan may not specify ceiling height, window height, exterior view or material finish. Mark those as assumptions in the brief. If a window's height is unknown, a generated floor-to-ceiling opening is an idea, not a recovered fact about the property.
Count rooms and openings before generating
Create a simple inventory. Give rooms stable labels in your review sheet and describe their neighbors. Use an orientation such as “top edge of this drawing” unless a verified north arrow is available. Do not invent compass directions.
| Area | Fixed relationship | Review question |
|---|---|---|
| Living room | Shares an opening with the kitchen | Did a new dividing wall appear? |
| Bedroom | Door opens from the hall | Did the door move to the living room? |
| Bathroom | One hall entry | Did the render add another entrance? |
| Living-room window | On the drawing's upper exterior wall | Did its count or wall position change? |
Download the room-and-opening audit sheet. Add actual counts and source references. This takes less effort than trying to remember the plan while looking at a highly decorated render.
Use one camera and one question per comparison
For an eye-level concept, mark the intended camera position on a copy of the plan. Describe what the camera faces and which openings should be visible. If possible, use a simple model view or real room photo from that position as the visual reference. It gives the image model more direct evidence than a floor plan alone.
Keep the camera consistent when comparing finishes. If the oak version uses a wide corner view and the dark-floor version uses a close shot, you are comparing framing as well as materials. The more variables you change, the harder it becomes to explain why one option works.
A wide-angle look can make a small room appear larger. Check that perspective is not doing the work of a layout change. For actual property photographs, the multiple-angle staging workflow is the closer guide.
How QuestStudio helps with the visual concept
Use Image Lab with a model that supports the reference images you intend to provide. Attach the plan or approved model view. Describe the allowed finish change and the geometry that must remain. QuestStudio's image workflow does not turn a generated picture into a measured CAD or BIM model.
Those instructions are constraints to test, not a guarantee. If geometry changes, reject the candidate or return to a measured model and use AI only for a smaller visual treatment. For broader styling ideas, consult the interior design prompt guide.
Review structure before furniture and lighting
First count the rooms and openings. Then trace the route from the entrance to the living room, bedroom and bathroom. A doorway that looks elegant but connects the wrong spaces is a failure. Check fixed elements before deciding whether the sofa or sunlight is attractive.
Next compare proportions qualitatively. Has the kitchen become wider relative to the living area? Did a hallway vanish behind a cabinet? A visual inspection can identify obvious mismatches, but it does not establish dimensional accuracy. Verify actual dimensions in the underlying model or measured plan.
Finally review the assumed details. The render may have added a balcony view, concealed radiator or pendant light that was never specified. Keep a list of those additions. Remove unsupported features when they would mislead the viewer about an existing property.
Use a stopping rule when the layout drifts
If one finish is wrong and the structure remains stable, try a local edit. If several walls or openings move, do not keep adding longer preservation instructions to the same weak input. Improve the reference, simplify the view or switch to rendering from measured geometry.
Do not use a beautiful wrong image as the reference for the next attempt. That can turn an accidental doorway into a recurring feature. Return to the approved source and change one variable. Save rejected outputs separately so they cannot be confused with the final concept.
When sharing, include the source revision, chosen view and a clear “illustrative concept” label in the surrounding document. Keep dimensions on the verified drawing. The image can support a conversation about appearance while the plan remains the authority for the space.
Frequently asked questions
Does an AI render preserve exact floor-plan dimensions?
Not reliably by itself. A generated image may change proportions or openings. Use a measured model and appropriate review when the decision depends on exact geometry.
Can I get an editable 3D model from Image Lab?
This workflow produces an image concept. It does not promise editable CAD, BIM or a dimensionally verified 3D model from an Image Lab generation.
Should I remove all dimensions from the source plan?
Keep the full measured original. You may prepare a cleaner visual copy, but retain the original information for review and do not erase geometry or opening details.
Why does the render add windows or doors?
The model may infer missing details or reinterpret ambiguous linework. Count openings against the plan and reject unsupported changes rather than treating them as recovered facts.
Is a floor-plan render suitable for construction approval?
A concept image alone is not a construction document or an approval. Use the required drawings, measurements and professional review for decisions that will be built.
Keep the plan as the authority
Choose one view and one design decision. Use Image Lab to explore its appearance, then return to the measured source whenever a question depends on size or structure.
Hero image: AI-generated editorial illustration. Examples are original planning exercises, not measured model tests.