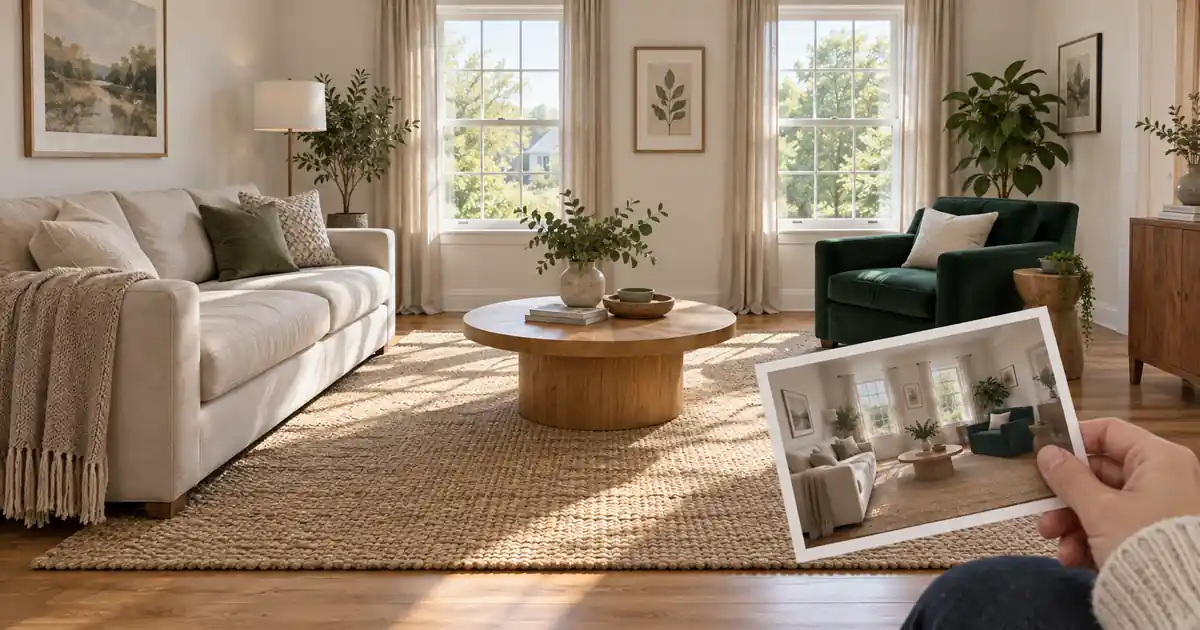

A virtually staged living room can look convincing until the next listing photo shows a different sofa, a missing window, or a chair sitting where the doorway should be. Multiple-angle staging is a continuity problem. The goal is to furnish one real room and show it from several actual camera positions, while preserving the property’s layout and permanent features.
Download the multiple-angle staging continuity sheet · Explore one room photo in Image Lab
Separate permanent structure from movable furnishings
Make a list of the features that must not change: walls, openings, windows, doors, built-in cabinetry, fireplaces, floor levels, and visible permanent fixtures. These are the anchors for the staging plan. Furnishing should help someone understand how the room might be used, not make the room larger or remove inconvenient architecture.
Place furniture and decorative objects in a second list. A sofa, rug, coffee table, and lamp may be appropriate additions. A new window, a widened doorway, or a moved radiator is a property alteration. If your task includes illustrating a renovation, that needs a separate, clearly described presentation rather than being mixed into ordinary staging.
Keep the original photos accessible during every review. A generated image may be internally plausible while misrepresenting the source room. The original is the reference for the architecture, even when the staged candidate feels more attractive.
Photograph the angles you actually need to show
Capture the room from two or three useful positions before staging. Keep vertical lines reasonably straight, use consistent camera height, and avoid extreme wide-angle distortion that stretches the edges. Photograph adjacent walls so the reviewer can relate the views to one another. A door or window appearing in both images provides a valuable shared anchor.
Do not ask the model to invent a reverse angle and treat it as a photograph of the property. An unseen wall may contain a doorway, a built-in, or a feature the model cannot know. If that angle matters, photograph it. A conceptual imagined view can serve a different purpose, but should not replace factual coverage.
Assign clear photo IDs, such as living-A-window and living-B-entry. A simple hand-drawn room sketch is enough to mark the approximate camera positions. If you have verified measurements, add them. If you do not, avoid describing the staging as a precise spatial fit.
Write one room plan before generating candidates
| Object | Fixed relationship | Cross-view check |
|---|---|---|
| Sofa | Along the solid wall opposite the windows | Same wall and orientation in both photos |
| Coffee table | Centered in front of the sofa | Not centered separately in each image frame |
| Armchair | Near the right window, angled toward sofa | Does not move into the entry path |
| Rug | Under front sofa legs and table | Same size relationship and pattern direction |
| Floor lamp | Behind the chair, clear of the window opening | Present or correctly occluded in the second view |
“Center the coffee table” is ambiguous unless you name what it is centered on. Centering it in every photograph can make it move around the room. Describe placement relative to walls and other objects, not relative to the image border.
Choose an inventory you can recognize easily. A beige three-seat sofa, a round oak table, and a green armchair are more traceable than a dense room full of similar stools and accessories. Record materials and distinctive shapes as well as colors. A round table becoming rectangular is a continuity failure even when both versions match the palette.
Approve the first view as a reference, not a new floor plan
Start with the angle that shows the room’s main relationships most clearly. Supply the real source photo and the furnishing plan. Protect permanent architecture and review furniture scale, grounding, and access around the room. Do not proceed just because the first image looks polished.
This brief cannot enforce geometry on its own. Compare the result with the original, checking window widths, floor edges, and doorway clearance. Reject a candidate that solves a furniture-placement problem by quietly moving a wall. Save the accepted view with its prompt, source, and inventory.
Apply the same plan to the second real photograph
Apply Design’s multi-angle overview describes a dedicated consistency workflow. Verify such capabilities in the actual product before choosing a process. A tool that accepts one image and a text prompt may behave differently from one that supports coordinated room views.
When your chosen workflow supports the necessary references, provide the second original photo along with the approved furnishing reference. Explain which image defines architecture and which defines furniture. The second photo remains authoritative for visible room structure; the first staged view describes the objects and placements.
Expect objects to look different from a new angle. A chair may hide part of the table, and the sofa may appear shorter because of perspective. Consistency is not identical pixels. Objects should occupy the same plausible positions in the room while their visible shapes change with the camera.
Review the pair using shared architectural anchors
Place the two images beside each other. Find a shared window, doorway, or corner and trace where each object sits relative to it. A sofa on the window’s left in one view can appear on the image’s right in another, depending on camera position. Use the room map rather than assuming screen-left always stays screen-left.
Check furniture dimensions against the architecture. A table should not grow to fill a wider-looking frame, and a sofa should not change from three seats to two. Look for repeated fabric seams, leg styles, cushion count, and material. These details often reveal a replacement object that a quick color check misses.
Then inspect shadows and reflections. They need to respond to the same room lighting even though the camera has moved. A bright window should remain the plausible source of daylight. Reflective surfaces should not show invented windows or furnishings absent from the rest of the set.
Use an explicit mismatch log instead of repeated restyling
Write the failure in concrete terms: “The armchair moved from the right window to the doorway,” or “View B replaced the round table with a square one.” A vague instruction to make images more consistent gives the model too many interpretations. Correct the specific object while protecting accepted parts.
If the tool cannot hold the inventory across views, simplify the staging. Remove nonessential decor, reduce the furniture count, or use a dedicated multi-angle service. Do not keep adding descriptions to compensate for a capability the workflow lacks. A sparse, coherent room is more useful than a richly furnished contradiction.
Review circulation separately. Trace the route from the entry to the seating area and any doors. Furniture should not block access or obscure permanent features. Without verified dimensions, treat the layout as illustrative and avoid promising exact clearance based on the picture alone.
Prepare a transparent final set
Retain the original and staged version for every camera position. Use filenames that connect them, such as living-A-original and living-A-staged-v03. Keep the furniture plan with accepted exports so a later room addition does not require guessing which style was approved.
Clearly identify staged imagery in the presentation and check current requirements of the destination where it will appear. Listing systems and clients can have different rules for disclosures and altered photos. This guide is a visual production method, not a substitute for those requirements.
Check uploaded images in sequence, including thumbnails. A viewer may move quickly between angles, making discontinuities more obvious than inside the editor. Make sure each staged view remains paired with the correct room and that no rejected candidate has slipped into the final folder.
How QuestStudio helps with a room concept
Use Image Lab to explore a furnishing concept with a model that supports your intended image inputs. Begin with one actual room photo and inspect the architecture before continuing. This article does not claim that QuestStudio automatically locks geometry or furniture across multiple views.
The reference-pack workflow helps separate source photos, style examples, and nonnegotiable details. If the selected model cannot handle coordinated views, use the first concept as a planning asset and choose an appropriate finishing workflow for the complete set.
About this guide
This is an editorial production method, not a claim that every AI model can perform every step. Examples and worksheets are illustrative; no measured generation results are implied. The hero is an original AI-generated illustration.
Frequently asked questions
How do I keep AI virtual staging consistent across multiple angles?
Use real photos of each angle, one furniture inventory, and placements tied to fixed room features. Review views together and use a workflow that supports the references needed for continuity.
Can AI invent the other side of a room for a listing?
It can generate an imagined view, but cannot establish unseen architecture. Photograph the actual angle if you need factual room coverage.
Should furniture look identical in every view?
It should represent the same objects in the same room positions. Perspective and occlusion change their visible appearance as the camera moves.
Does QuestStudio automatically preserve a staged room across angles?
This guide makes no such claim. Check the model’s supported inputs, test one room, and use a dedicated multi-angle workflow when your delivery requires that control.