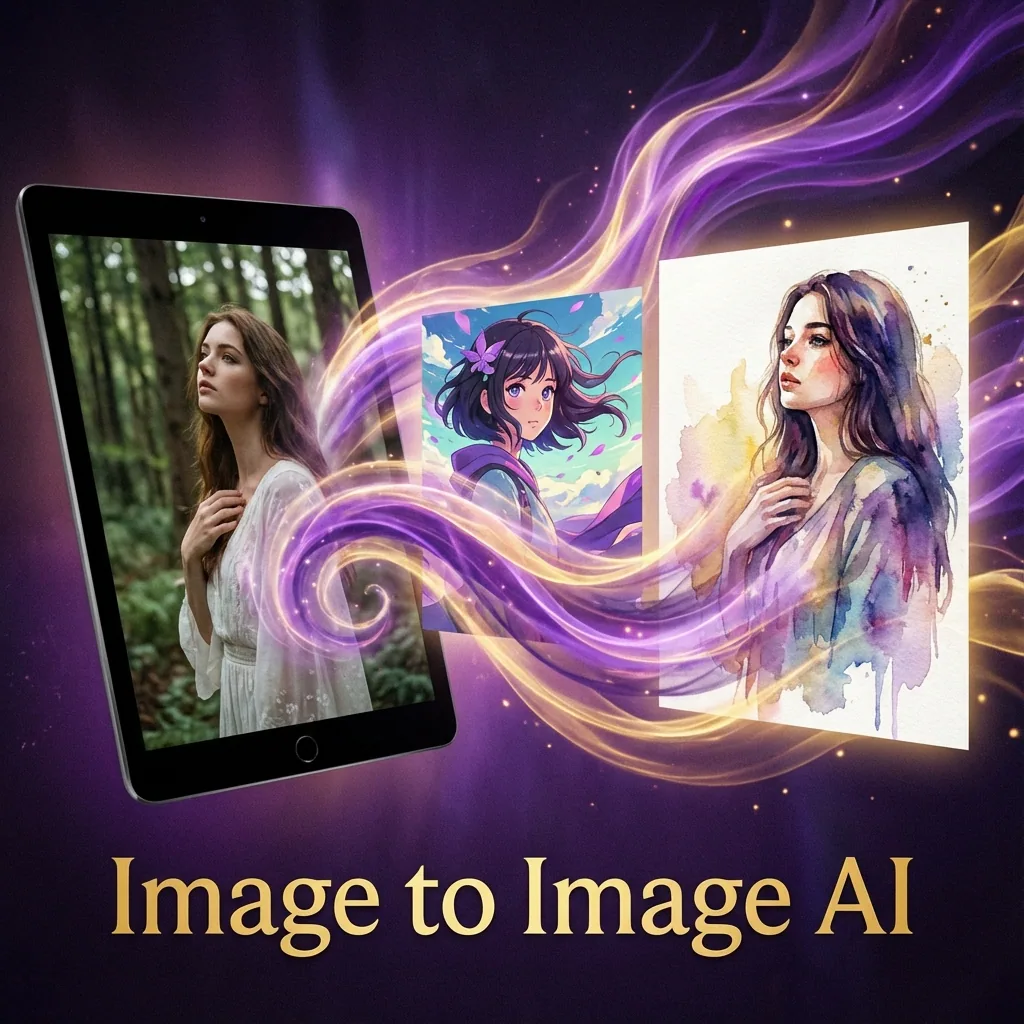

Image to Image AI (also called img2img) lets you start with an existing image and transform it into something new using a prompt.
Instead of generating from scratch, you use a photo, render, sketch, or previous AI output as the base, then tell the model what to change and what to keep.
QuestStudio makes image transformation simple and repeatable. You can run the same input image and prompt across multiple leading AI models, compare results side by side, and save your best prompts and versions into a library you can reuse anytime.
QuestStudio supports popular model families and providers, including options like Nano Banana Pro, Runway, Stable Diffusion, Flux, and more, so you can pick the best look for each project without jumping between tools.
What is Image to Image AI?
Image to Image AI is a workflow where you:
- Upload an image
- Write a prompt describing the desired result
- Control how much the model is allowed to change
- Generate variations until you get the look you want
This approach is used for everything from subtle upgrades to full style transformations.
What people actually mean by Transform an Image
Most search results treat image-to-image as one feature, but users typically want one of these outcomes:
1) Restyle an image
Same composition, new aesthetic.
Example: turn a photo into cinematic, anime, watercolor, oil painting, pixel art.
2) Edit an image without starting over
Change specific details while keeping everything else stable.
Example: swap background, change clothing color, add an object, remove clutter.
3) Create variations while keeping identity
Keep the subject recognizable but generate fresh versions.
Example: same character, new pose, new environment, different lighting.
4) Enhance or restore
Improve quality without changing the content.
Example: upscale, sharpen, restore old photos, reduce noise, fix compression artifacts.
QuestStudio is designed to support all four workflows, and the best part is you can test them across multiple models to find the most reliable results.
Why QuestStudio for Image to Image AI?
Most image-to-image tools have one big problem: you do not know if your result is good because your prompt is good, or because that one model happens to handle your image well.
QuestStudio fixes that by giving you a true workflow:
- Compare multiple models side by side using the same image and prompt
- Save prompts and outputs so your best transformations are never lost
- Organize by project so your assets stay consistent across a brand, campaign, or client
- Iterate faster by changing one variable at a time and learning what actually improves results
If you care about consistency, comparison is the shortcut.
The one setting that controls everything: Strength (Denoise)
Image-to-image usually includes a control called Strength or Denoise.
Think of it as a dial:
- Low strength keeps the original image mostly intact
- High strength gives the model more freedom to change the image
Practical starting points (easy cheat sheet)
Use these as a starting range, then adjust based on your goal:
0.15 to 0.35: subtle improvements and small edits
0.35 to 0.60: strong edits while keeping composition recognizable
0.60 to 0.85: major style change and bigger transformations
0.85 to 1.00: very loose reference, closer to generating a new image
If your output is drifting too far, lower strength. If your output is not changing enough, raise strength.
How to transform an image in QuestStudio
Upload your image
Start with a clean image if possible. Higher resolution helps, clear subject helps, simple backgrounds are easier to preserve.
Choose your goal
Pick one: Restyle, Edit, Variations, Enhance
Write your prompt using the Image to Image Prompt Formula
Use the framework below so models follow your intent consistently.
Set strength based on your goal
Use the cheat sheet above.
Compare models
Run the same image and prompt across 2 to 4 models and pick the winner. This is the fastest way to find the best model for your specific input.
Save the winner
Save: The image, The prompt, The settings, A short note like: best for product photos, best for cinematic restyle, best for face detail. That becomes your reusable template.
The QuestStudio Image to Image Prompt Formula
Use this structure to get better results across models.
Copy and paste template
Copy/paste prompt pack (10 image-to-image transformations)
1) Cinematic upgrade (photo realism polish)
2) Studio product photo restyle
3) Background swap without changing the subject
4) Anime restyle (clean line and stable identity)
5) Watercolor illustration
6) Cyberpunk neon night
7) Black and white film portrait
8) 3D render look
9) Sketch to finished concept art
10) Seasonal variation (same scene, new season)
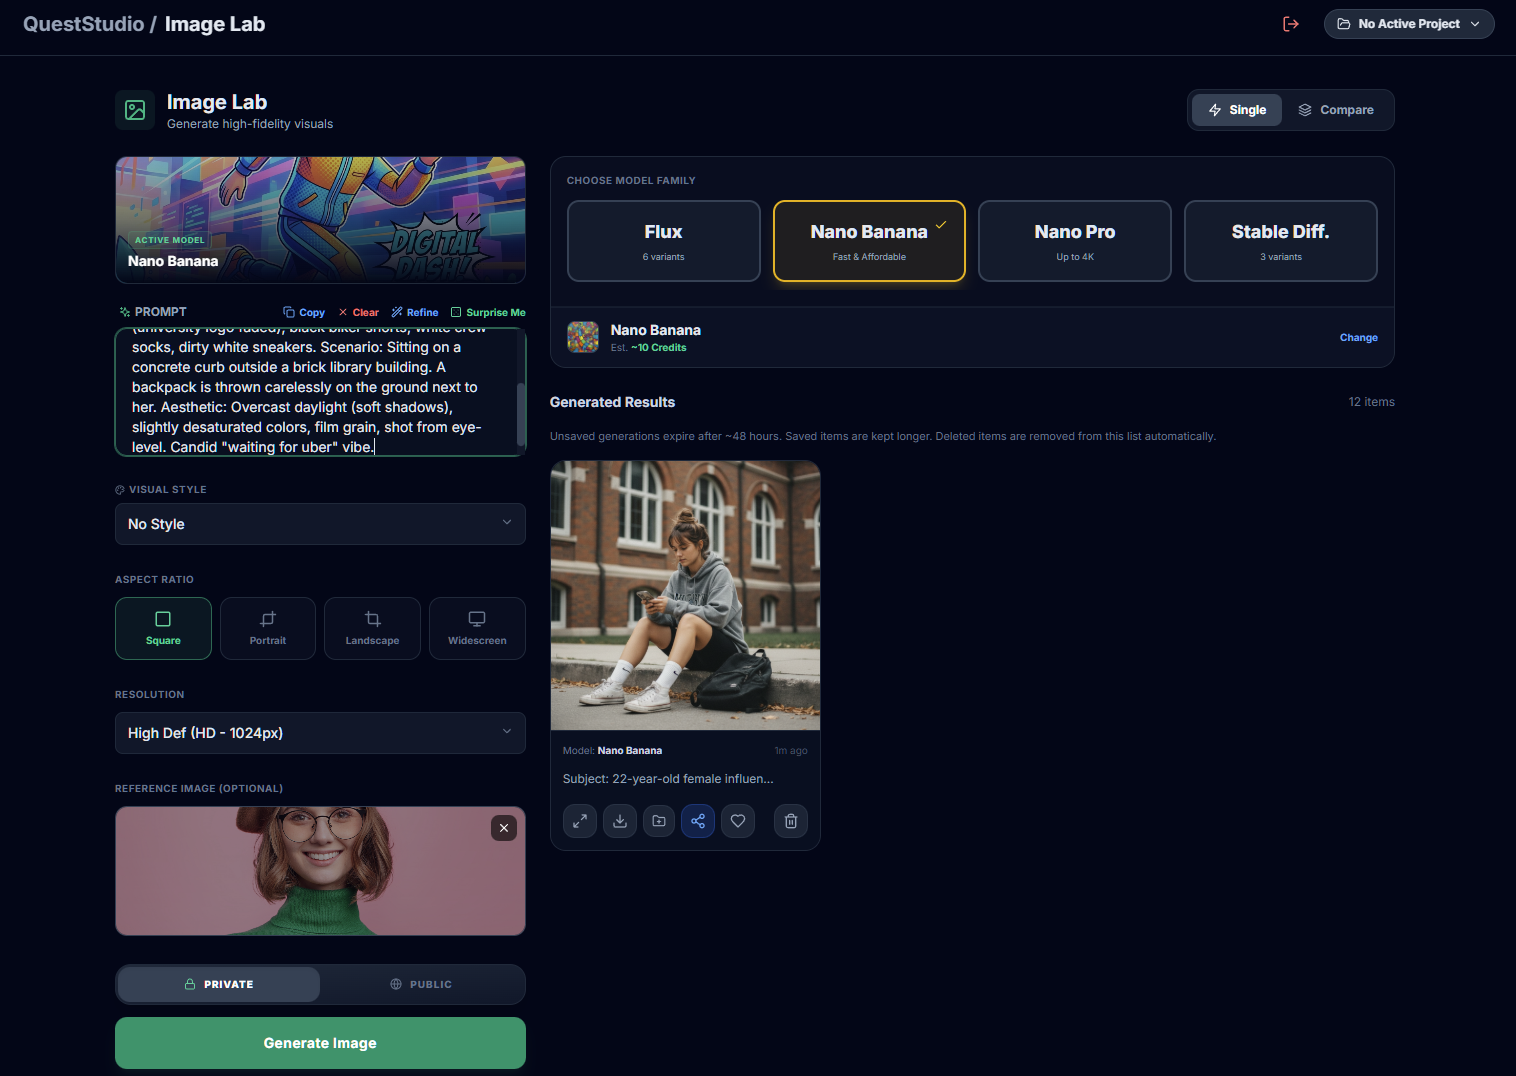
QuestStudio's Image Lab lets you transform images, compare models, and organize your best results across all your projects.
Common image-to-image problems and fast fixes
Problem: The output ignores the input image
Fix:
- Lower strength
- Add preserve instructions at the top of the prompt
- Remove conflicting style descriptors
Problem: The subject identity changes
Fix:
- Lower strength
- Add constraints like keep face consistent, preserve identity
- Reduce extreme style changes until the base is stable
Problem: Background or textures melt
Fix:
- Lower strength
- Use a simpler background
- Ask for stable environment and realistic textures
Problem: You want a small change but everything changes
Fix:
- Use low strength
- Be extremely specific about what must stay the same
- Use edit style language like only change the background, keep subject unchanged
Problem: The result looks AI or plastic
Fix:
- Ask for natural texture and realistic lighting
- Avoid words like flawless or perfect
- Add subtle imperfections like film grain, realistic pores, fabric weave
Best practices for consistent results
Keep a base prompt library
Save a few proven templates: product studio template, cinematic portrait template, stylized anime template, background swap template. Then only swap what matters.
Change one variable at a time
If you change style, lighting, environment, and camera language all at once, you will not know what improved the result.
Compare models instead of guessing
The same prompt can behave very differently across models. QuestStudio helps you find the best match by comparing outputs side by side.
FAQ
What is the difference between text to image and image to image?
Is image-to-image good for consistency?
Can I use image-to-image for business work?
Try Image to Image AI in QuestStudio
If you want consistent transformations instead of random wins, use QuestStudio to transform your image with top AI models, compare outputs side by side, and save your prompts and best results into a reusable library.
Go to Image Lab