AI Photo Restoration - fix scratches, fading, blur, damaged scans
Fix Scratches • Remove Fading • Sharpen Faces

Photo Restorer
Bring Old Photos Back to Life

Restore old photos in minutes with AI. Fix scratches, fading, blur, and damaged scans without manual editing.

Erick By Erick
Dec 31, 2025

Photo Restoration Examples

Family photo before restoration
Before
Family photo after restoration
Restored

Old Family Photos

Reduce grain, fix softness, and improve clarity while keeping a natural look.

Face enhancement before and after

Face Enhancement

Sharper eyes and facial features without turning skin "plastic."

Scan before restoration
Before
Scan after restoration
Restored

Scanned Prints

Clean up dust/noise and make scans look sharper and more modern.

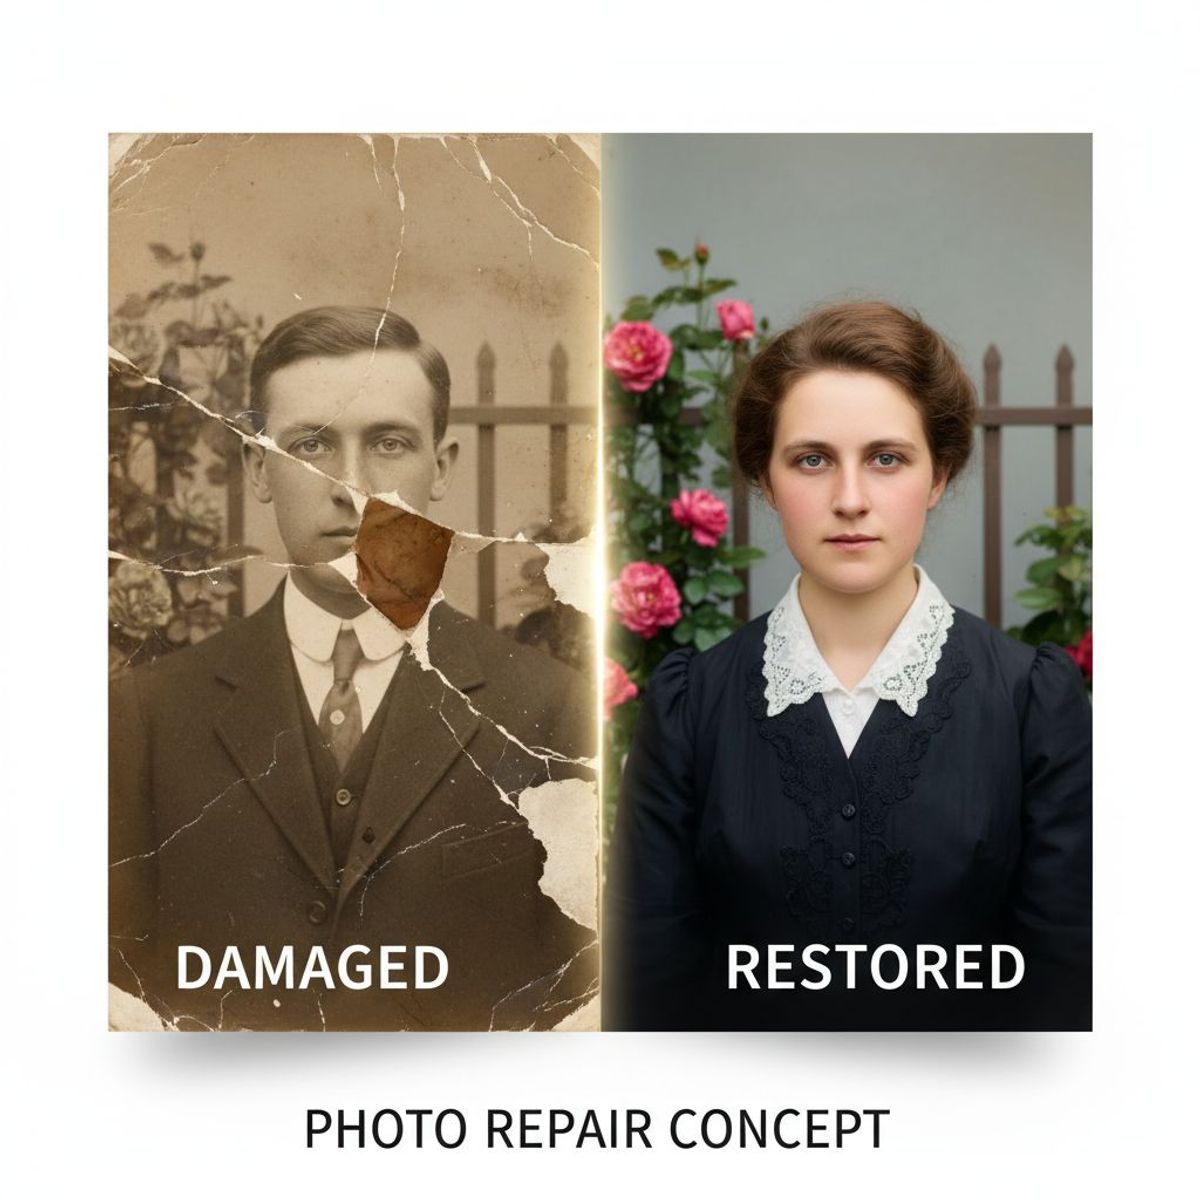
What is AI Photo Restoration?

AI photo restoration improves older or low-quality images by reducing noise, fixing softness, recovering details, and enhancing faces. It's commonly used for scanned prints, old family photos, and low-resolution pictures that look blurry or grainy.

People search for this as:

  • photo restorer
  • ai photo restoration
  • restore old photos
  • fix blurry photos
  • enhance old pictures
  • remove noise from image

How to Restore an Old Photo (Step-by-Step)

QuestStudio Photo Restorer in Magic Editor
QuestStudio's Photo Restore tool in the Magic Editor
1

Upload your photo

Scans, JPGs, and PNGs are fine. Use the cleanest version you have.

2

Choose restoration strength

Start with a natural pass. Increase strength only if the image is very damaged.

3

Enhance faces (optional)

Best for portraits. Keep it subtle so faces look real, not "AI-smoothed."

4

Export + (Optional) Upscale

If you plan to print, run an upscale after restoration for best results.

Pro Tip

Restoration is usually best as a two-step process: restore first (noise/blur), then upscale second (resolution).

Best Results Checklist

  • Use the cleanest scan or file available.
  • Start with light restoration, increase if needed.
  • For faces: prefer "natural" enhancement.
  • Restore first, upscale second.

Common Mistakes

  • Plastic faces: Too much enhancement removes natural texture.
  • Crispy edges: Over-sharpening creates halos and artifacts.
  • Color issues: Old scans may need gentle color correction.
  • Wrong order: Upscaling before restore amplifies noise.

Photo Restorer FAQ

Can AI restore very blurry photos?
AI restoration can improve blur and clarity, but extremely blurred photos may still look soft. Best results come from restoring first, then upscaling second.
Why do restored faces look fake sometimes?
Too much face enhancement can remove natural texture and produce "plastic" skin. Lower the strength and prefer more natural settings.
Should I restore or upscale first?
Restore first (noise/blur/artifacts), then upscale second (resolution). This usually produces the most natural results.
Can I use this for scanned prints?
Yes. Scanned prints are one of the best use cases—especially if you scan at a decent resolution before restoring.

Restore Old Photos in Seconds

Fix blur, reduce noise, enhance faces, and bring photos back to life.

Open Photo Restorer