
Wedding album design prompts are most useful before you start moving photographs around a page. Give the assistant a verified list of image IDs, the moments they show and the album's real limits. Ask for a spread plan, then build that plan with your original photographs in a layout editor. A text response is a starting point for selection and pacing; it is not a print-ready wedding album.
This workflow takes a small fictional photo selection through a six-spread plan. The example is deliberately small enough to review at once. Replace its dimensions, page allowance and production settings with the template supplied by your chosen album lab.
Start with the album specification
Choose the physical product before designing the first spread. Record its finished size, whether the lab accepts single pages or complete spreads, how the opening and closing pages work, and which cover template applies. A layflat book and a conventional bound book may need different treatment at the center.
Do not assume a number typed into a prompt overrides the lab's requirements. Keep the supplied trim, bleed and safe-area guides visible in the actual layout file. If the lab changes, check the layout again against the new template instead of reusing the old export with a different filename.
The Blurb explanation of trim and bleed is useful background on why material near an edge needs attention. Your lab's template determines the actual production boundaries for your order.
Make a photo inventory the assistant can understand
Select photographs with the couple before asking for a layout. Give each approved file a short ID and a useful description. Include orientation, people, moment and any crop restriction. Keep the original filename in the inventory so the selected image can be found later.
For example, A07 might be a landscape ceremony exit with both partners and two guests near the edges. A08 might be a portrait bouquet detail. Mark A07 as “do not crop either guest” rather than hoping a layout suggestion notices them. Identify images that must appear and images that are alternatives.
Do not upload an entire private gallery merely to receive a sequence suggestion. A text inventory can be enough for planning. When you do use photographs, share only the material you are authorized to process and keep the approved originals outside the experimental layout folder.
Give each spread one moment
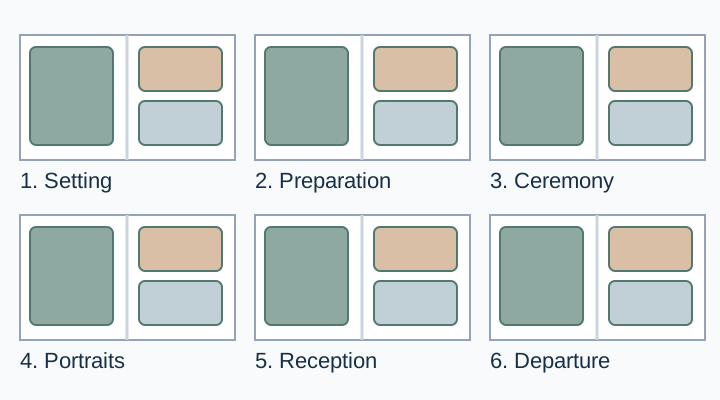
A spread should help someone follow the day. In the six-spread example, the opening establishes the setting, two spreads cover preparation and ceremony, one gives the portraits room, another carries the reception, and the closing spread ends on a quiet departure image.
That is an editorial choice for this example, not a rule that every wedding must follow. A ceremony with several distinct events may need more space. A couple who values informal family photographs may want fewer posed portraits. Let their priorities determine the balance.
Avoid using every available image slot. Four versions of the same pose can make a spread feel repetitive even when the layout is tidy. Start with the strongest image for that moment, then add supporting photographs only when they contribute a different action, person or detail.
Ask for a spread map with explicit limits
Use the inventory as the factual source. Ask the model to flag missing information rather than invent names, locations or events. Keep caption writing separate until the image sequence is approved.
Plan six wedding-album spreads from the approved image inventory below. Use only listed image IDs. Each spread needs a short purpose, one lead image and optional supporting images. Include every must-have ID once. Do not invent photographs, people, captions or events. Keep faces away from the center fold and respect every crop restriction. Flag any conflict or missing information before proposing the plan. Return a table with spread number, image IDs, layout idea and review question.
[Paste the approved inventory and the lab's relevant layout limits.]
Check the response against the inventory before making a page. Count the must-have IDs, look for repeated files, and confirm that “portrait” has not been interpreted as a person rather than an image orientation. A fluent description can still put the wrong image on a spread.
Build the layout with real photographs
Place the actual high-resolution files in your layout editor. Use the assistant's table as a checklist rather than recreating the photographs with image generation. Wedding documentation depends on the people and moments that were actually photographed.
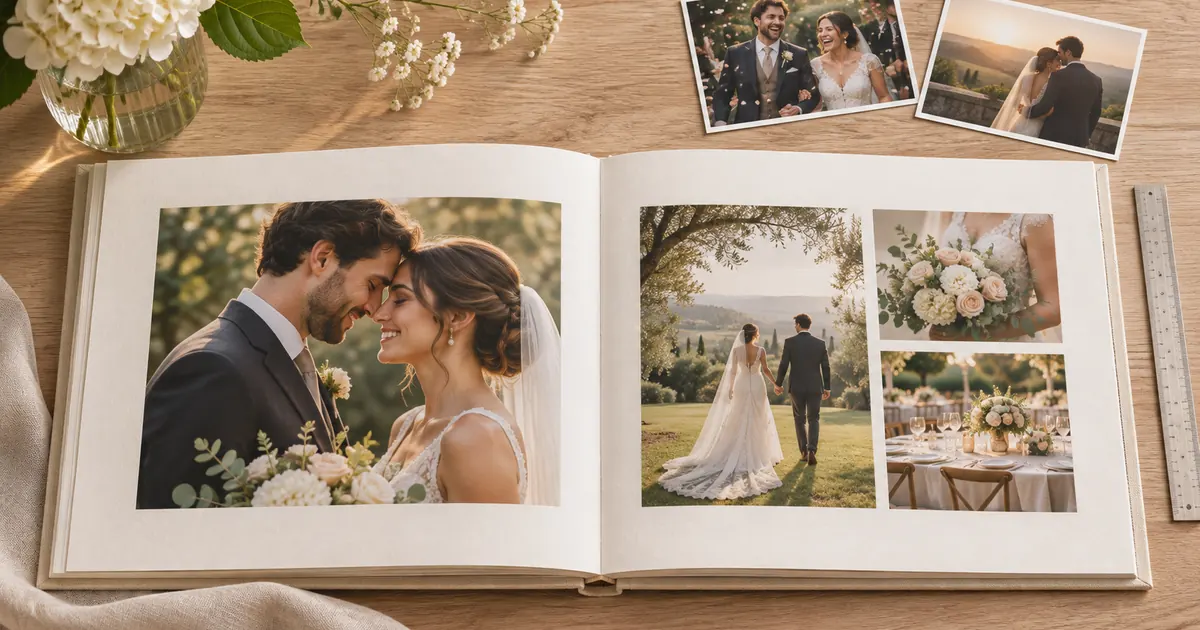
In the example, the couple portrait belongs on the left page with a generous margin. On the right, two smaller ceremony details provide context. A full-bleed treatment could also work, but it needs a different crop review. Try both using the same source files and choose by how the spread reads, not by how many photographs fit.
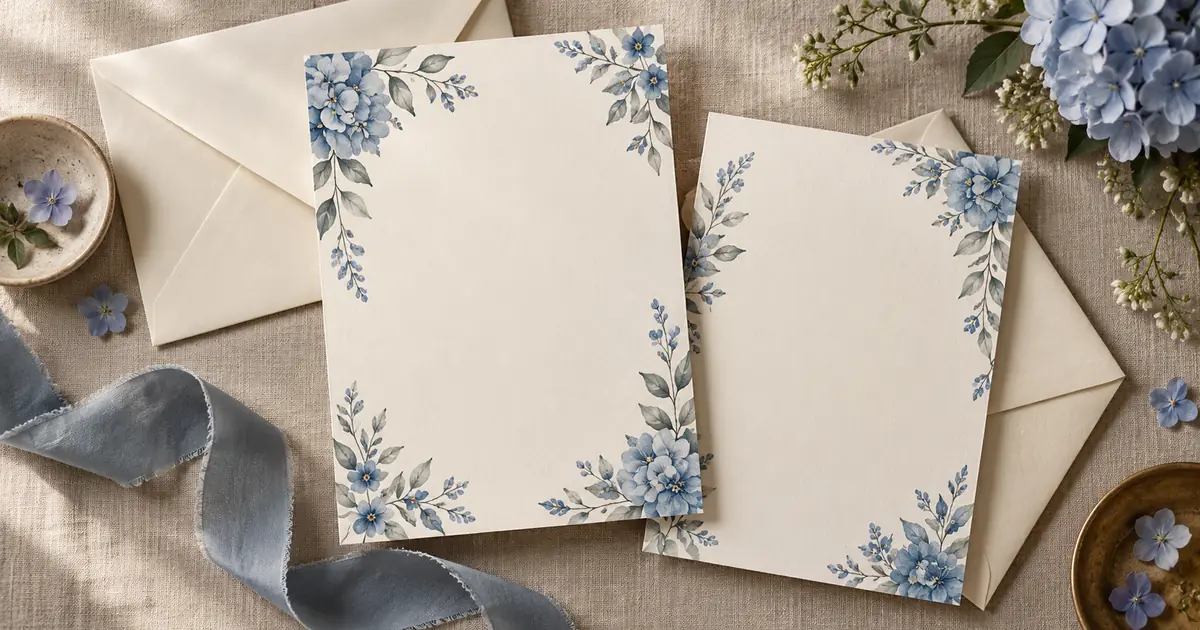
For a decorative title page, use separate artwork and editable names. The wedding invitation design workflow explains a similar separation between artwork and factual text. Keep the spelling of names, date and venue under direct human review.
Inspect the center and the outer edges
A face near the center can become uncomfortable to view even when no pixels are technically missing. Move the photograph or choose another crop. Also inspect hands, a train, important guests and any writing on signs near the trim.
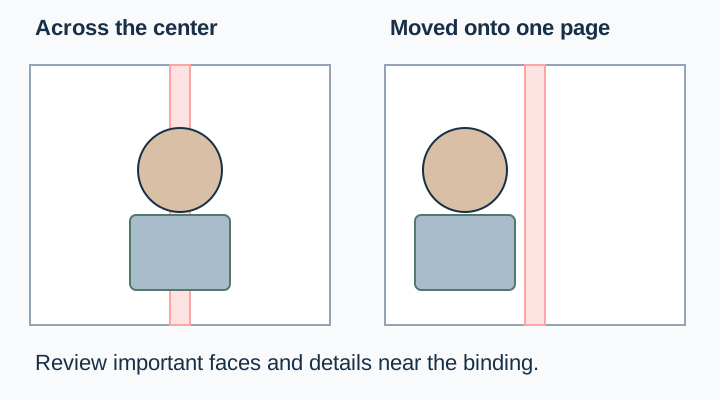
Review at two scales. Look at a small overview to judge pacing, then inspect the individual photographs for focus and resolution. A picture that looks clear as a thumbnail can become the weak point when enlarged across an entire spread. Use the lab's resolution checks and inspect its proof rather than guessing from the source filename.
Approve the cover and captions separately
The album cover prompt should belong to this same project, not start a second independent visual direction. Decide whether the cover uses a photograph, plain material or decorative artwork. Use the lab's current cover and spine template for its exact construction.
Send the couple a proof with numbered spreads and a clear revision deadline. Ask for concrete changes such as “replace A14 on spread four with A19.” Keep requested changes in a log and return a new proof after applying them. Silence in a message thread is a poor substitute for explicit approval of the final version.
Download the spread-planning worksheet below and keep it beside the layout file. Its approval column helps distinguish a promising arrangement from the version the couple actually accepted.
Use QuestStudio for the planning brief
Prompt Lab can help you organize the inventory instructions and save the approved planning prompt. If you need decorative artwork, develop it separately in Image Lab, then add names and production text in the layout editor.
The broader wedding photo prompt guide covers individual image concepts. This album workflow starts after you have selected the photographs: its deliverable is an ordered, approved set of spreads that your lab can produce.
Download the spread-planning worksheet and replace its fictional example entries with your own approved sources.
Frequently asked questions
Can ChatGPT design a print-ready wedding album?
It can help propose a sequence and layout brief. Build the actual album with your high-resolution photographs, the lab's template and a layout tool that exports the required files.
Should the cover and album layout become separate projects?
Keep them under one approved visual direction. The cover has its own production template, but its image choice, names and tone should agree with the interior.
How many photographs should I put on each spread?
There is no fixed number for every album. Choose a lead image, add supporting images that tell more of the moment and review readability at the finished size.
Is the center fold always unusable?
No. Binding and product construction differ. Follow the lab's guides and inspect important faces and details near the center in its proof.
Can I generate missing ceremony photographs?
Do not mix invented moments into a documentary album as if they were captured at the wedding. Keep creative concepts separate from the real event record.