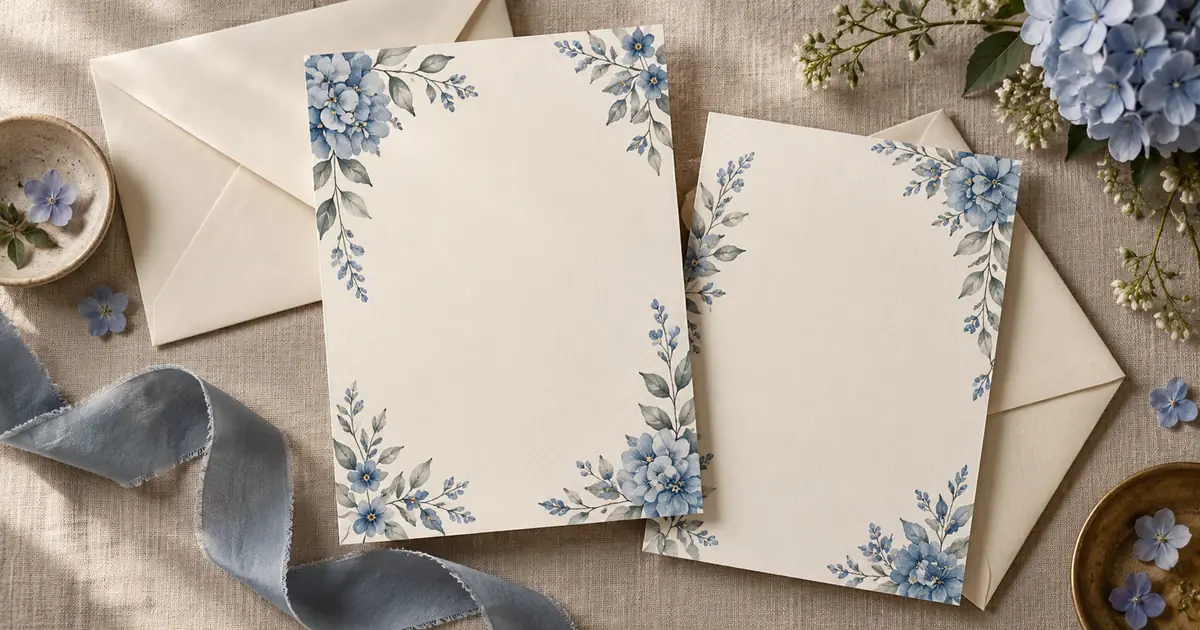

Use AI to create the illustration or decorative frame, then add the invitation wording as editable text. Before sending anything, check the event details, read the design at its real size and test the RSVP destination from the exported card.
That order prevents a common problem: approving beautiful artwork before discovering that the venue address will not fit. Guests need to know who is inviting them, what is happening, where to go and how to respond. The decoration should make those answers easier to find.
Start with the guest information
Write a plain-text version before choosing flowers, colors or fonts. Include the couple's preferred names, the event date, arrival or ceremony time, venue name and location. Decide where reception information belongs if it uses a different place or time.
Add the RSVP deadline and response method. If details live on a website, decide which essential facts still need to appear on the card. A guest should not have to scan a code to discover the ceremony date.
Use placeholders while exploring artwork. Once you have the real details, keep one approved copy document. Copying names and dates between several disconnected drafts makes late corrections harder to track. Record changes in that document before updating the layout.
Choose a format that fits the words
A portrait card, square card and phone image offer different amounts of usable space. Pick the printer and finished dimensions before refining a print layout. Check the envelope fit at the same time, especially for unusual shapes or multiple inserts.
Make a rough version with plain type. If the card is already crowded, remove optional wording, move travel details to an enclosure, or select a larger format. Shrinking every line until it fits is rarely the best answer.
For a bilingual invitation, test the complete wording in both languages. Do not assume the translated version takes the same space. Keep the hierarchy clear and ask a fluent reviewer to check names, accents and the meaning of time and location instructions.
Give the artwork a quiet center
Choose two or three visual properties that suit the celebration: a botanical border, a restrained color palette and a hand-painted texture, for example. Avoid asking for ornate decoration, a detailed venue painting, a monogram and multiple focal objects in one small card.
Try this original art brief:
Generate the flat artwork, not a photograph of a card sitting on a table. A presentation mockup may look finished while containing perspective distortion and shadows that you do not want in the print file. You can create a mockup later, after the actual invitation is approved.
Inspect botanical details for distracting repetitions or impossible shapes. More importantly, place the real copy over the result. If a flower crosses a date or makes a name difficult to read, adjust the artwork instead of making the text smaller.
Keep names and instructions editable
Use a layout editor for the wording. Limit the design to a small, coherent type selection. Decorative script can work for a short name or accent, while addresses and response instructions usually need a simpler treatment.
Here is a fictional wording skeleton, with fields to replace rather than a finished invitation:
Adapt the wording to the hosts and the event. Do not add family names, ceremonial language or reception promises that have not been agreed. A writing tool can help suggest phrasing, but the approved information document remains the authority.
The editable poster workflow explains the same art-and-type separation for larger designs. For invitations, small print size makes a careful wording pass even more valuable.
Proofread facts separately from appearance
Read only the names on one pass, only the date and time on another, and only the location and response details on a third. Check that the written weekday agrees with the calendar date. Confirm whether the time means arrival, seating or the start of the ceremony.
Then ask a reviewer who has not built the design to answer four questions from the card: What day is it? When should I arrive? Where do I go? How do I respond? If the reviewer needs an explanation, the invitation needs a revision.
Do not rely solely on a spellchecker. A correctly spelled street name can still name the wrong venue. Compare each detail with the actual event plan and venue information you approved.
Test the RSVP route from the final export
If you include a QR code, create it from the confirmed destination in a dedicated QR tool. Do not ask an image generator to paint one. Keep adequate clear space around it and avoid decorative changes that make it difficult to scan.
Print a sample at the intended size, scan it with a phone, and confirm the destination opens as a guest would see it. A link that works only while you are signed into an editor is not a usable guest link.
Include a readable short address or another practical response method for guests who cannot scan. For a digital PDF, test any clickable link after export. Test the exact file you intend to send, not only the working layout.
Prepare print and phone versions separately
Follow your printer's required trim, bleed, safe area, file type and color settings. The Paperlust print-preparation guide is a useful example of those checks, but another printer may require a different setup.
When calculating image resolution, use actual pixels at the placed size. A 5-by-7-inch image area at 300 pixels per inch needs 1,500 by 2,100 pixels, before any additional bleed. Changing a DPI label alone does not provide those pixels.
For the phone version, check the image in the messaging app where guests will receive it. Compression and a small display can make a fine script or pale text difficult to read. A simplified digital layout may communicate better than a miniature print suite.
Download the invitation proof worksheet to keep factual review, print review and link testing separate. Preserve the editable original so a changed time does not require regenerating the art.
How QuestStudio helps
Use Image Lab to create the decorative art and compare compositions with different amounts of clear space. Keep final names, dates, typography and QR codes in your layout workflow.
If you also need images for wedding-related planning or creative references, the wedding photo prompt guide serves a different visual task. The invitation itself should remain focused on the information guests need.
Frequently asked questions
Can I print an AI-generated invitation image directly?
Only after checking its exact wording, dimensions, usable resolution and printer requirements. Keeping the wording editable usually makes that review and later revisions easier.
Should the image prompt include our real names?
It does not need them when you are generating decoration. Add approved names in the layout editor, where spelling and type can be controlled directly.
Can AI create the RSVP QR code?
Use a dedicated QR generator for a confirmed link. A code-like picture is not proof of a working code. Test a sample of the final printed or exported design.
How do I know the text is large enough?
Print at the actual size and read it under ordinary light. Also ask someone unfamiliar with the design to find the date, place and response instructions without help.
Should the digital invitation match the printed card exactly?
The visual style can match while the layout changes. A phone version may need simpler decoration and larger instructions to remain readable after sharing.
Send the version a guest can use
Approve the facts, scan the response route and read the actual export before sending it. A successful invitation looks like your celebration and makes the next step clear.
Create the decorative art in Image Lab
Hero image: AI-generated editorial illustration. Examples are original planning exercises, not measured model tests.