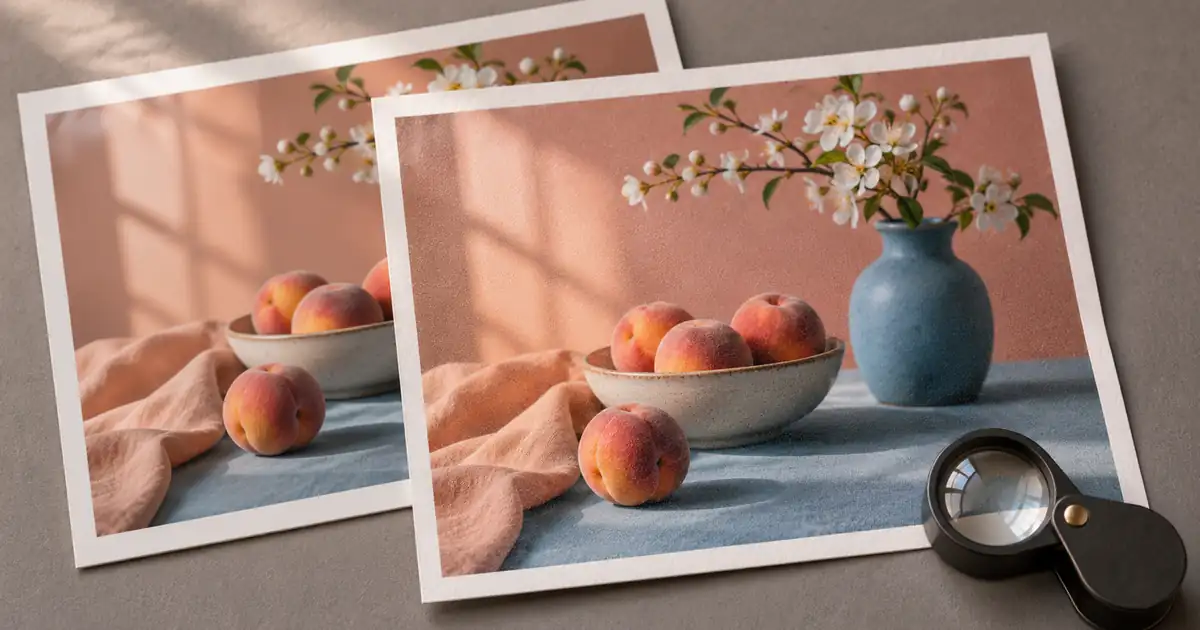

Add film grain in Photoshop as a separate Grain adjustment layer when your version offers it. Start with a low amount, look at the image at 100 percent, and compare exported copies at the size people will actually see. Keep one clean reference beside the textured version so you can judge the effect on smooth tones, skin, and small lettering.
Grain is easiest to adjust after the composition and retouching are approved. Once a version looks right at its delivery size, keep the editable grain treatment with the master. That makes a later web crop or print file easier to prepare.
Decide what the texture should do
Choose a reason for adding grain before picking settings. A soft backdrop can look too smooth beside a detailed subject. Two photographs combined into one design can have noticeably different texture. A print may need a consistent treatment across a series. Each problem suggests a different area to inspect first.
For the practice case, take a still life with a blue object, a warm background, and a simple label. The clean version has a gradual shadow and a sharp product edge. The textured version should make the backdrop feel a little less polished while leaving the label easy to read. Write that decision down so you can compare on purpose.
Keep the clean version and add an adjustable layer
Open the approved image and save a working copy. In the Layers panel, choose a new fill or adjustment layer and select Grain where available. Adjust Amount, Size, and Roughness in Properties. Adobe’s documentation identifies these controls for the non-destructive adjustment layer. Adobe’s Grain adjustment instructions.
Start with enough grain to see the texture while making the test. Bring it back until the surface reads naturally. Amount controls how strongly the effect reads, size changes the scale of the marks, and roughness shapes their irregularity. Change one control at a time and toggle the layer after each pass. Three moving controls make it difficult to tell why the result changed.
If your version does not show the Grain adjustment, use the grain controls in Camera Raw’s Effects panel where your installed workflow provides them. Keep the change reversible with a working copy or a supported Smart Object and filter workflow. Use the same final-size check regardless of which control made the texture. Adobe’s Camera Raw workspace guide.
Compare three versions at the same size
Save a clean reference, a subtle treatment, and a deliberately strong treatment. Keep the underlying exposure and color the same. Crop each version to the same region and view them at equal zoom. The strong copy is a useful boundary: it shows when texture starts to dominate small details and makes the middle option easier to judge.
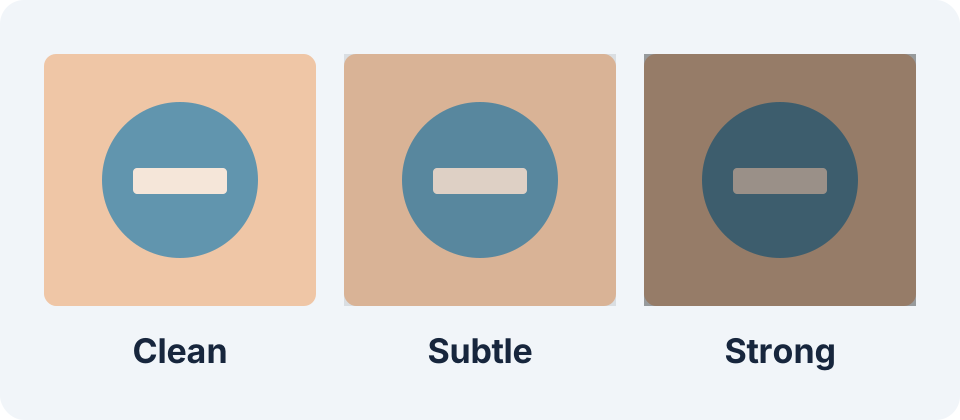
Look first at the smooth part of the backdrop. Then check the transition from light to shadow, the edge of the subject, and any small lettering. If the texture appears harsh only on the darkest surface, reduce the amount or mask the affected zone. Give the reviewer a clean reference so they can tell whether the grain created a problem or merely revealed an existing rough edge.
At final display size, look for another failure. Fine grain may disappear after resizing, while coarse grain can look like isolated flecks. Resize a copy to the actual destination dimensions and export it with the intended settings. Compare the exported files rather than using Photoshop zoom as the entire test.
Protect areas the viewer needs to read
A product label, thin caption, or delicate face detail needs a different level of texture from an empty background. On an adjustment layer, use its mask to reduce the effect locally. Start with a soft change and toggle the mask to make sure it does not create an abrupt patch. Keep a consistent visual logic across nearby surfaces.
Look at several subject edges. A mask that perfectly protects one letter can leave a conspicuous clean rectangle around the label. Soften the transition or reduce the grain on the whole label region. If the design needs an exceptionally sharp logo, keep that graphic on a separate layer and compare the clean logo against the textured image.
Choose export settings with the destination in mind
Random-looking texture can be harder for a lossy encoder to represent efficiently. Compare a clean file and a textured file at the same dimensions and export settings. Record the resulting sizes. Check both visually before treating a larger file as proof of better texture. At strong compression, the pattern can become blocky even when the source layer looks good.
If you are delivering a small image for a product grid, prioritize clear shapes and labels. If you are preparing a larger campaign asset, inspect the print or display proof at its intended viewing distance. Keep separate outputs where the destinations need different treatments. Store the settings in the grain comparison sheet so you can repeat them across the next images.
Use the layered Photoshop workflow if you need to set up an editable master. For a composite that also needs lighting repair, start with the product composite guide and add texture after the lighting works.
Frequently asked questions
Where is the Grain adjustment layer?
Look under the new fill or adjustment layer menu in the Layers panel. In a version without that layer, check the Effects panel in Camera Raw for grain controls.
What is a good amount of grain?
Start with a subtle treatment and compare it with a clean reference at the final size. Choose the version that supports the subject while keeping details readable.
Why does grain disappear in the exported image?
Resizing and compression can reduce fine texture. Inspect the actual export and adjust the grain scale or delivery settings on a working copy.
How do I avoid making text look dirty?
Reduce the adjustment around the text with a soft mask or keep the lettering above the textured image in its own layer.
Should I bake grain into the original photo?
Keep a clean original and save the treatment in an editable working document. Export separate delivery versions when their size or use calls for a different texture.
Prepare the clean base image
Create a clean composition in Image Lab and bring the approved image into your editor for grain and export checks.