
A sneaker can stay recognizable in the opening frame and become a different shoe when it lifts off the floor. The sole thickens, the logo stretches or the toe passes through the surface. For a first AI sneaker product video, choose a short shot with a clear view of the real shoe and a motion you can inspect.
Keep the actual upper, sole profile, laces and visible marks as references. Start with a planted shoe and a restrained camera move. Review the contact point and the product through the full clip before adding more ambitious movement or a model wearing it.
Use the sneaker frame review sheet with Video Lab.
Choose a shot that answers one product question
A side profile can show the upper and sole silhouette. A detail can show stitching or a visible texture. A worn walking shot introduces fit, body movement and contact changes. Decide which question the first clip needs to answer instead of combining all of them in one generation.
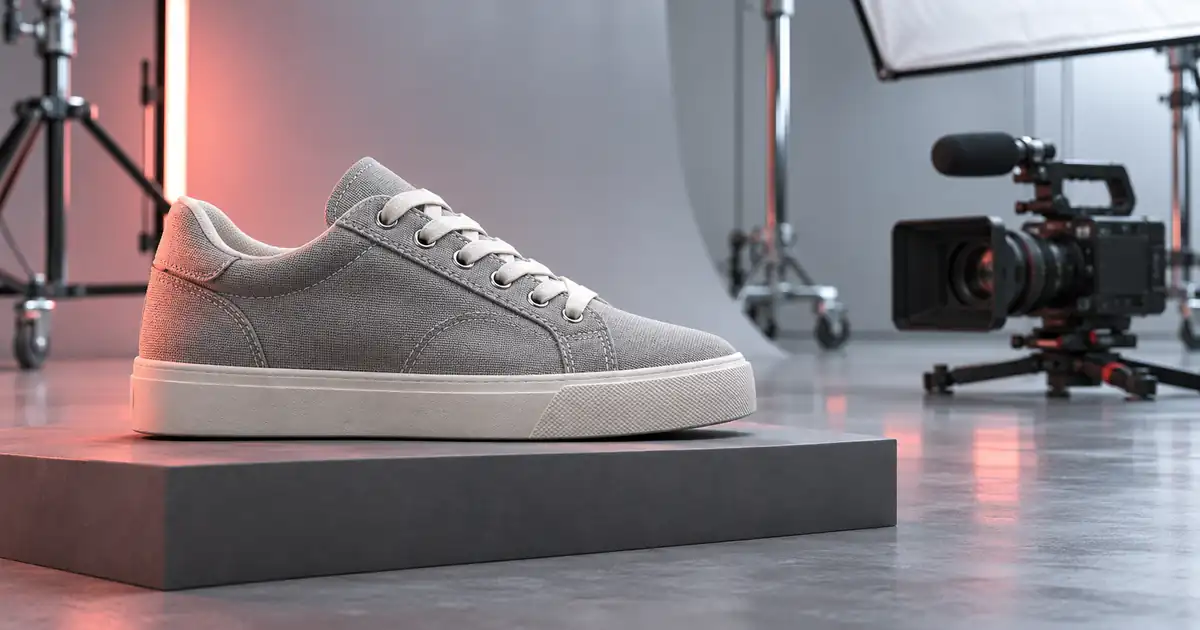
Our fictional example is a side-view studio reveal of one low-top shoe. The shoe stays on a matte platform while the camera moves slightly. This provides a useful product shot without asking the system to invent a hidden outsole or a full walking cycle.
Prepare the shoe before preparing the motion
Capture the actual shoe from the intended starting angle. Keep additional photographs of the outsole, heel and marks for inspection. If the shoe is sold as a pair, decide whether this shot shows one shoe or both. An extra shoe introduced by a generation can alter the composition and complicate identity checks.
Record the visible lace arrangement, number of obvious eyelets, sole contour and color blocks. Do not convert an indistinct source into invented precision. If a small mark matters but is unreadable, improve the source photograph before animating it.
Write a small motion brief
Begin with the accepted still and describe only the intended camera movement and environmental change. Keep the shoe's pose fixed for the first test. A brief that asks for spinning, floating, landing, lacing and walking gives several mechanisms a chance to fail at once.
Use the supplied sneaker image as the starting reference. Keep the shoe planted on the platform in the same pose. Make a restrained lateral camera move. Preserve the upper shape, visible logo, lace arrangement, color blocks and sole profile. Keep the contact shadow connected to the sole. Do not rotate the shoe, invent outsole details or add a second shoe.
These are acceptance criteria, not a promise of perfect preservation. Watch the output from beginning to end at normal speed. Then examine the areas where motion or perspective makes the product hardest to recognize.
Review the sole against the surface
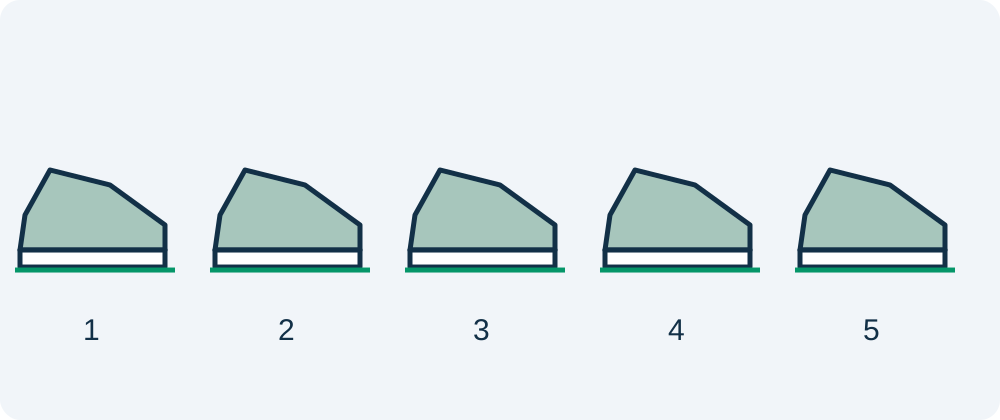
Mark the opening, first visible movement, midpoint, last movement and final frame. At each moment, inspect the toe, heel and contact shadow. Does the sole stay above the platform? Does the shadow remain related to the shoe? Does the shoe slide even though the brief describes a planted pose?
Check the frames between those marks. A five-frame sheet organizes the review, but it cannot prove that the entire clip is correct. A brief geometry change can appear between otherwise acceptable frames. Scrub slowly around the moment when the camera changes perspective most.
Then compare the product details. A stable contact point does not excuse a changing logo or a shrinking heel tab. Record each defect by time and region, such as “heel outline changes at 1.8 seconds.” That gives the next revision a concrete target.
Handle worn movement as a separate production problem
If the campaign requires a person wearing the shoe, use appropriate real references and review foot placement, ankle transitions and the relationship between the shoe and ground. A generated walking scene cannot establish real fit, cushioning or athletic performance.
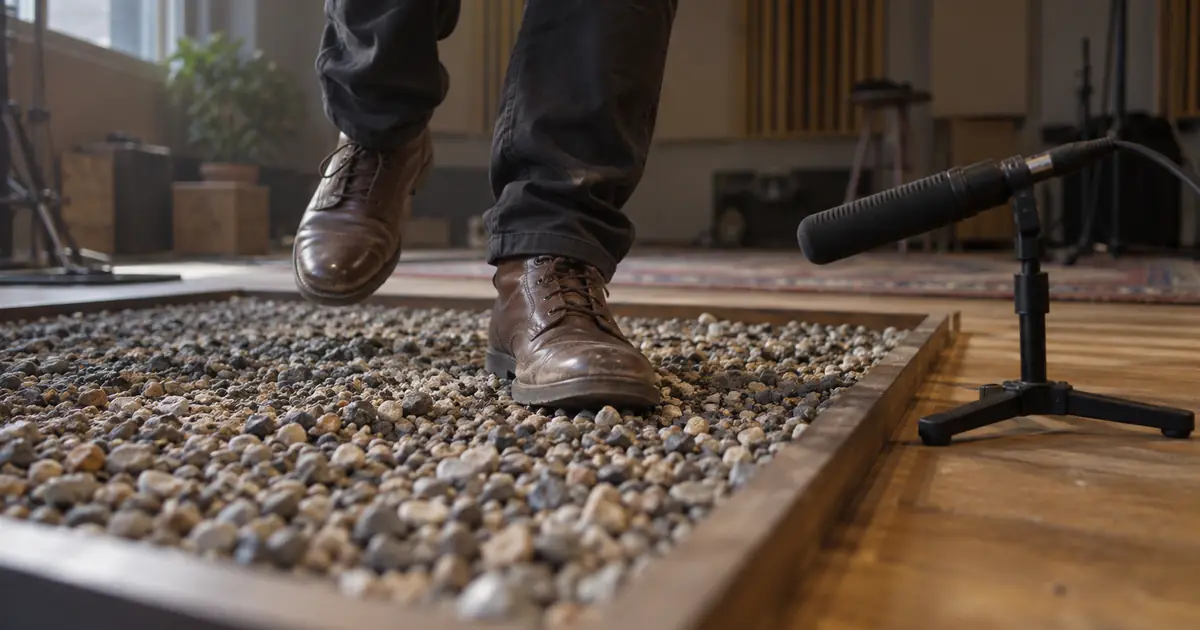
For sound, wait until the picture timing is accepted. The footstep synchronization guide explains how to mark actual contacts. Do not add convincing impacts to conceal a shoe that visibly slides through the floor.
Repair a short section before expanding the scene
If the shoe is correct at the start but drifts later, choose a shorter usable section only when it has a natural beginning and ending. Do not cut away from an error in a way that creates a misleading product demonstration. Keep the rejected output outside the approved asset folder.
When geometry changes throughout the clip, reduce the camera motion or return to a stronger source. If the hidden side is essential, photograph it. More elaborate language cannot reliably establish an unseen outsole pattern.
The general product video guide covers the broader truth pack and editing process. This shoe-specific pass adds the sole, lace and ground-contact checks needed before that clip joins a longer advertisement.
Build the final ad from accepted modules
Combine a clean product reveal, a verified detail and an appropriate end card rather than expecting one long generation to cover every message. Keep specifications and offer text in editable layout elements. That makes changes easier to review and avoids relying on generated lettering.
Play the final exported file with its actual crop and soundtrack. A vertical crop can remove the heel contact you checked in a wider master. An editor's speed change can also make a subtle slide more obvious. Approval belongs to the delivered version, not only to the source clip.
How QuestStudio helps
Use Video Lab to test a restrained image-to-video shot from an approved sneaker image. Keep the first candidate short and inspectable. Once the visual module passes, continue in Product Ads with the approved product message and offer.
Retain the source image, motion brief and time-coded review beside the accepted clip. The next version should begin from that record, with one clearly stated change. This makes a second colorway or campaign crop easier to evaluate without assuming the first review covers every derivative.
Frequently asked questions
What is a useful first sneaker video shot?
A planted side view with a restrained camera move is easier to inspect than a floating spin or full walking cycle. It can show the upper and sole silhouette without inventing hidden surfaces.
Are five review frames enough?
No. Use them to organize the review, then watch and scrub the full clip. A brief identity change can occur between the marked moments.
Can a generated running scene demonstrate cushioning?
No. A visual concept cannot establish cushioning, fit or athletic performance. Those claims require appropriate real product evidence.
Should I add footsteps before the picture is approved?
Wait until the visual timing is stable. Then place sounds against the actual contacts and review the combined export.
What if the model invents the outsole?
Use a real outsole reference for a shot that needs to show it. Otherwise choose a view that keeps unverified surfaces outside the frame.
Try one reviewed production step
Bring the approved source and the smallest useful brief to Video Lab. Compare the result with your reference before expanding the project.