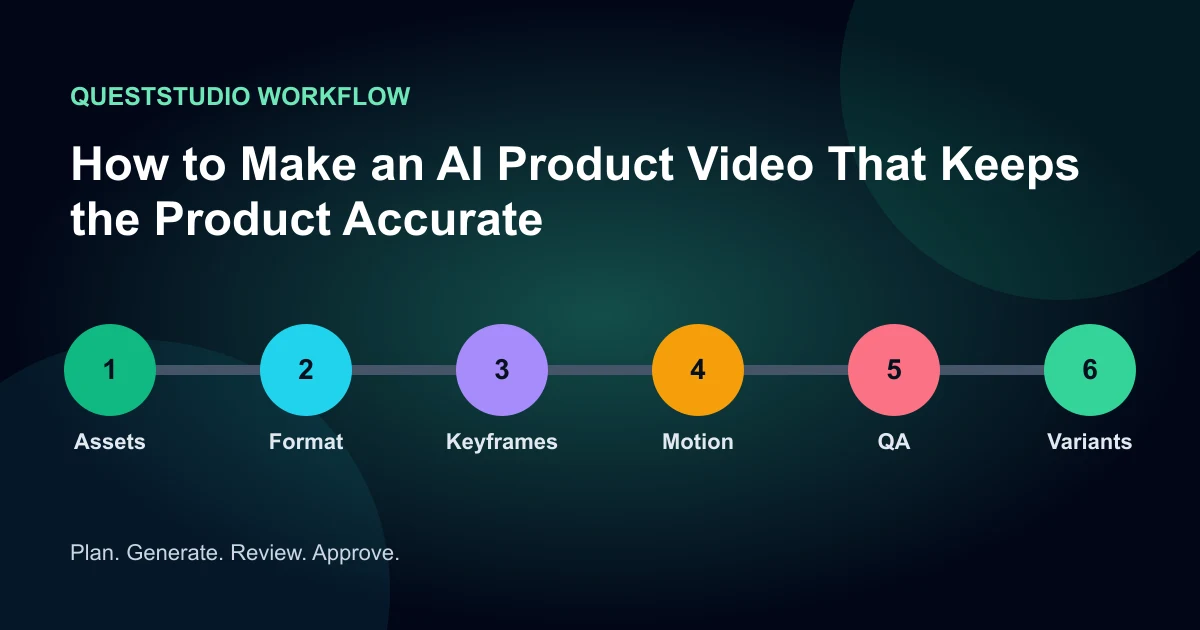

To make an AI product video, begin with accurate product references, choose a video format with one clear job, design safe keyframes, animate restrained motion, and review the result frame by frame. The goal is not the most dramatic generation. It is a clip that a product owner would approve and a viewer can understand.
AI product video can work well for hero shots, social ads, mood scenes, feature callouts, and product-photo animation. It is less reliable when the model must invent hidden packaging, render small label copy during rotation, or demonstrate a precise mechanism it has never seen.
1. Prepare a product truth pack
Collect approved front, back, side, top, and three-quarter photos when available. Add transparent logo files, exact brand colors, packaging copy, dimensions, material notes, and a list of details that must not change. Photograph glossy or transparent products under controlled light so edges are clear.
Separate factual assets from inspiration. A mood board may suggest a warm kitchen or dramatic studio, but it must not override the product's shape, cap, ports, ingredients, interface, or claims.
2. Pick the product video's job
A hero video builds desire with one premium shot. A demonstration explains a mechanism. A social ad needs a hook, proof, and action. A marketplace clip prioritizes clarity and accuracy. A faceless UGC clip places the product in a natural point-of-view routine.
| Format | Best input | Main risk |
|---|---|---|
| Hero shot | Clean product still | Logo or shape drift |
| Demo | Real process footage | Invented behavior |
| Social ad | Several modular shots | Weak proof |
| Faceless UGC | POV reference images | Hands and contact |
Do not force one ten-second generation to perform all four jobs.
3. Choose a safe camera move
A locked shot, slow push-in, shallow lateral slide, or small turntable rotation usually preserves more geometry than a full orbit or fast handheld move. Match motion to the available references. If you only have the front of a package, do not reveal its back.
Ask what new information the camera would expose. Every unseen surface gives the model permission to invent. Restrained motion can look more premium because the viewer has time to read form, texture, and light.
4. Build the start frame
Create the intended composition as a still. Place the product at the correct scale, leave text-safe space, and settle the lighting and background before video generation. Use the approved product image directly when possible. If image-to-image generation redraws the package, reduce transformation or composite the product into the designed scene.
Inspect at full size. Check corners, cap or lid, label baseline, logo, small text, material seams, reflections, and shadows. A defect in the keyframe usually grows during motion.
5. Write a preservation-first motion prompt
Describe what moves and what must remain unchanged. Keep the subject action and camera move separate. Avoid style words that imply redesign.
Generate a short low-cost test first. If the result fails, change one variable: motion amplitude, camera move, duration, preservation instruction, or source frame. Do not change them all together.
6. Review every frame that matters
Scrub the clip and pause at the beginning, midpoint, end, and moments of fastest motion. Compare against approved photos. Look for label swimming, logo deformation, cap changes, shifting dimensions, inconsistent reflections, contact errors, added ingredients, and background geometry that bends.
Score identity, geometry, text, motion, lighting, background, and edit usefulness from one to five. Require a minimum score before upscaling. Record generation cost and human repair time. This reveals cost per approved clip, which is more useful than cost per generation.
7. Build the edit from approved modules
Use separate clips for hook, reveal, detail, proof, context, offer, and action. Add exact label copy, prices, disclaimers, and calls to action as editable overlays. Real footage is often the best source for precise mechanism demonstrations, while generated clips can carry atmosphere and transitions.
For vertical ads, keep the product away from interface overlays and captions. Test the export on a phone. Product text that is technically present but unreadable does not pass.
8. Create variants without losing the test
Lock the approved product shots and change one commercial variable at a time. Test hooks, opening image, voice style, benefit order, offer framing, or call to action separately. Preserve the body of the edit so performance differences are interpretable.
Name files with concept, hook, aspect ratio, duration, and version. Archive the source prompt, model, settings, references, and approved export. A repeatable product-video system should make the second campaign easier than the first.
Common product-video failures
The label mutates
Reduce motion, avoid rotations, use the approved product as a composite, and add critical copy as an edit layer.
The product floats
Use a clearer contact surface, stable shadow, locked camera, and explicit instruction to keep the product stationary.
Hands merge with packaging
Use simpler interactions, stronger hand and product references, shorter contact moments, or real footage for the handoff.
The video is beautiful but cannot sell
Add a visible problem, proof point, offer, and action. A hero shot is not automatically an ad.
How to Make an AI Product Video That Keeps the Product Accurate workflow diagram
How QuestStudio helps
Start in Product Ad Studio when you need campaign angles and a prepared handoff. Use Image Lab for controlled stills, the image-to-video consistency checker to review source readiness, and Video Lab to compare motion models with the same prompt.
Keep the brief and approved references fixed while comparing models. The objective is a repeatable process and a useful final asset, not model switching for its own sake.
Final approval scorecard
- Accuracy: facts, identity, products, and claims match approved sources.
- Continuity: recurring visual and audio elements remain recognizable.
- Communication: the main idea is clear on the first watch.
- Craft: motion, timing, audio, captions, and composition feel intentional.
- Rights and disclosure: permissions, licenses, endorsements, and platform labels are documented.
- Usefulness: the export fits the channel, aspect ratio, safe zones, and intended action.
Approve against a written threshold. “Looks good” is difficult to repeat, while a scorecard creates a record of what passed and why.
Frequently asked questions
Can I make a product video from one photo?
Yes, if the motion does not reveal much unseen geometry. A push-in or small slide is safer than a full orbit.
How do I stop labels from changing?
Anchor to approved photography, restrain motion, avoid generated rotations, and composite exact label text during editing.
Which AI video model is best for products?
Test the same source and prompt across suitable models. Choose by approved output, geometry, text stability, retries, and repair time.
Should I use text-to-video or image-to-video?
Image-to-video is usually better when product identity matters because the source frame provides a visual anchor.
How long should a product video be?
Match the format and channel. A hero loop can be brief, a social ad often fits 10 to 30 seconds, and a demonstration may need longer.
Start with one controlled project
Choose one real deliverable, lock the source material, and change one variable per test. Save the inputs and the approved result so the next version starts from evidence rather than memory.
Open Product Ad Studio when you are ready to build the workflow, or review QuestStudio plans after the process proves useful.