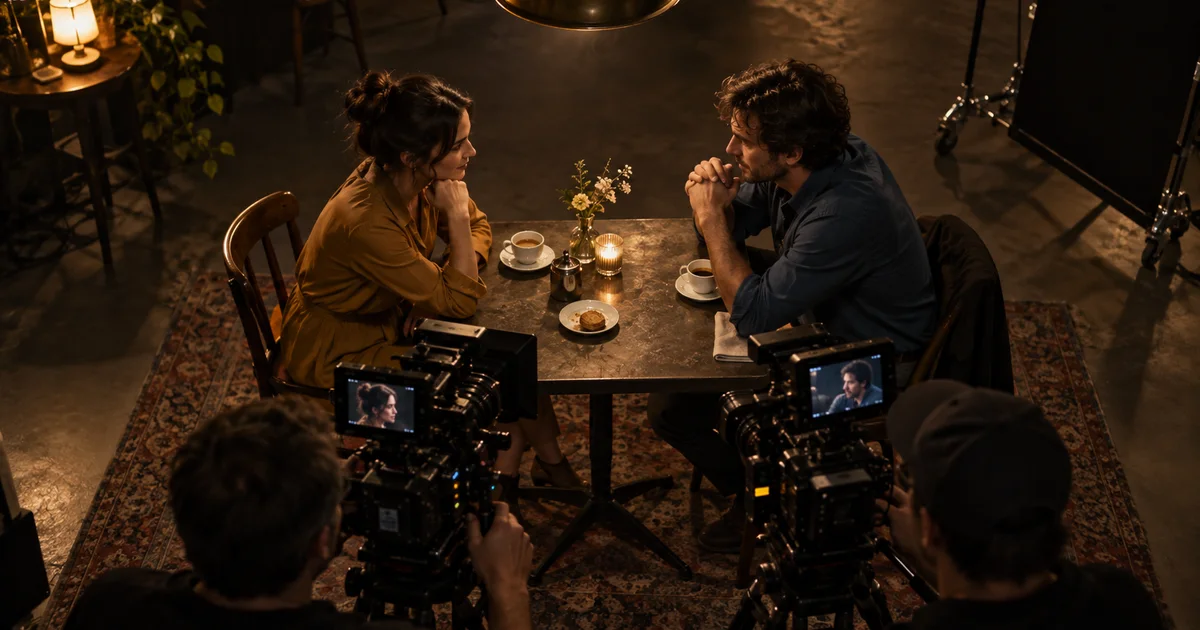

Two generated shots can look convincing separately and confusing together. One character looks right, the reverse angle also looks right, and the audience feels that both people are facing the same direction. The AI video 180-degree rule is a way to plan the scene before those contradictory clips exist.
Download the scene-axis continuity sheet · Build the establishing frame
Sources checked September 16, 2026. The café scene, diagram, and shot plan are original teaching materials. The hero is an AI-generated illustration, not a continuity test result.
Separate the action line from camera angle
The action line is an imaginary line connecting the two subjects or following a dominant direction of movement. In a conversation, you normally position the cameras within one half of the space divided by that line. This preserves the relationship between the characters across cuts.
Vimeo’s 180-degree rule explanation provides the filmmaking foundation. The rule concerns the camera’s position relative to the scene, not a requirement that every lens point in the same direction. Two cameras can face opposite subjects while remaining on the same side of the line.
Generated video makes this planning more important because each clip may reconstruct the room independently. A consistent color palette does not guarantee consistent geography. Treat the room, character positions, and camera positions as separate things that need to agree.
Draw a café scene with fixed anchors
Place Ada on the west side of a table and Ben on the east. A window occupies the north wall. Keep the planned cameras south of the line joining the two people. In the establishing shot, Ada appears frame left and Ben frame right.
Ada owns a red notebook, placed near her elbow. Ben holds a cup with his left hand. These small details make continuity easier to judge: the notebook cannot migrate across the table simply because the next image looks attractive.

Write anatomical details separately from screen position. “Ben’s left hand” identifies a body part; “the hand on the left side of the image” identifies a location in the picture. Confusing the two makes a reference brief impossible to follow consistently.
Approve one establishing frame before the reverses
Create a wide frame that clearly establishes Ada, Ben, the table, and the window. Use Image Lab to explore that composition if helpful. This frame is your proposed scene reference, not proof that another model will preserve its geometry.
Reject it if the characters sit ambiguously, the notebook is hidden, or the window cannot be placed in the room. A beautiful close-up cannot answer those spatial questions. Approve a straightforward wide view before requesting more expressive coverage.
Keep a clean copy with handwritten or editorial labels outside the delivered image. Mark Ada, Ben, north wall, notebook, and cup hand. Reuse the approved visual reference where the chosen generator supports it, and carry the written scene facts into every shot brief.
Write shot briefs that describe visible relationships
Build only three shots at first: establishing wide, Ada speaking, and Ben reacting. Avoid adding a camera orbit while testing basic continuity. An orbit changes camera position over time and can cross the line even when its first frame begins correctly.
| Shot | Visible relationship | Continuity anchor |
|---|---|---|
| Wide | Ada left, Ben right | Window behind the table |
| Ada medium | Ada looks toward frame right | Red notebook stays beside Ada |
| Ben medium | Ben looks toward frame left | Cup remains in Ben’s left hand |
For Ben’s reverse, change the named subject and the intended gaze, not the whole room description. Specify the stable cup hand and a restrained listening action. The prompt expresses the intended shot; inspect the output before approving it.
Review the cut instead of trusting the thumbnail
Place the three shots in order with a temporary dialogue track. Watch at normal speed. Can you immediately tell who is talking to whom? Does the reverse feel like the other side of the conversation, or like a new person in a different room?
Next, compare the first and last frames of each clip. A character can start looking toward the correct partner and finish looking somewhere else. Check the actual cut points: the frame before a cut and the frame after it determine how the viewer interprets the transition.
Finally, inspect background landmarks and props. The window may remain bright while moving to the wrong wall. The cup may look identical while switching hands. These are spatial errors even if the face and lighting are consistent.
Repair the smallest broken relationship
If one reverse is wrong, keep the approved wide and the successful close-up. Revise the failed angle with a more explicit reference and simpler motion. Regenerating the entire sequence creates opportunities to lose continuity you already solved.
Horizontally flipping a shot can repair gaze direction, but inspect the consequences before using it. It also flips text, clothing asymmetry, handed actions, and the room. A mirrored notebook title or a suddenly left-handed gesture may be more distracting than the original eyeline problem.
If several relationships fail, return to the establishing frame. The source geography may be too ambiguous. Tightening the crop sometimes hides the contradiction, but it also removes useful context; make that an intentional editing decision rather than an automatic rescue.
Cross the line only when the viewer can follow
Filmmakers can cross the axis deliberately. A continuous visible camera move, a clearly motivated character repositioning, or a new establishing view can introduce a new spatial relationship. The essential question is whether the audience understands how the scene changed.
For generated clips, a new establishing shot is often easier to verify than a complex moving transition. Show the new positions, approve them, then plan the following angles from that updated map. Do not alternate between the old and new maps accidentally.
Hailuo’s over-the-shoulder workflow is useful for reference-based dialogue planning. For the performance inside those frames, use our reaction-shot exercise. For visual direction beyond continuity, see cinematic video prompts.
Frequently asked questions
Does the 180-degree rule mean the camera cannot move?
No. The camera can move while remaining on the chosen side of the action line. Check its position throughout the move, not just at the start.
Can I fix a bad reverse by mirroring it?
Sometimes, but mirroring also reverses text, props, handedness, and background geography. Inspect all of those before accepting the repair.
Does a reference image guarantee continuity?
No. It communicates the intended scene. Compare the actual generated frames and cut points to the reference.
What should I create first in QuestStudio?
Start with an establishing image that clearly shows the characters and their positions. Approve that scene map before developing the individual video shots.