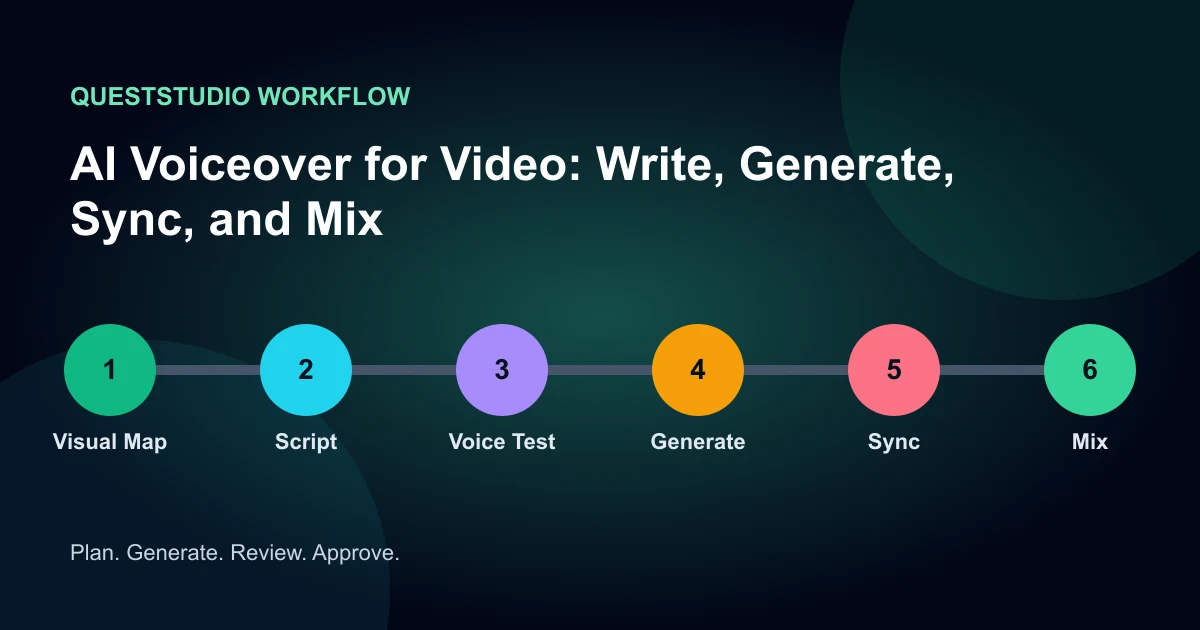

An effective AI voiceover for video starts with the pictures and the listener's task. Map the visual beats, write one spoken idea per beat, test several voices with the same short script, generate in editable sections, sync emphasis to picture changes, and mix the narration above music without crushing its dynamics.
The fastest workflow is not pasting an article into text to speech. Written prose is dense, while speech needs shorter syntax, repetition, breath, and clear emphasis. A natural voice model cannot make a page-shaped script sound conversational.
1. Decide what the voiceover must do
Narration can explain, persuade, guide, characterize, or connect scenes. Choose one primary job. A product ad voice leads to a decision. A tutorial voice reduces confusion. A documentary voice supplies context. A short social voice creates momentum.
Write the audience, format, duration, destination, action, tone, and words that require exact pronunciation. Note whether viewers can understand the video without sound and whether the narration must describe essential visual information.
2. Map the visual beats first
List each shot or screen change with its start time, end time, and purpose. Give every beat a maximum spoken duration. This prevents a five-second product shot from receiving twelve seconds of explanation.
For a software demonstration, use the screen-recording narration workflow to align each spoken instruction with the visible control, click, and resulting screen state.
| Visual beat | Voice job | Writing choice |
|---|---|---|
| Hook | Create a question | Short, concrete line |
| Demo | Explain what changed | Name visible action |
| Proof | Clarify significance | Specific support |
| CTA | Give one next step | Direct verb |
If the image already communicates a detail, the voice does not need to repeat it word for word. Use narration to add meaning.
3. Write for the ear
Use shorter sentences, familiar words, active verbs, and intentional repetition. Put the important word near the end of a sentence when you want it to land. Replace parentheses with separate lines. Read every draft aloud before generation.
Estimate duration by speaking naturally, not by relying only on word count. Product names, numbers, acronyms, and emotional pauses change timing.
4. Choose a voice by role, not novelty
Define perceived age range, energy, warmth, authority, pace, accent, and emotional range. Test three contrasting voices with the same 15-second script. Do not change the copy during this comparison.
Score clarity, fit, pronunciation, expressiveness, consistency, and fatigue. A dramatic voice may win a short sample but become tiring over a long tutorial. A neutral voice may be clear but fail to support a playful brand. Keep the audience and message primary.
5. Build a pronunciation and direction sheet
List names, brands, abbreviations, technical terms, numbers, dates, and foreign words. Record phonetic spellings or approved audio examples. Add direction for pauses, emphasis, pace, emotion, and words that should not be stressed.
Generate difficult lines first. If the system cannot pronounce the product name consistently, solve that before rendering the full script. Rewrite punctuation or sentence structure rather than stacking vague emotional adjectives.
6. Generate in editable sections
Create one paragraph, scene, or visual beat per file. Keep voice, settings, and direction stable. This makes revisions surgical when a claim changes or a shot becomes shorter. Leave a little clean room at the beginning and end of every section.
Before handing the sections to an editor, follow the voiceover file delivery checklist for filenames, revisions, timing notes, and a manifest that identifies the approved take.
Listen for clipped consonants, strange breaths, repeated cadence, unstable volume, overpronounced punctuation, and emotion that resets between clips. Compare the generated line with the script and keep version names that identify voice, take, and section.
7. Sync meaning and emphasis to the picture
Place markers at sentence starts, emphasized words, and visual changes. Move or trim the visuals so the viewer sees the thing being named when the word arrives. Avoid making the voice race to catch an edit that can simply hold half a second longer.
If lip sync is required, use shorter phrases and review consonants at close range. For off-screen narration, prioritize comprehension and rhythm. Small pauses can make an AI voice feel more intentional than continuous speech.
8. Mix for intelligibility
Keep narration on its own track. Reduce music under speech with volume automation and leave space in the frequency range where the voice carries clarity. Use gentle equalization and compression only when needed. Heavy processing can exaggerate synthetic artifacts.
Listen on headphones, laptop speakers, and a phone. Then play the audio without watching. The narration should remain understandable, paced, and complete. Finally, watch muted to confirm captions and visuals still communicate the essential message.
9. Handle consent and disclosure
Use voices you are licensed or authorized to use. Get explicit permission before cloning another person's voice, document scope and duration, and make revocation and reuse expectations clear. Do not create an endorsement or statement the person did not make.
YouTube requires disclosure for certain realistic, meaningfully altered or synthetic content and distinguishes cloning your own voice from cloning someone else's voice in its examples. Check the current YouTube disclosure guidance and the rules of every platform where you publish.
Common AI voiceover problems
It sounds like a list
Vary sentence length, connect related thoughts, and give the voice a reason to emphasize each line.
It is always too fast
Remove copy, split clauses, insert meaningful pauses, or extend the shot. Speed is not a substitute for editing.
Names change pronunciation
Use a shared pronunciation sheet and generate the difficult line before the rest of the scene.
The music masks the voice
Automate the music lower under narration and choose an arrangement that leaves space for speech.
AI Voiceover for Video: Write, Generate, Sync, and Mix workflow diagram
How QuestStudio helps
Use Voice Lab to test narration, Prompt Lab to store script and pronunciation templates, and Video Lab for the visual stage. For advertising, Product Ad Studio can prepare the hook, proof, offer, and call to action before the voice is generated.
Keep the brief and approved references fixed while comparing models. The objective is a repeatable process and a useful final asset, not model switching for its own sake.
Final approval scorecard
- Accuracy: facts, identity, products, and claims match approved sources.
- Continuity: recurring visual and audio elements remain recognizable.
- Communication: the main idea is clear on the first watch.
- Craft: motion, timing, audio, captions, and composition feel intentional.
- Rights and disclosure: permissions, licenses, endorsements, and platform labels are documented.
- Usefulness: the export fits the channel, aspect ratio, safe zones, and intended action.
Approve against a written threshold. “Looks good” is difficult to repeat, while a scorecard creates a record of what passed and why.
Once the narration is approved, use the align an approved script to the final audio guide. It includes an original exercise and a worksheet for reviewing the result.
Frequently asked questions
How do I make an AI voiceover sound natural?
Write short spoken sentences, direct pauses and emphasis, generate in sections, and judge the voice inside the finished edit.
Can I clone my own voice?
Many services support authorized self-cloning. Review the service terms, protect the voice model, and keep records of where it may be used.
How do I sync AI voiceover to video?
Map lines to visual beats, place timeline markers on key words, and adjust both the audio sections and shot lengths.
Should I generate one long audio file?
Short sections are easier to revise, pronounce, time, and mix consistently.
Do AI voiceovers need disclosure?
It depends on the content and platform. Realistic synthetic speech, especially another person’s cloned voice, may trigger labeling or other rules.
Start with one controlled project
Choose one real deliverable, lock the source material, and change one variable per test. Save the inputs and the approved result so the next version starts from evidence rather than memory.
Open Voice Lab when you are ready to build the workflow, or review QuestStudio plans after the process proves useful.
Related guides
When narration needs supporting effects that fit the picture, learn to build separate Foley layers with ElevenLabs Sound Effects.
For a fixed delivery length, use the voiceover timing worksheet to subtract visual holds, measure the real take, and choose between script cuts and tempo changes.
Once the narration and edit are approved, choose among AI video caption generators in 2026 and check both the words and the exported timing.