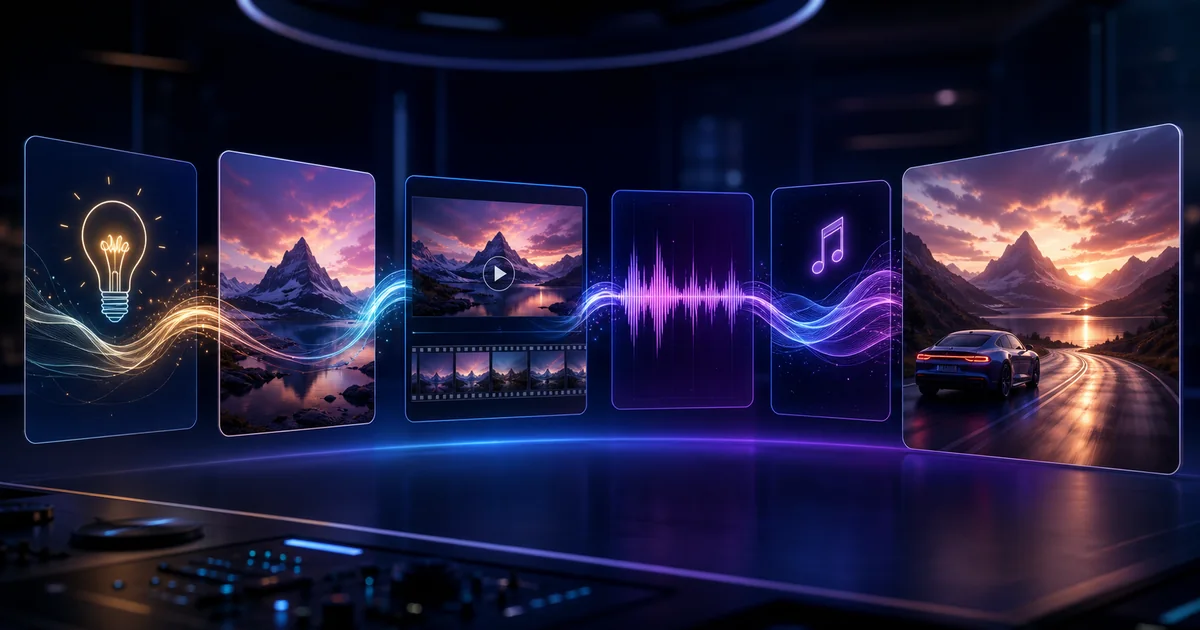

To chain AI image, video, voice, and music models, treat each output as an approved input for the next stage. The prompt defines the project, the image locks visual direction, video adds motion, voice communicates the message, music supports pacing, and a final review catches drift before publishing.
The goal is not to use the most models. It is to prevent each tool from reinventing decisions that were already approved.
Practical rule
Test one controlled variable, approve the useful result, and preserve that decision in the next stage.
The Complete Multi-Model Pipeline
Each arrow is a handoff. Store the source file, prompt, model, settings, version, and approval status at every handoff. If a later stage fails, return to the last approved asset instead of restarting the entire project.
Stage 1: Create a Production Brief
Audience: [specific viewer]
Message: [one main idea]
Visual constants: [product, character, palette, setting]
Audio constants: [voice identity, pronunciation, music direction]
Format: [channel, aspect ratio, duration]
Evidence: [approved claims and source assets]
Restrictions: [rights, prohibited changes, disclosure]
Keep facts and constraints outside model-generated text. The system can develop creative variations, but approved claims, prices, identities, and product details come from the project owner.
Stage 2: Generate and Approve Image Keyframes
Create several visual directions quickly, then approve one before animation. Lock character identity, product packaging, composition, palette, and negative space.
- Use reference images wherever appearance matters.
- Generate aspect ratios for the actual delivery channel.
- Keep the subject separated from elements that should move.
- Avoid tiny generated text that must remain accurate in video.
- Save the final image prompt and negative constraints.
The Nano Banana 2 Lite workflow demonstrates fast drafting followed by a stronger final pass.
Stage 3: Turn Approved Frames Into Video
Animate one shot at a time. Tell the model which subject action, camera movement, and environmental motion to create, then preserve everything else.
Track accepted outputs using the cost-per-usable-clip framework.
Stage 4: Create Voice That Fits the Edit
Write for the available seconds, then generate in short reviewable segments. Maintain pronunciation notes for names, brands, and technical terms.
- Match the voice to audience and message, not personal preference alone.
- Use punctuation and line breaks to control pacing.
- Record or generate alternate emphasis for the hook and CTA.
- Keep consent records for any cloned or modeled voice.
- Export clean voice without music so the final mix remains flexible.
Stage 5: Add Music and Sound Around the Voice
Create music for the edit's duration, energy curve, and message. A useful prompt describes genre, tempo, instrumentation, intensity, structure, and where speech needs space.
Keep music and effects on separate tracks. Lowering a single sound should not require regenerating the video.
Use an Approval Gate at Every Handoff
| Asset | Approval question | Do not continue if |
|---|---|---|
| Brief | Is the message accurate? | Claims or audience are unclear |
| Image | Is identity and product correct? | Key visual details drift |
| Video | Does motion preserve the source? | Faces, labels, or physics fail |
| Voice | Is delivery clear and permitted? | Pronunciation or consent is unresolved |
| Music | Does it support the message? | Speech becomes difficult to understand |
| Final | Does the export match the destination? | CTA, format, rights, or disclosure fail |
Build the Chain in QuestStudio
QuestStudio is organized around these connected stages: structure reusable instructions in Prompt Lab, build visuals in Image Lab, add motion in Video Lab, create narration in Voice Lab, and generate soundtracks in Music Lab.
Create a free account and complete one short project from brief to export. Upgrade only when keeping repeated projects, model tests, and media stages together saves meaningful production time.
Frequently Asked Questions
What does it mean to chain AI models?
It means passing an approved output, such as an image or script, into the next specialized model while preserving project context and constraints.
Which AI model should come first?
Start with the brief and prompt system. For visual projects, approve image keyframes before spending on video generation.
How do I keep characters and products consistent?
Use approved references, lock non-negotiable attributes, request controlled changes, and review every handoff against the source.
Should voice and music be generated before video?
Usually create or approve the visual edit first so voice timing and music structure can match the final duration.
How do I avoid wasting credits?
Use short tests, approval gates, controlled variables, and polish only assets that pass review.
Do I need every type of AI model?
No. Use only the stages that help complete the project. More tools do not automatically create better work.
Final Takeaway
Complete the reader's job first, then use QuestStudio when organizing prompts and connecting media stages makes the process easier to repeat.
Create a free QuestStudio account for one real project, or compare plans after the workflow proves its value.
Related guides
For a focused next step, read LTX Studio Flows Tutorial: Build a Video Workflow You Can Reuse.