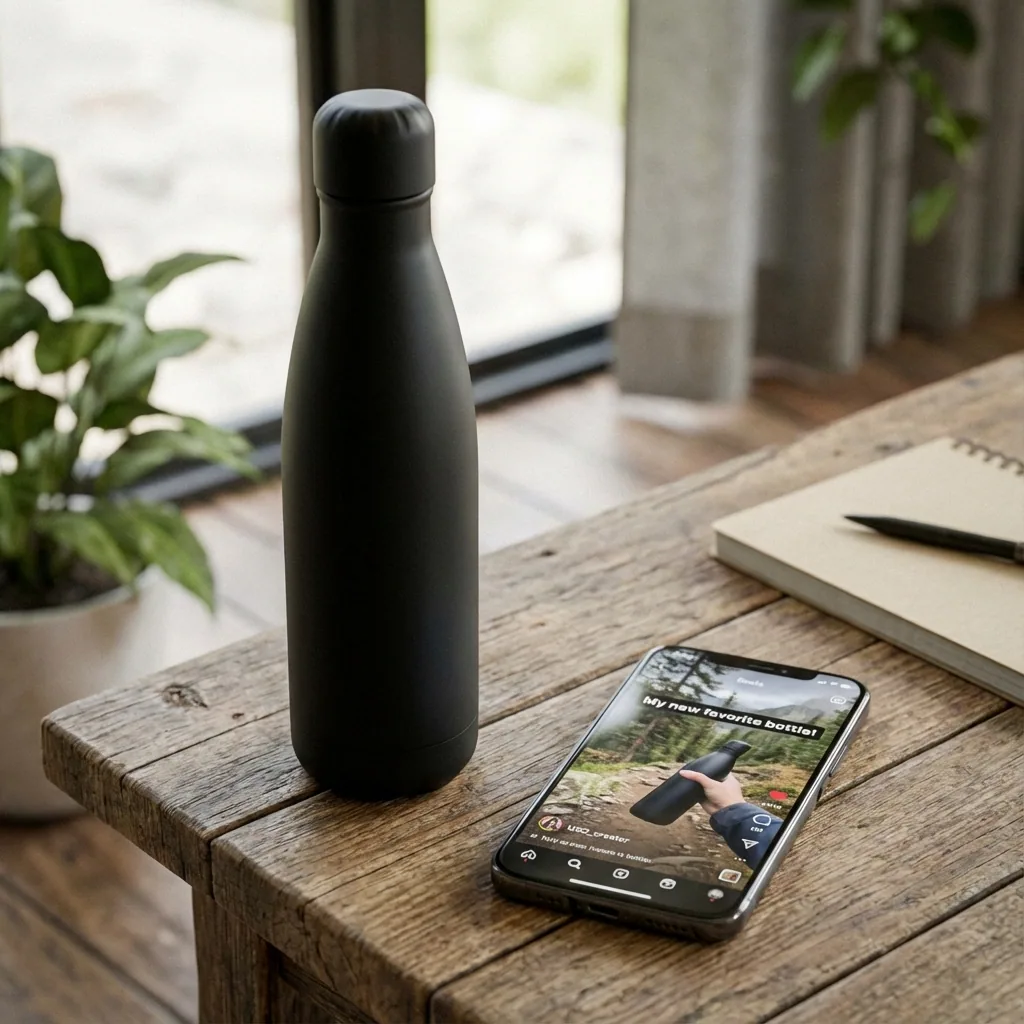

You can turn one product photo into a complete AI ad by separating the job into six stages: prepare the source, create the ad concept, build a clean hero frame, animate a short motion test, add voice and music, then edit for the target platform.
The product photo is the source of truth. AI should help create the setting, motion, and supporting media without silently redesigning the item you sell. Packaging shape, colors, logo placement, label text, and claims need human review at every stage.
The complete pipeline
Approved photo → cleanup → concept and script → hero frame → image-to-video → voice and music → edit and quality review → platform variants.
Step 1: Prepare the Product Photo
Start with the highest-resolution approved image you have. A front or three-quarter view with a clear silhouette and controlled lighting is easier to animate than a distant product surrounded by clutter.
Remove background distractions. Separate the product cleanly from its environment.
Correct exposure and color. The approved product color should not depend on an AI guess.
Inspect label text. Save a separate clean logo or label asset for compositing if fine text matters.
Upscale only if needed. Restoration cannot recover accurate text or details that do not exist in the source.
Our realistic AI product photo guide covers common lighting and geometry mistakes before animation begins.
Step 2: Write the Ad Brief Before the Prompt
A generation prompt describes a shot. An ad brief explains why the shot exists. Define the customer, problem, approved benefit, proof, offer, format, and next action before creating visuals.
Problem: [one situation they recognize]
Product truth: [approved benefit and proof]
Offer: [price, trial, bundle, or none]
Channel: [Reels, TikTok, Shorts, landing page]
Length: [target duration]
CTA: [one next action]
Restrictions: [claims, visual treatments, required disclosure]
Do not allow the model to invent testimonials, performance numbers, certifications, ingredients, prices, or comparative claims. Supply only approved language.
Step 3: Build a Five-Shot Ad Storyboard
| Beat | Job | Possible visual |
|---|---|---|
| 1. Hook | Earn attention | Unexpected product motion or customer problem |
| 2. Context | Show the situation | Product in the intended environment |
| 3. Benefit | Make value visible | Feature demonstration or transformation |
| 4. Proof | Reduce uncertainty | Close-up detail, approved fact, or use-case result |
| 5. CTA | Tell viewers what to do | Clean product frame with offer and button-safe space |
One product photo does not mean one continuous AI-generated shot. A stronger ad often combines two or three controlled product clips with typography, voiceover, and a clean final frame.
Step 4: Create the Hero Frame
Use image-to-image editing to place the approved product into the campaign environment. Preserve the source product and ask the model to generate around it.
Compare the output against the source at high zoom. If the label is wrong, mask or composite the approved label rather than hoping video generation repairs it.
Step 5: Animate With a Controlled Motion Prompt
Upload the approved hero frame to an image-to-video model. Begin with a short test and one camera movement. Complex movement increases the chance of packaging drift.
Run the same frame and prompt through two or three plausible models. Judge them on product preservation and communication, not only spectacle. Use our cost-per-usable-clip method to account for retries.
Step 6: Add Voiceover, Music, and Sound
Write the voiceover for the final duration instead of compressing a long script into a short clip. A simple 15-second structure is hook, approved benefit, proof or use case, then CTA.
Choose a voice that fits the audience and pace. Add music that supports the message without masking speech. Product sounds, clicks, pours, swipes, or subtle impacts can make motion feel intentional, but every effect should match what happens on screen.
For cleaner delivery, see our AI narration quality guide and voice style selection guide.
Step 7: Edit for Conversion
- Show the product early: viewers should know what the ad is about before attention drops.
- Keep one message: do not force every feature into one short video.
- Use readable text: add typography in the editor instead of trusting generated in-scene copy.
- Design for sound-off: captions and visual hierarchy should carry the main idea.
- Use one CTA: choose shop, learn, start, compare, or subscribe based on the landing page.
- Match the destination: the offer and product shown in the ad must match the page after the click.
Create separate 9:16, 1:1, and 16:9 versions from the approved master. Reframe deliberately instead of relying on automatic center crops that can hide the product or CTA.
Final Product Ad Quality Checklist
Product shape and color match the approved source
Logo and label are accurate at normal viewing size
Every spoken and written claim is approved
Voice, captions, and music are clear on mobile
First frame and first two seconds communicate the hook
CTA and landing page promise match
Build the Complete Product Ad in QuestStudio
This workflow maps naturally across QuestStudio: clean and build the frame in Image Lab, animate it in Video Lab, create narration in Voice Lab, add a soundtrack in Music Lab, and store the winning templates in Prompt Lab.
Create a free account and build one short product-ad test. Consider a paid plan when the workflow proves useful for producing multiple campaigns, formats, or product variations.
One Product Photo to a Full AI Ad FAQ
Can one product photo become a complete video ad?
Yes. Use the approved photo as the source for cleanup, a campaign hero frame, short image-to-video clips, and the final product frame, then add voice, music, text, and editing.
What kind of product photo works best?
Use a sharp, high-resolution image with a clear product silhouette, controlled lighting, minimal clutter, and visible approved packaging.
How do I stop AI from changing the product?
Use image-to-video, preserve exact product attributes in the prompt, request simple motion, compare every result with the source, and composite critical labels when needed.
Should text be generated inside the video?
Critical headlines, offers, prices, and disclaimers are safer when added in a conventional editor using approved copy.
How long should an AI product ad be?
Choose length based on the platform and message. A focused short ad often works better than a longer clip carrying too many features.
Do I need a paid QuestStudio plan?
You can start by testing the workflow with a free account. A paid plan is most relevant when production volume and repeatable multi-tool work justify it.
Final Takeaway
Use this workflow to complete the reader's actual job first. Then choose QuestStudio when keeping prompts, media types, and model tests together makes the work easier to repeat.
Create a free QuestStudio account to test the process on one real project, or compare plans when your production volume justifies a larger workflow.