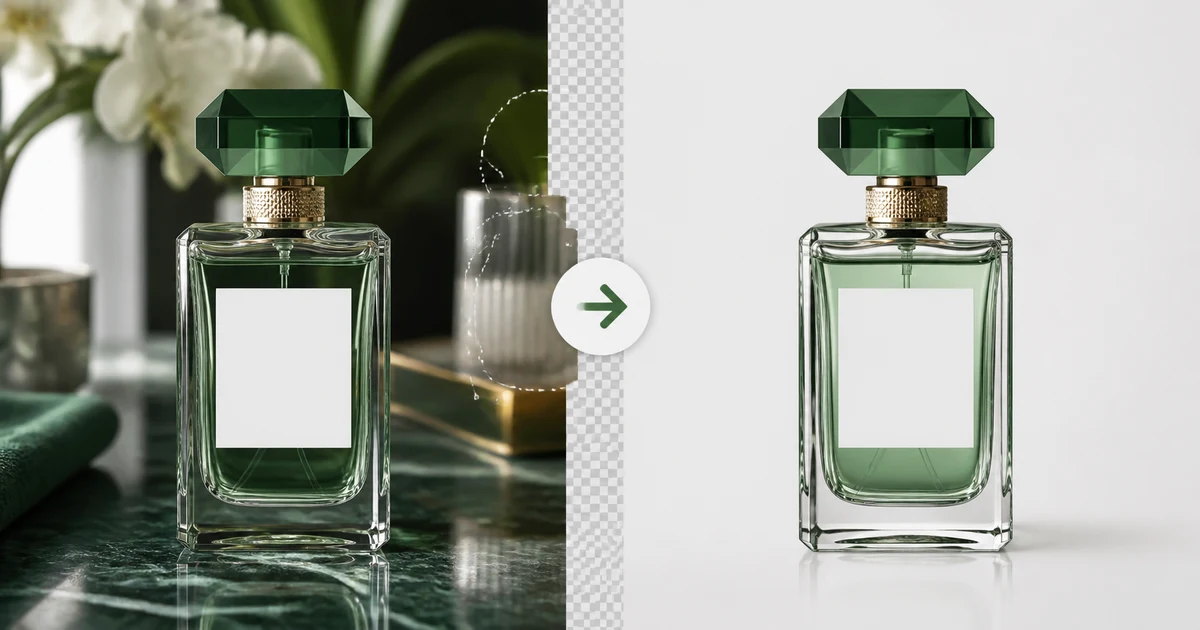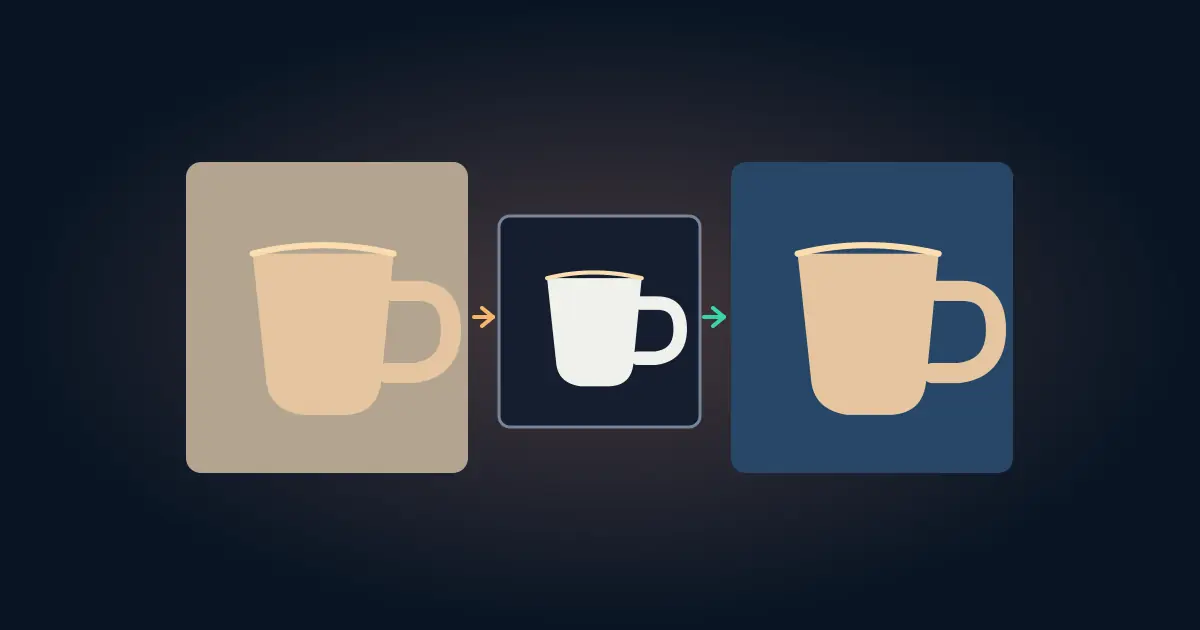

To change a photo's background color in Photoshop, isolate the subject with a layer mask and place a Solid Color fill layer underneath it. Double-click the fill layer thumbnail to choose another color. Keep the mask so you can refine the edge later and export several background colors from the same editable file.
If the background is already on its own layer, you can replace that layer directly or put a Solid Color fill above it and below the subject. If the picture is flattened, start with a selection of the subject and inspect that selection before committing to the mask.
Put the new color on its own layer
Open the file and retain a copy of the original. Select the image layer and make a subject selection with the tool that fits the source. Select Subject can give you a starting point for a clear subject. An object with a handle, open mesh, or transparent panel may need more careful manual cleanup. Zoom in and check both the outer edge and any openings inside the outline.
Add a layer mask to the image layer with the subject selected. The subject should remain visible and the old background should become hidden. If the opposite happens, inspect the mask before moving on. Black areas hide the masked layer, white areas reveal it, and gray areas partially reveal it. Use those relationships to choose which part of the mask needs correction.
With the foreground mask in place, add a Solid Color fill layer using the fill and adjustment controls or the Layer menu. Drag it below the masked subject and above any retained background. If your active selection created an unwanted mask on the fill, clear the selection before creating the fill or correct the fill mask. Adobe's background color walkthrough shows the layer-based approach.
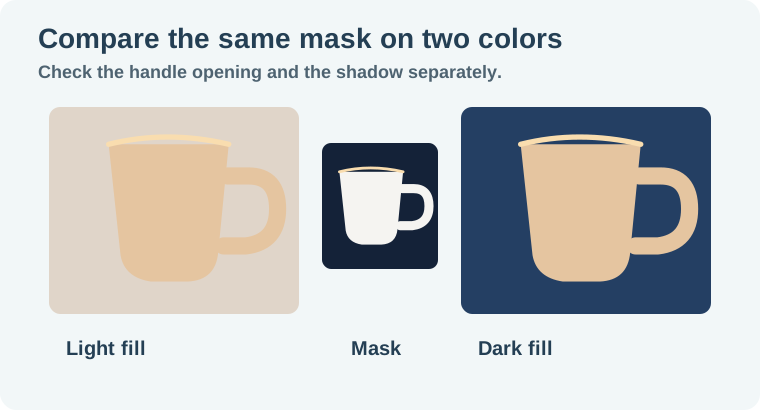
Compare a light and dark proof before picking a color
Take a pale ceramic mug photographed on gray paper. First try a warm light gray fill. At fit-to-screen, the mug may look clean. Switch the fill to deep navy and look at the same rim and handle at 100%. A light edge left from the original setup may suddenly show up as a thin outline. The handle opening might also contain a patch of the old paper.
Choose the mask thumbnail and refine the specific problem. Work gently near antialiased or soft edges. A hard brush can carve a visible notch into a curved outline. Make corrections at useful zoom, then check the entire mug again. Use hair and edge halo troubleshooting when the unwanted edge is tangled with fine texture or transparent strands.
Return to the light fill and compare. A dark halo can hide on navy and stand out on pale gray. A good mask behaves reasonably in both proofs even if only one color will ship. Keep a copy of the original within the project or its source folder for side-by-side review.
Preserve the shadow without carrying over the old backdrop
Check what happens where the subject meets the surface. A perfectly cut out object can appear to float when its contact shadow vanishes. A broad rectangle of old gray paper around the base creates a different problem. If you need a shadow, keep it on a separate layer where you can control the edge and opacity. Compare it to the original and make sure the direction still agrees with the highlight.
Some subjects reflect the actual backdrop. A glossy mug can retain a colored reflection from the old set even with a clean mask. Inspect which colors come from the surface and which belong to the subject. Avoid a broad correction that changes a product variant or shifts an approved label. The product color correction workflow shows how to review color against a real reference.
Verify the export at the intended size
Save the editable Photoshop file with its mask and fill. Export a separate image for the destination, then reopen it. Check that you exported the selected fill, that any logo still reads, and that the outline looks natural at thumbnail size. If the destination needs transparency, hide the fill and choose an output format that preserves alpha. If it needs a solid color, keep the fill visible and check the actual exported background.
For a listing or client file, confirm the background requirement for that exact destination. A gray studio proof and a pure white listing image can both be useful in the same project. Keep the names clear so the correct one gets sent.
When you need three colorways, use three named fill layers or change one fill and save a clearly named proof each time. Put a small crop of the difficult edge in the review file so a reviewer does not have to search for it. If the approved product color looks different between backgrounds, compare the subject against the original at the same viewing size. Simultaneous contrast can change how the same subject pixels look, even when the mask is correct.
How QuestStudio helps
Use Image Lab to explore a styled environment when the project calls for a supporting photograph. Keep the approved isolated product or original file to compare shape, color, and label accuracy. The ecommerce background replacement guide covers the separate job of generating a believable scene around a real product.
When the approved color changes, edit the fill layer instead of rebuilding the selection. Save the proof that shows how you handled the hard edges and shadow.
Download the background color proof sheet.
Frequently asked questions
Can I change the background without altering the subject?
Keep the subject masked on a layer above a separate Solid Color fill. Inspect soft edges and reflections where the original backdrop can still show.
Why did my new fill cover the whole image?
Move the fill underneath the masked subject. Check that the subject layer is visible and that the mask reveals the intended area.
Why is the edge still gray?
Some pixels around the edge may retain the old backdrop. Compare light and dark proofs and refine that part of the mask.
Can I keep the background transparent?
Hide the fill and export in a format that supports transparency. Reopen the exported file to verify it.
How do I change the color later?
Double-click the Solid Color fill thumbnail, choose the new color, and export a new proof from the editable source.