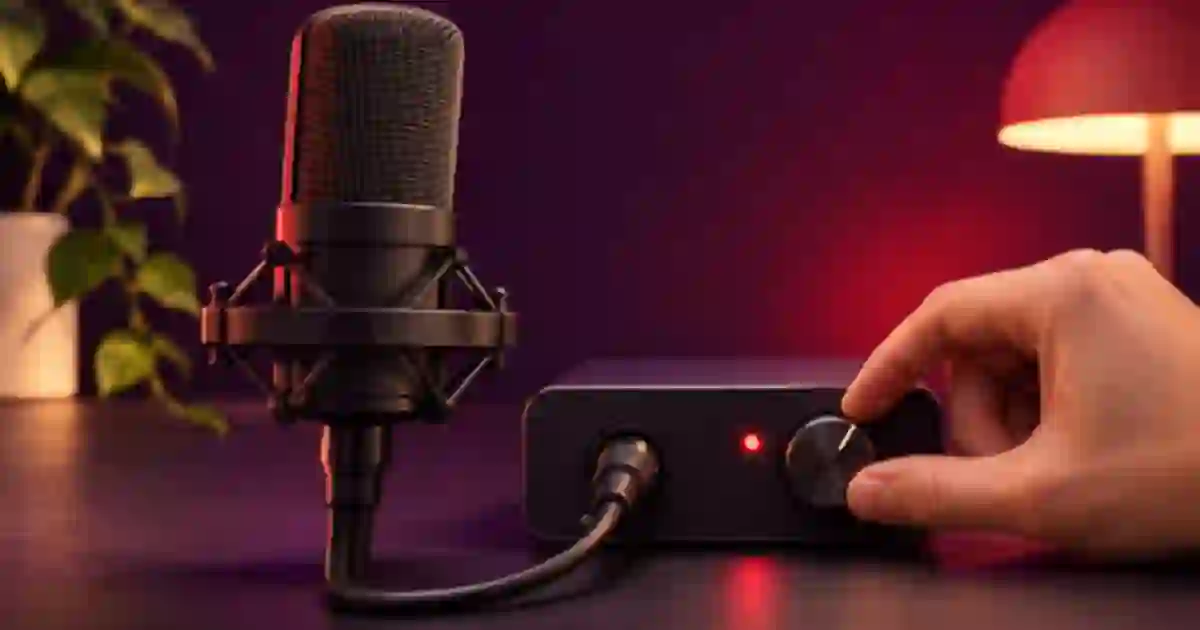

If your voice cracks on loud words, I recommend listening to the original recording before adjusting the track fader. Clipping can happen at the input, inside an effect or on the mix bus. Finding the first stage that distorts tells you whether you can recover the take by changing a setting or need to record the line again.
My gear pick for this setup
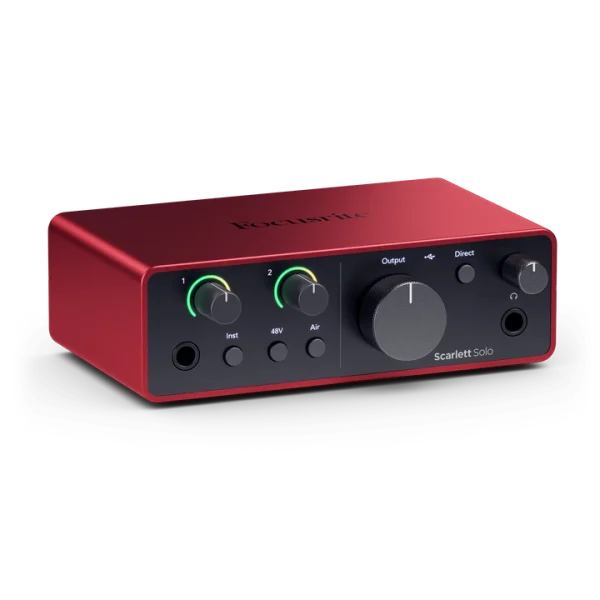
Focusrite Scarlett Solo, 4th generation
An XLR input with a gain control you can reach
I’d choose the Scarlett Solo for a single compatible XLR microphone when I need a dedicated input and clear access to gain. Start with the raw-take test before replacing your existing interface.
Find the first stage that overloads
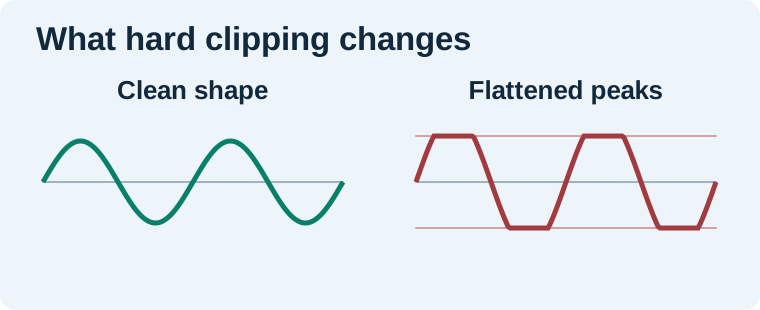
Start with an unprocessed copy of the source. Bypass effects on a duplicate track and listen to the same word. If the source sounds clean with effects bypassed, bring the effects back one at a time while watching their output levels. If the raw file already sounds rough, inspect the microphone, preamp and recording settings. Turning down the playback fader makes existing distortion quieter. It cannot reconstruct the missing shape of a hard-clipped waveform.
Check both the recorder or interface indicator and the meter in the app. They can read different parts of the chain. An input light may show that the incoming signal is too high even if the meter after a fader looks modest. A clean input can also end up distorted after a boost or when several tracks sum into a loud output. The useful question is where the problem first becomes audible or visible, not how high the last meter happens to read.
Set gain using the loudest line in the script
I ask the speaker to read the loudest expected line at the actual mic distance before recording. Start with modest input gain and raise it while watching the input meter. On a digital recorder with a peak meter in dBFS, peaks around −12 to −6 dBFS during that rehearsal leave some room for an unexpected emphasis. That is a workable starting range for this exercise, not a target that every recorder or delivery format requires. Give an animated read more room and consult the device guide for its meter behavior.
For a sample line such as “Now press START,” rehearse the stress on the last word as it will be performed. Record a few seconds, stop and listen. A pop on the first consonant may come from airflow rather than a digital ceiling. A slight angle change and a pop filter can help if airflow is the cause. If the meter clips on the same word, lower the gain and keep the microphone position stable while you retest. Changing distance, gain and processing together makes the cause harder to isolate.
Keep the remedy at the right stage
| Where it goes wrong | First repair |
|---|---|
| Raw take clips | Lower input gain or adjust the mic setup, then record a new take if possible. |
| Raw take is clean but the effect chain distorts | Reduce the level into the problem effect or its output gain. |
| Solo tracks sound fine but the full mix clips | Reduce the level feeding the sum, then check the delivered export. |
| One consonant makes a blast without a clipped peak | Check airflow, mic angle and plosive control. |
For a one-off take you cannot repeat, try a repair on a copy and compare the consonants and noise before accepting it. De-clipping software estimates missing peaks, so the result can have artifacts. If the line is available again, I favor a clean pickup at matched distance and room sound. Keep the original and the replacement side by side for the editor.
Know what a recording format can save
A recorder that writes 32-bit float files can offer useful file-level headroom when the hardware captured the sound cleanly. The format does not remove distortion already introduced in the microphone or analog chain. I look at the equipment’s input limits and listen to a rehearsal before treating the file format as a safety net. The 32-bit float audio guide separates those stages. The pop filter and windscreen comparison helps when the problem is air hitting the mic.
Keep a clean reference for future voice work
When working with your own voice or a voice you have permission to use, I recommend retaining the clean dry source beside the edit. Check the loudest line before using a take as a reference in Voice Lab. If a later export sounds harsh, compare the untouched reference, the generated output and the processed mix at similar listening levels. That comparison helps you localize the problem before asking for another take.
If the rough word appears only in the exported mix, bring that export back into the editor and compare it against the unprocessed take. Check the track, bus and limiter separately. When the raw recording passes, preserve it as a fallback so you can rebuild the mix without recording again.
Walk one harsh word through the signal chain
Use a short duplicate clip containing the problem word. First solo the raw file with effects bypassed and note the sound. Then restore the effect chain one processor at a time. If the sound first breaks up after a boost, reduce the level feeding that processor and compare the result at a matched listening level. If the raw file is already damaged, rehearse the phrase on the same microphone at a lower input setting, then check the new file. Save the two files with clear names. A clean replacement can be spliced into the phrase using the surrounding room sound.
Download the voice recording troubleshooting worksheet (CSV)
Frequently asked questions
Can turning down a clipped recording repair it?
Turning down the clip reduces its level. If its peaks were cut during capture, the missing waveform has to be estimated by a repair tool or recovered with a new take.
Should all narration peak at exactly minus 6 dBFS?
No. Leave headroom for the loudest realistic delivery and follow the recorder's meter guidance. Test the take instead of aiming for one universal value.
Why does a mic sound distorted even when the editor meter is low?
The microphone or preamp may have distorted before the signal reached that meter. Check the untouched source and earlier input indicators.
Does 32-bit float protect against microphone overload?
It can provide file-level headroom in a compatible recorder. Distortion already created by the microphone or analog circuitry can still be present.
Sources and further reading
Affiliate disclosure
As an Amazon Associate I earn from qualifying purchases.
Continue with a useful next step
 Creator Workflows
32-Bit Float Audio: What It Can and Cannot Fix
Understand 32-bit float recording without the hype. Separate file headroom from microphone overload, wireless dropouts and the audio sent to your phone.
 Voice
Pop Filter vs Windscreen: Fix Plosives in Voiceovers
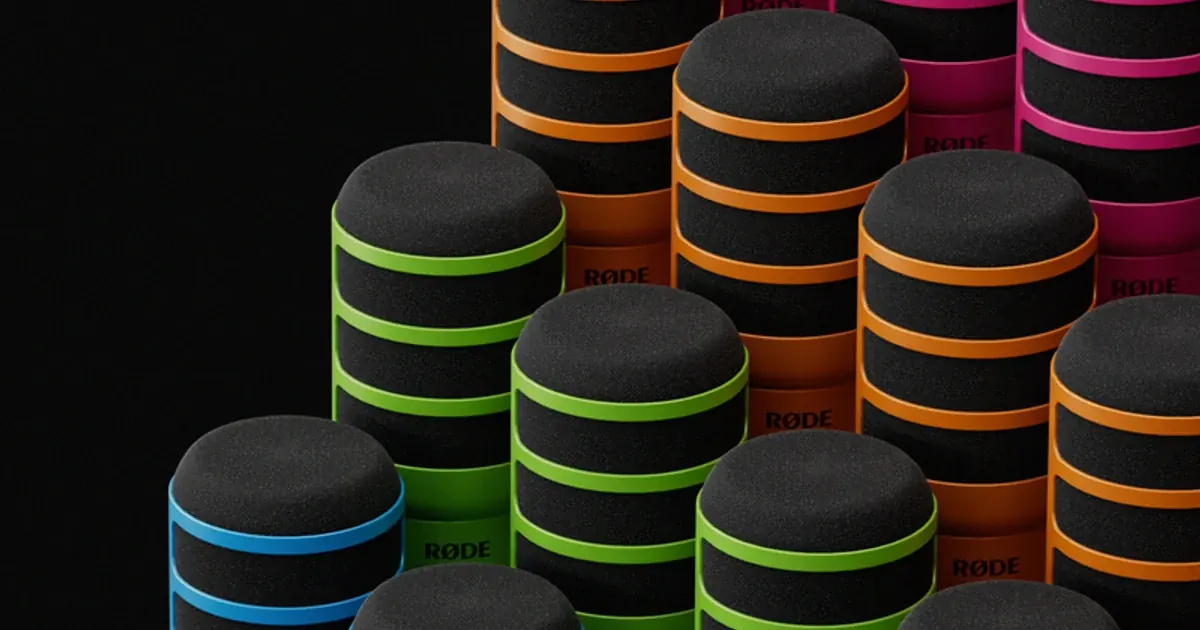
Choose a pop filter or windscreen for voiceover. Learn when the Rode WS14 fits a PodMic, check included accessories, and compare placement with a simple test.
 Voice
How to Record Room Tone for Cleaner Voiceover Edits
Record room tone with your voiceover mic and use it to smooth narration cuts. Learn what to capture, where to crossfade and how to check a repaired pause.