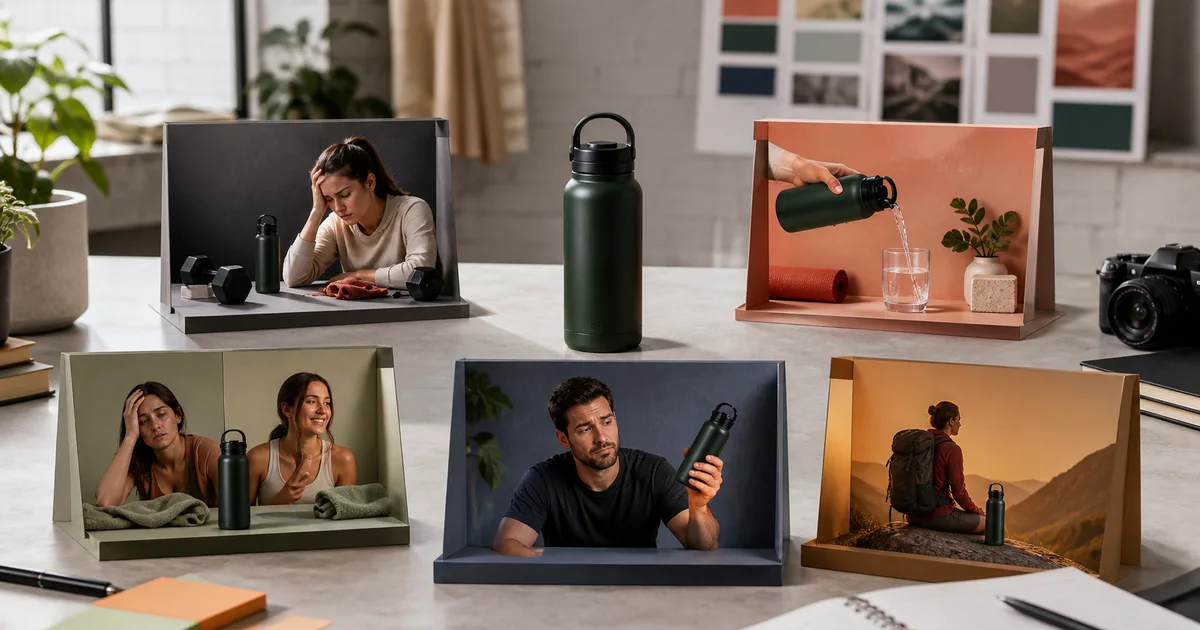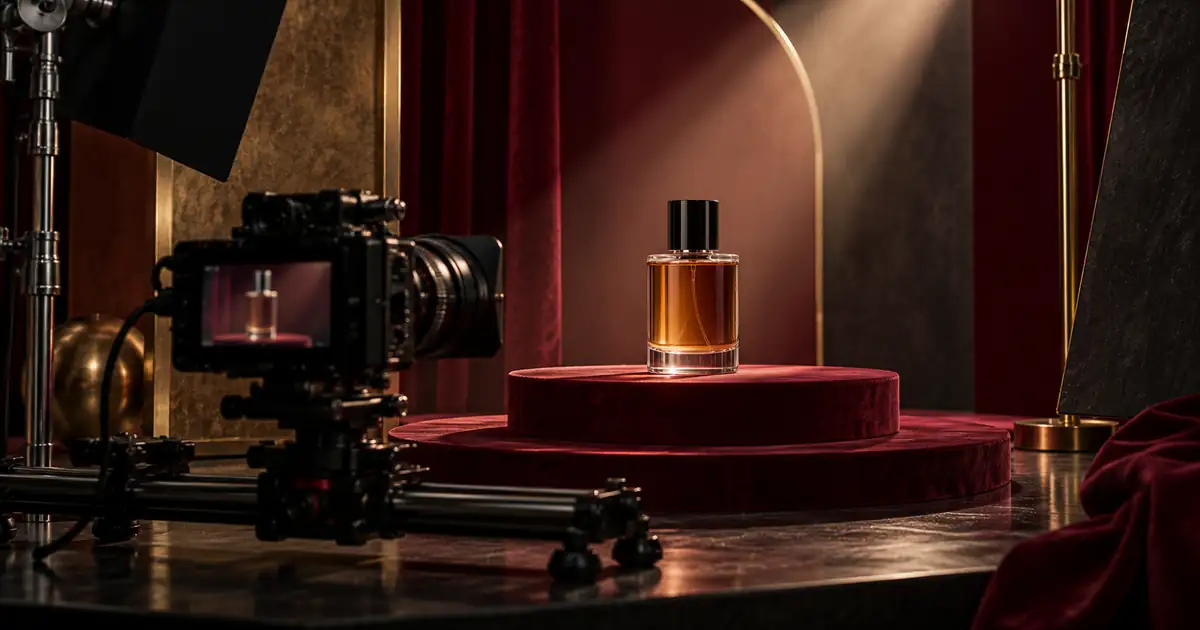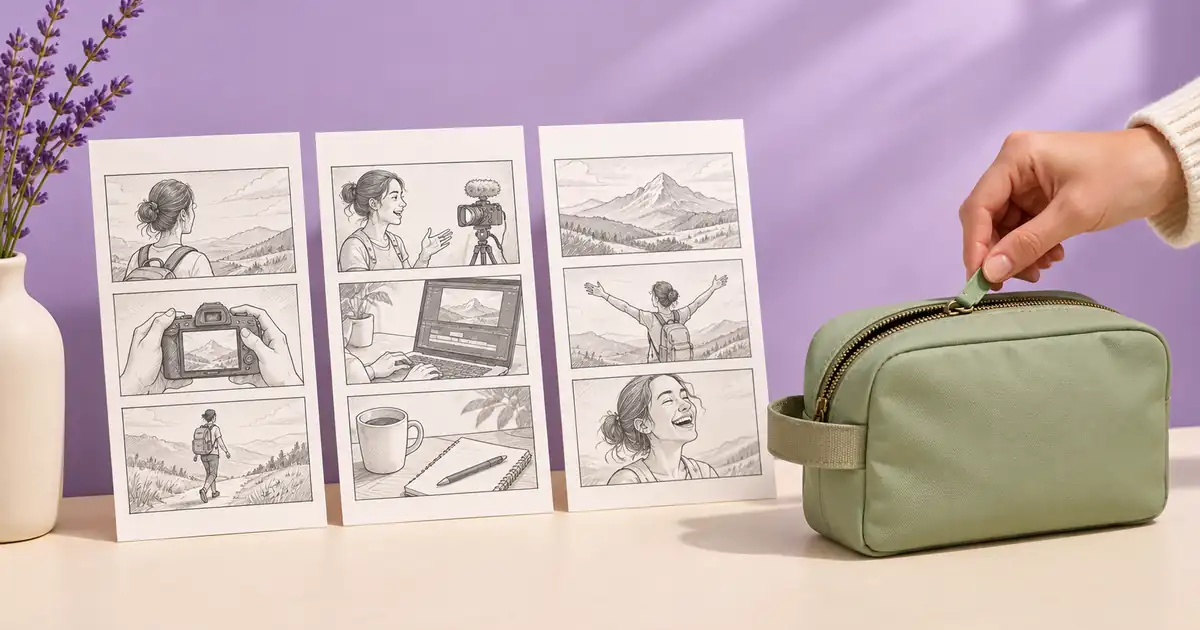

A three-frame Instagram Story ad can make one promise, show the product doing the work, and give the viewer one next action. Start by choosing the proof shot. If the middle frame cannot show the result clearly on a phone, a stronger opening line will only make the gap more obvious.
Use the examples below as production sketches for a vertical video. They are original examples with fictional offers. The frame durations are starting points you can adjust after watching the actual export on a phone.
Plan the three frames around one piece of proof
Give each frame a job. In the first, show an object or situation the viewer recognizes. In the second, show a visible change or a detail that answers a buying question. In the third, show the product and a next step that matches the landing page. These can be three shots in one video. Each shot can include motion and may need more than one second to read.
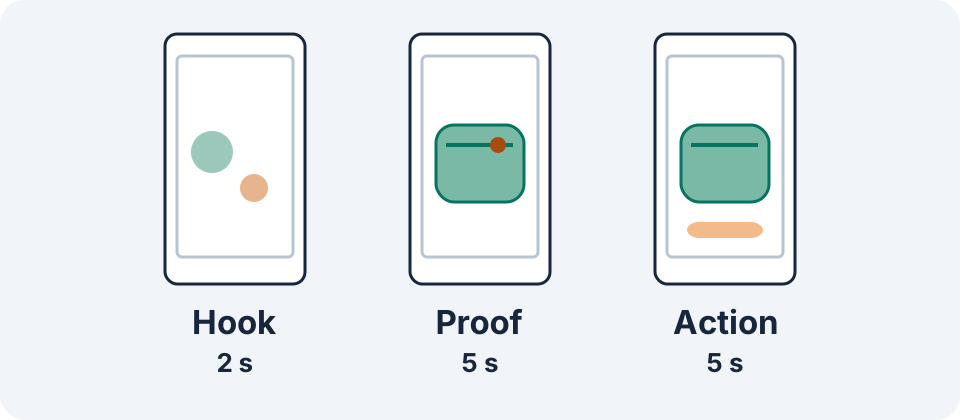
For a 12-second sketch, give the first shot two seconds, the proof five seconds, and the closing shot five seconds. Play it once without pausing. If you can read the title but cannot see how the product works, move time into the middle. A clear demonstration deserves more room than a transition between two shots.
Example one. A travel pouch earns the close-up
Start with earbuds and a cable lying loose beside a half-open bag. The opening line is “Keep the little things together.” Cut to a close shot of a hand putting those same two objects into the pouch and closing the zipper. End on the pouch held at a natural scale with “See the pouch” as the next action.
Make the proof shot continuous if possible. A cut before the zipper closes can hide whether the items actually fit. If a second camera angle is necessary, keep the same contents and pouch. Keep the product color and zipper hardware consistent between the proof and end frame so the viewer recognizes the item being sold.
Film the objects first and write the copy afterward. If the only verified fact is that those two items fit, that is enough for this edit. Keep the landing page and ad in agreement about the pictured size. A landing page for a different pouch will make even a clear story harder to act on.
Example two. A desk lamp shows a specific adjustment
Open on a notebook lit from the side, with the hand and lamp both visible. Frame two shows a person turning the lamp head so the bright patch moves across the page. Frame three shows the lamp in the same position with “See the lamp details.” The action gives the camera something more informative to capture than a slow orbit.
Lock exposure for the proof shot if you control the camera. Automatic exposure can make the whole image brighten when the lamp moves, obscuring the change you want to show. Keep enough of the notebook and surrounding desk in frame that viewers can see the direction of the light shift. Review the motion once at normal speed and once frame by frame.
Use the final frame to resolve the object and the action. A large headline may cover the lamp hinge, which is the same feature you demonstrated. Move text to negative space and shorten the line. Watch the video with sound off to check that the adjustment is understandable from the picture.
Example three. A kit shows exactly what comes in the box
Open with the closed box and “What comes in the kit?” The proof shot lays the included cloth, small brush, and carrying sleeve on the same surface. In the close, put the box beside those three items and use “View the kit.” Every pictured inclusion should agree with the approved product listing.
Keep props out of the arrangement if viewers could mistake them for included items. To show a hand for scale, let it enter from the edge and leave before the final frame. Keep the kit grouped together and place copy outside the group. That layout gives each item enough breathing room at a narrow display size.
If you need to show how to use one accessory, develop a separate demonstration. The three frames in this version answer a single question about the contents. A second promise about performance consumes time and can require evidence you have not captured.
Review the export in the actual placement
Keep key copy and the product proof away from interface elements. Export a vertical draft, then inspect its placement preview for the actual destination and creative format. A composition that looks balanced in a clean editing canvas can lose its headline behind an account header, or its closing line behind the placement’s action control. Use the current placement guide and preview to place the content. Meta’s Instagram Story placement guide.
Check for legible text, product continuity, and the same next action on the landing page. Play the draft once with audio and once muted. Narration can add context, but the scene still needs to make sense when the audio is unavailable. Keep an editable master for later copy or placement changes.
When making a second version, change one decision. For example, replace the opening question while keeping the same proof and ending. This makes your side-by-side creative review easier to interpret. Use the three-frame planning sheet to record the promise, proof, timing, and review outcome. For openings, see the product ad hook guide. For production timing, use the three-shot storyboard workflow.
Frequently asked questions
Do I need to upload three separate ads?
You can put these three beats in a single vertical video. Choose the actual placement and creative format before making the export.
What should be visible in the first frame?
Show the product, problem, or situation that makes the next frame meaningful. Use a short line that viewers can read during the planned hold.
How long should the final frame stay on screen?
Give viewers enough time to identify the product and read one action. Watch the export at normal speed on a phone and adjust the hold after that test.
Can I use generated product images?
Use an approved product reference and check the output for altered labels, size, materials, and included items. Keep real capture for details that need exact visual proof.
Where should I put the closing text?
Place it in the open area of the composition, then check the actual placement preview for overlap with its interface and action control.
Build one vertical product ad
Bring the approved product photo and the three beats into Product Ads. Review the finished frame with the placement preview.