
ScreenToGif records a selected screen region, opens the captured frames in an editor, and exports an animation or an editable project. For a readable tutorial, keep the capture small, make the important action visible, inspect the frames, and check the actual export at its intended display size.
This walkthrough uses the Windows desktop app, ScreenToGif 2.43.2 portable x64, downloaded from its official GitHub release. It is separate from similarly named browser extensions. The actual test recorded an original checklist in a separate Notepad window, changed a frame delay, saved a native project, and exported two GIFs with different color limits on November 1, 2026.
Prepare a safe, readable practice surface
Create a small original document or canvas containing only material you intend to share. The test used three checklist lines: prepare the source image, check the crop, and export a review copy. It contained no customer files or account information. A separate practice surface makes it easier to inspect every recorded pixel.
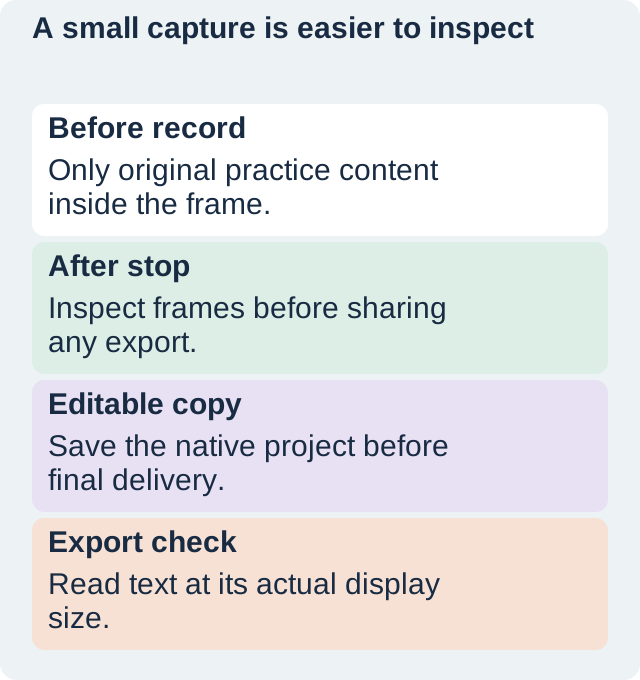
Before recording, place the capture boundary over that surface and check its edges. A notification, another window, or a menu can enter a region recording. Keep a little space around the useful content, but avoid capturing a whole desktop when the lesson concerns one small area. The narrower frame also makes text more legible when the animation is embedded in an article.
Use the official 2.43.2 release and project documentation to identify the desktop build and feature guidance. This test checked the downloaded ZIP’s SHA-256 against the official release metadata before running the portable app.
Record the region and stop into the editor
Open the screen recorder from ScreenToGif’s startup options. Size and position the capture area, choose the maximum frame rate, and start Record. Perform the intended demonstration inside the boundary, then use Stop to open the captured sequence in the editor. For a first test, choose one action that can be checked without scrolling through unrelated material.
The actual practice region was 502 by 203 pixels with a maximum setting of 15 frames per second. The editor showed 682 captured frames. This recording includes substantial idle time while the controls were being inspected; it is a measurement sample rather than a polished quick lesson. For a production tutorial, plan the action and remove unnecessary waiting before delivery.
A maximum frame-rate setting is not a guarantee that every captured frame has exactly the same delay. The observed timeline contained varying millisecond delays. Judge motion and reading time in playback, and inspect the actual timing rather than deriving the full result from the recorder setting alone.
Inspect frames before sharing the recording
Scroll through the timeline and examine the beginning, the action, and the ending. Check for accidental overlays, clipped words, a cursor covering the important detail, and a final frame that vanishes before it can be read. Do this before making an export link available to someone else.
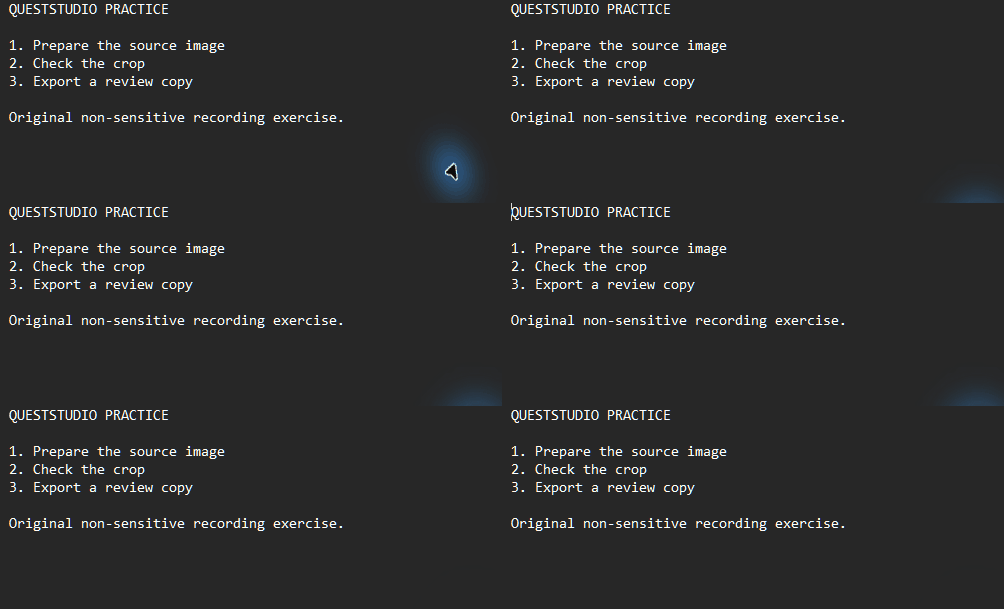
The recorded checklist stayed inside the intended region in this test. It is mostly static, which is useful for checking text and encoder behavior but does not demonstrate a complex software interaction. If your lesson involves a menu or dialog, make sure that it actually opens inside the capture boundary and that the viewer can see the chosen option.
Keep the scene’s job clear. A recorder tutorial can show how to capture and export a checklist without pretending that the checklist is an image-editing workflow. If you need narration for a longer demonstration, the voiceover and screen-recording guide covers the separate script and audio handoff.
Edit the timing of a selected frame
Select the frame whose timing needs adjustment. In the tested version, the Edit tab provides an Override control for delay. The test changed the first frame from 66 milliseconds to 1,000 milliseconds and applied the change. The timeline then displayed 1,000 milliseconds for that selected frame.
This demonstrates a selected-frame edit, not a change to every frame. Check the selection before applying an operation. A longer first hold may help establish the starting view, but it cannot repair a recording that never shows the intended action. Keep enough time for the viewer to orient, then judge the whole sequence in playback.
If a lesson needs captions, plan their appearance and reading time separately from the capture rate. The readable GIF-caption workflow is a useful companion. Small text, insufficient contrast, and rushed timing are different problems and need different corrections.
Save the editable project before final delivery
Open File, then Save as, and select the Project output type. Choose the destination folder and filename, then save. The actual test produced a 3,604,921-byte .stg project. That editable copy remains in the local test archive; the public downloads below are the two small delivery GIFs.
A project file and a GIF serve different purposes. The project preserves the working sequence for further editing, while the GIF is a delivery artifact. Keep both associated with the same source revision. If someone later requests a timing change, the editable project is a better starting point than reconstructing the work from an optimized animation.
After saving, confirm the output exists and retain a clear version name. Do not overwrite the only accepted copy while experimenting with a different palette or frame operation. A separate export name also makes the comparison easier to audit.
Compare two native GIF exports
In Save as, choose GIF. The tested exports used ScreenToGif’s built-in encoder, neural-network quantization, sampling 10, and detection of unchanged pixels. One export allowed 256 colors per frame; the other allowed 64. Both kept the same dimensions and source sequence.
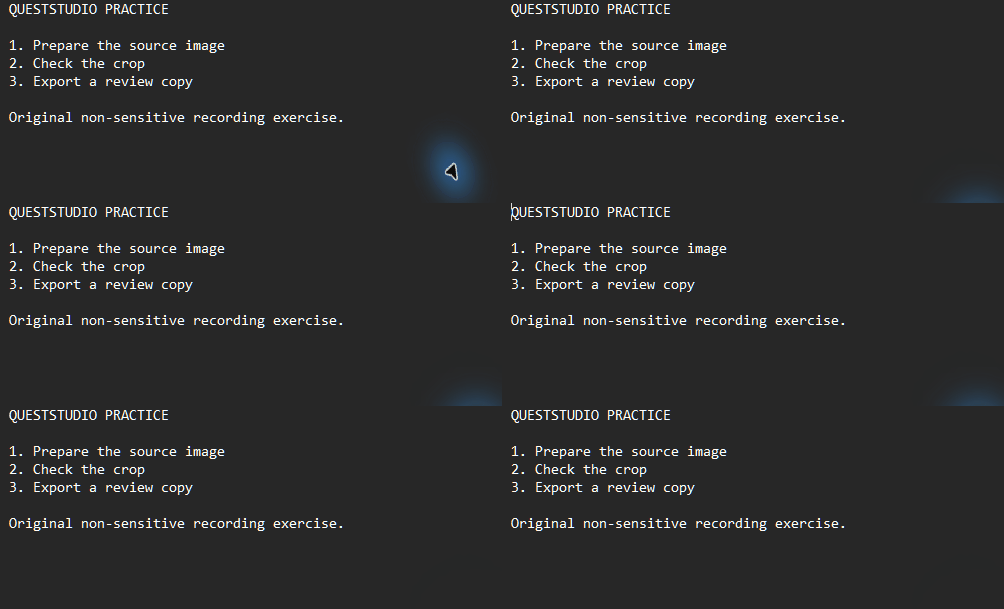
The 256-color GIF is 41,219 bytes. The 64-color GIF is 19,340 bytes. Both decoded to 30 optimized GIF frames with a total delay of 46,430 milliseconds. The 682-frame source count and the 30-frame export count describe different stages; unchanged-frame optimization retained the long holds in the exported timing rather than making the lesson only two seconds long.
The white checklist text remained readable in the inspected first frames of both versions. The lower-color version simplified the blue cursor glow and its gradients. That tradeoff was acceptable for this plain checklist, but it is not a recommendation to use 64 colors for every interface, photograph, or gradient-heavy recording.
| Native export | Dimensions | Optimized frames / duration | File size |
|---|---|---|---|
| 256-color limit | 502 × 203 | 30 / 46.43 seconds | 41,219 bytes |
| 64-color limit | 502 × 203 | 30 / 46.43 seconds | 19,340 bytes |
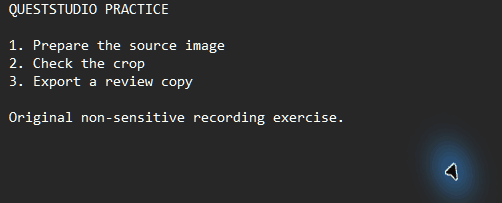
Download the native 256-color GIF or download the native 64-color GIF. The samples contain long holds and are offered for inspection, without autoplay on this page.
Check the delivery size, not just the editor preview
Open the actual export and inspect it where the viewer will encounter it. A crisp 502-pixel-wide capture can become difficult to read if displayed very small. Enlarging it beyond its source dimensions can also expose soft edges. Match the capture region to the intended destination before recording a long tutorial.
If the file is too large, first ask whether the region and duration are necessary. Palette changes can help some scenes, but they do not replace a clear recording plan. If the text is unreadable, revisit the application zoom, capture dimensions, and display size. Raising the frame rate alone will not make tiny lettering easier to read.
For a final production lesson, compare the first and last frames and play the loop. Check that the ending does not imply an action completed when it did not. Keep technical export success separate from instructional success: an animation can decode perfectly and still leave the viewer uncertain about what happened.
How QuestStudio helps prepare the source image
Use Editor Lab to prepare an image that will appear in your separate screen demonstration, then record the relevant app task in ScreenToGif. Keep the approved source image and the recorder project together. The video-editing workflow can help when the demonstration expands into a longer video with audio.
Finish with the editable project, the inspected delivery file, and a short record of dimensions, timing, encoder settings, and readability. The useful outcome is a demonstration another person can follow, with enough source material left to correct it when the lesson changes.
Download the original practice worksheet
Frequently asked questions
Which ScreenToGif was tested?
The Windows desktop app, version 2.43.2 portable x64, from its official GitHub release. It is separate from similarly named browser extensions.
Was recording and export actually tested?
Yes. The test recorded an original checklist, edited the first frame delay, saved a native project, and exported two GIFs.
Why are there fewer GIF frames than captured frames?
The native export detected unchanged pixels and optimized the mostly static sequence. The exported delay still totals 46.43 seconds.
Is the 64-color export always better?
No. It was smaller and the checklist text remained readable in this sample, but cursor gradients lost detail. Review your actual scene.
Where is the editable project?
The 3,604,921-byte .stg project is retained in the local test archive. The public article provides small native GIF exports and a recording worksheet.
Prepare the image used in your screen demo
Use Editor Lab to prepare a source image before recording the separate app workflow in ScreenToGif.
Hero: AI-generated editorial illustration. Original teaching materials and documented feature research, checked November 1, 2026. Examples are labeled where synthetic or hypothetical.