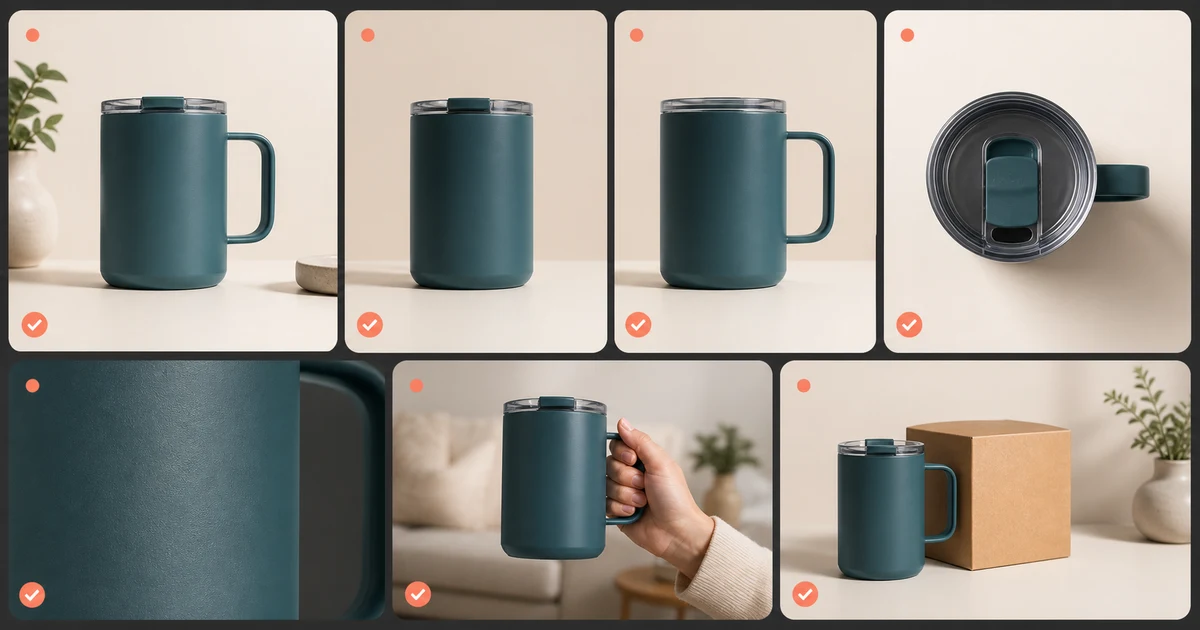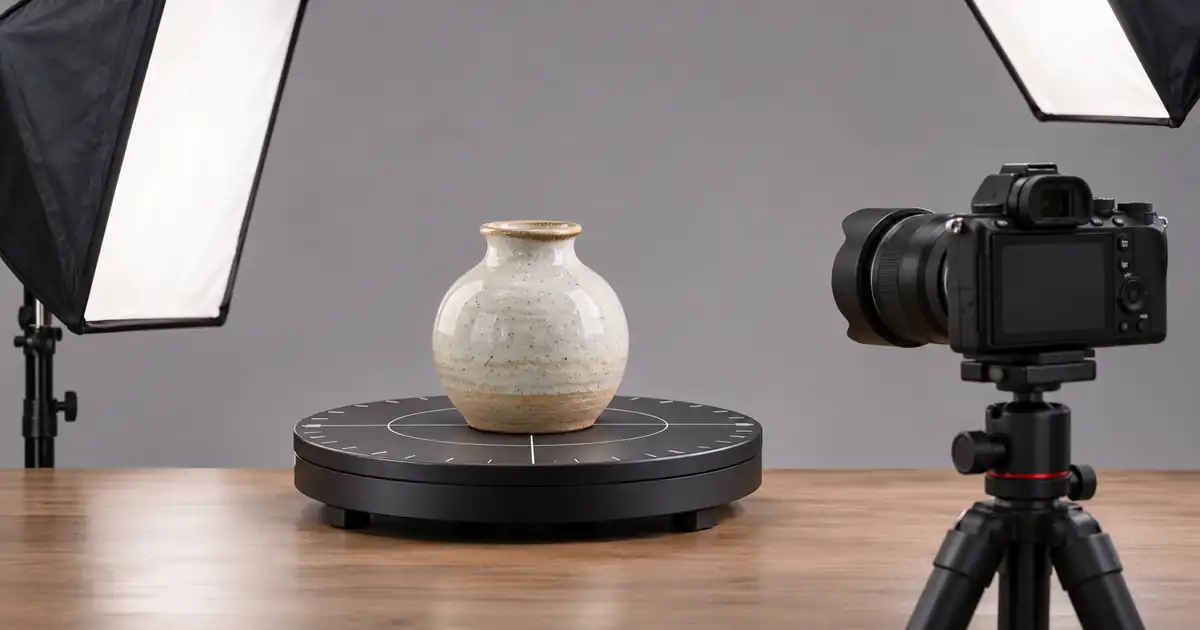

To shoot 360° product photography, mount the camera in one position and rotate the product in equal steps on a turntable. Keep the framing, exposure, white balance, and focus consistent across the sequence. Review a short spin before repeating the setup for every product in a catalog.
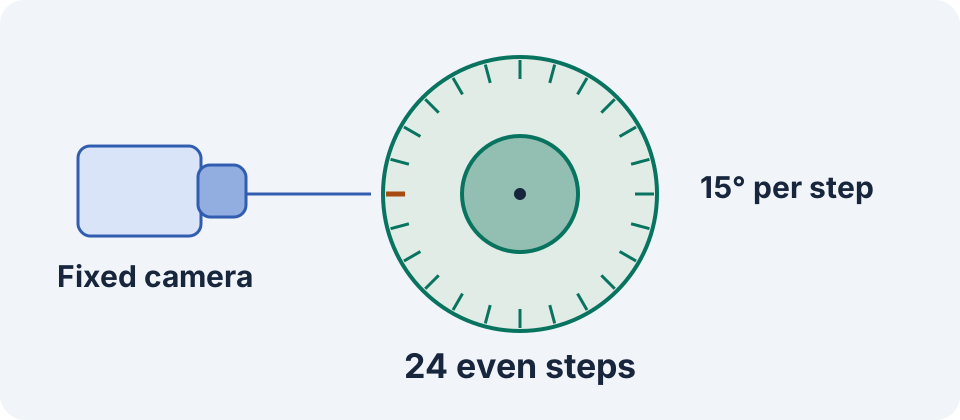
A practical first pass is 24 pictures, each separated by 15 degrees. Start at the front, work through 345 degrees, and let the viewer wrap from the last frame to the first. Save the single front image separately for your listing or campaign.
Decide which 360° deliverable you need
An interactive spin usually uses an ordered series of stills. The viewer changes the frame as someone drags or swipes. A rendered turntable video plays on its own and is useful for a demo or social post. The same stills can support both outputs, but each destination has its own size, speed, and compression needs.
Check the requirements of the gallery or viewer before shooting a long series. Find out which file types and sizes it accepts, how it sorts frames, and how it displays the first image. The 24-frame plan here is an exercise and a review baseline. For small parts or a closer view, a destination may benefit from more steps.
Set a rotation center and hold the camera still
Put a removable center mark on the turntable or use a paper centering guide. Place the product so its main body rotates around that point. A handle can extend farther to one side, so check that it stays inside the crop at every angle. Set the camera on a stable support and leave room for the widest view of the item.
Start with the front, both sides, and the rear. Compare the top, base, and position against a grid in the preview or in an editor. If the entire object travels from left to right as it turns, recenter it on the table. If the framing changes while the base stays stable, inspect the item’s shape and leave enough space for its widest projection.
Set the focus using a surface with useful detail, then test which parts fall in focus through the rotation. For a box, the corner can be closer to the lens than the front face. Review a side and a three-quarter angle before locking a setting. Check that the product remains stable before touching the turntable again.
Make the light repeatable and watch reflections
Use a stable background and consistent light. Set exposure and white balance manually where possible. A light meter can help, but the most useful first check is a side-by-side comparison of several angles. If a darker side causes the entire image to brighten, correct the automatic exposure behavior before capturing the full sequence.
Turn the object and observe reflections. A highlight will move as the surface changes angle to the light. That movement can show the material clearly. A small bright hotspot that hides an entire label is a different problem. Move or diffuse the light, review the worst angle again, and lock the light position when it works.
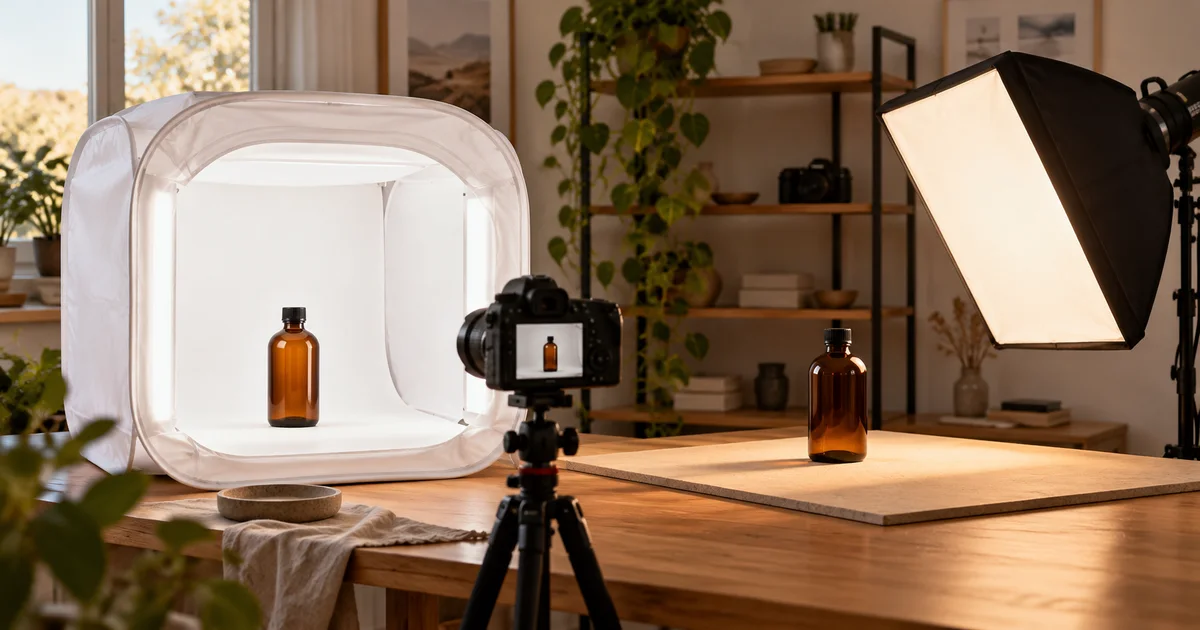
For a product with transparent areas or polished edges, compare the light source and background separately. A light tent can make some angles easy to capture. A separate source lets you place or shape the reflection. See the light box and softbox guide for choosing the physical setup.
Use equal steps and a predictable file order
Calculate the step as 360 divided by the number of pictures. For 24 pictures, the step is 15 degrees. Label the front as index 000 and the next picture as 001. The final picture is index 023 at 345 degrees. Capture the front again if you need a setup check and keep that extra frame outside the spin sequence.
On a manual table, mark the increments and wait for movement to settle before each picture. With a motorized platform, review its capture delay and trigger settings before starting. A manufacturer’s frame-count setting can automate even steps, but it still needs the correct camera and physical setup. Iconasys turntable controller documentation.
Record the frame name, angle, orientation, and any retake in the 24-angle capture worksheet. Use padded indexes in file names, for example sample-blue_007.webp. If you retake an angle, replace the intended slot in the exported set. Keep the original and revised captures in a separate working folder.
Review the seam and the final gallery
Play or scrub the images in order at the size the viewer will display. Look for a missing step, a sideways jump, flicker, or a duplicate front frame. Pause at the wrap from 345 to zero. The last transition should feel like another 15-degree move. If an object hesitates for two steps, check the frame order and the seam first.
Apply consistent color and crop settings. Inspect logos, seams, and included parts after any background cleanup. Preserve real angle coverage for a product gallery, since viewers use the spin to judge surfaces and details they cannot see in a front image. Add a separate campaign still when you want a more expressive background or lighting style. See the product photography shot list for choosing supporting views.
Frequently asked questions
How many photos should I take for a 360° spin?
Start with 24 evenly spaced stills to test the setup. Confirm the destination’s needs and increase the count if the motion or detail calls for smaller steps.
Do I need a picture at both zero and 360 degrees?
Use one front frame in the spin. With a 24-frame sequence the last slot is 345 degrees, followed by the first frame at zero.
Why does the product move sideways as it turns?
Check whether the product sits on the rotation axis. Test the front and opposite view, then recenter the object and make a short test sequence.
Can I shoot the sequence with a phone?
Use a stable mount and consistent capture settings. Test focus and exposure through several angles and check that the files meet the viewer’s requirements.
Should I retouch each frame separately?
Start with consistent adjustments across the whole set. Inspect any local correction in neighboring frames to catch changes that flash during the spin.
Prepare a supporting listing image
Use Image Lab for a separate campaign still from your approved front frame. Preserve the captured sequence for the interactive spin.