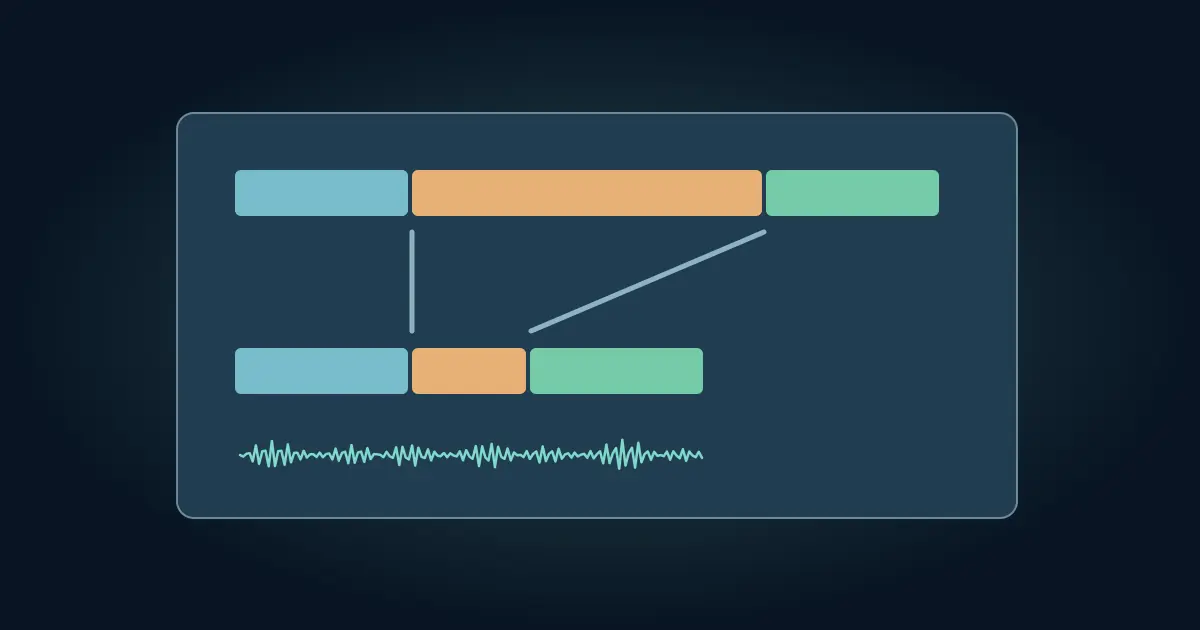

To speed up a video in CapCut, select the clip and open Speed. Choose the constant-speed option, commonly called Normal, and set a multiplier above 1×. To speed up only part of the shot, split at both ends of that section first and adjust the middle clip. Play through both joins before you export.
Keep any line or visible action the viewer must understand at a readable speed. A fast pass through setup footage can help the pacing. The same speed on the reveal can make the result harder to follow.
Decide what should get shorter
Watch the original and mark where the useful action changes. In a short tabletop demonstration, there may be a spoken introduction, a repetitive section while the person lays out pieces, and a reveal with the finished object. The repetitive middle is a good candidate to shorten. The first line and reveal stay close to the original timing.
Duplicate the project before making the change. If you later find that a fast segment cut out a useful motion, you can compare the source and the edit. Write down the original time range. Once a clip speeds up, the timeline after it may shift, so source and output time are different references.
Apply a constant speed to one section
- Place the playhead at the start of the section and split the clip. Split again at the end. Leave the surrounding pieces at normal speed.
- Select the middle piece. In the Speed controls choose the constant or Normal option and increase the multiplier. CapCut's speed workflow distinguishes a uniform speed from selective changes and ramps.
- Check the new duration and inspect the next clip's start. Close an unintended gap if the timeline does not move the pieces together in your setup.
- Play from a second before the first split through a second after the last. Compare the rhythm and watch for a sharp jump in movement or sound.
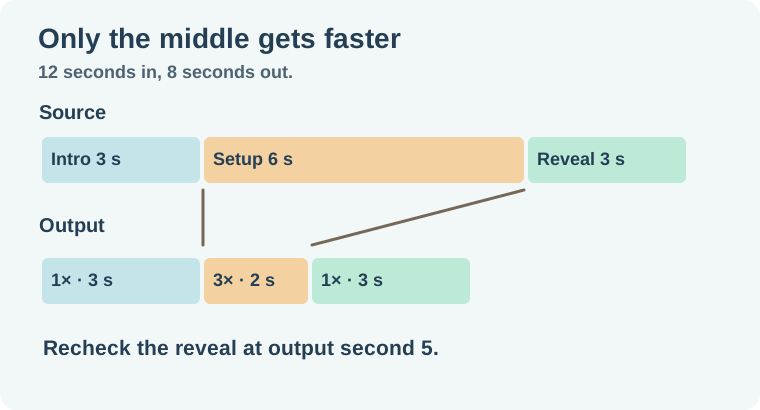
For this worked example, the original is 12 seconds. Leave seconds 0 to 3 at 1×. Run the next six seconds at 3× so they occupy two seconds. Leave the last three seconds at 1×. The finished sequence is eight seconds long, and the reveal that began at source second 9 now begins at output second 5. This calculation gives you a target to check against the timeline.
Keep the dialogue intelligible
Listen to the sped-up segment without watching the picture. If it contains speech someone must understand, preserve the original speed for that phrase or use a separate clean voice track over the faster action. A pitch-preservation option can change how retimed audio sounds, but the words still take less time to play. It cannot give back listening time.
If only object noise matters, decide whether the fast version is useful. A series of clacks can become distracting at 3×. Mute or lower the retimed clip where appropriate and add a short room or music bed on a separate track. Listen for a sudden change at the join. If the original audio resumes abruptly, a brief transition can help, provided it does not cover the first word of the reveal.
A detached dialogue or music track may stay at its original duration while picture changes. Use the audio sync troubleshooting guide when the mismatch persists after you check where each clip starts.
Use a speed curve when the transition matters
A constant speed cut is easy to audit. Start there if the middle section can be shortened cleanly. A curve is useful when you want the shot to accelerate or ease back into normal motion. Compare the curve on a copy and keep attention on the important action. An elaborate ramp can make a simple demonstration feel less clear.
Retiming can shift separate captions, titles, and music cues. Review them after the timing is settled. Read the final subtitle on a phone. In the example, a caption that was attached to source second 9 might have to appear around output second 5. Do not assume a separate text clip moved with the video. For the next pass, the TikTok editing walkthrough covers cadence, captions and sound together.
Check which edits the viewer should still be able to count. In a recipe demonstration, three strokes of a brush may establish the technique, while fifteen more strokes can run fast. Preserve one full action before the speed change so the next action makes sense. If a caption says “three passes,” make sure the viewer can still see those three passes in the final file.
When you export, compare the actual duration with the plan and scrub just before the reveal. A transition can overlap pieces and change where the cut appears. A music beat that originally landed at second nine can land well after the reveal in the shorter edit. Move that beat intentionally or choose a quieter section to cut under.
How QuestStudio helps
Use Video Lab for a separate insert if the original lacks a closeup of the useful action. Place the insert in CapCut and time it against the same reveal. The CapCut crop guide handles framing once the pacing is right.
Export and watch the opening, both joins and the reveal at normal playback. Save the version that gives the viewer enough time at the moments that matter.
Download the capcut clip speed planner.
Frequently asked questions
Can I speed up just the middle of a clip?
Split at its start and end, select the middle piece and apply the speed change to that piece.
How long is six seconds at 3× speed?
It plays in about two seconds. The exact cut points can land on nearby frames depending on the timeline.
Does keeping pitch make fast speech easier to understand?
It can reduce the pitch change. The speech still plays faster, so keep important lines at a usable pace.
Why are my captions out of time after speeding up a clip?
The edited picture is shorter. Review separate caption clips against the new audio and picture.
When should I try a curve instead?
Try it when you need a visible acceleration or deceleration inside a shot and a constant speed change feels abrupt.