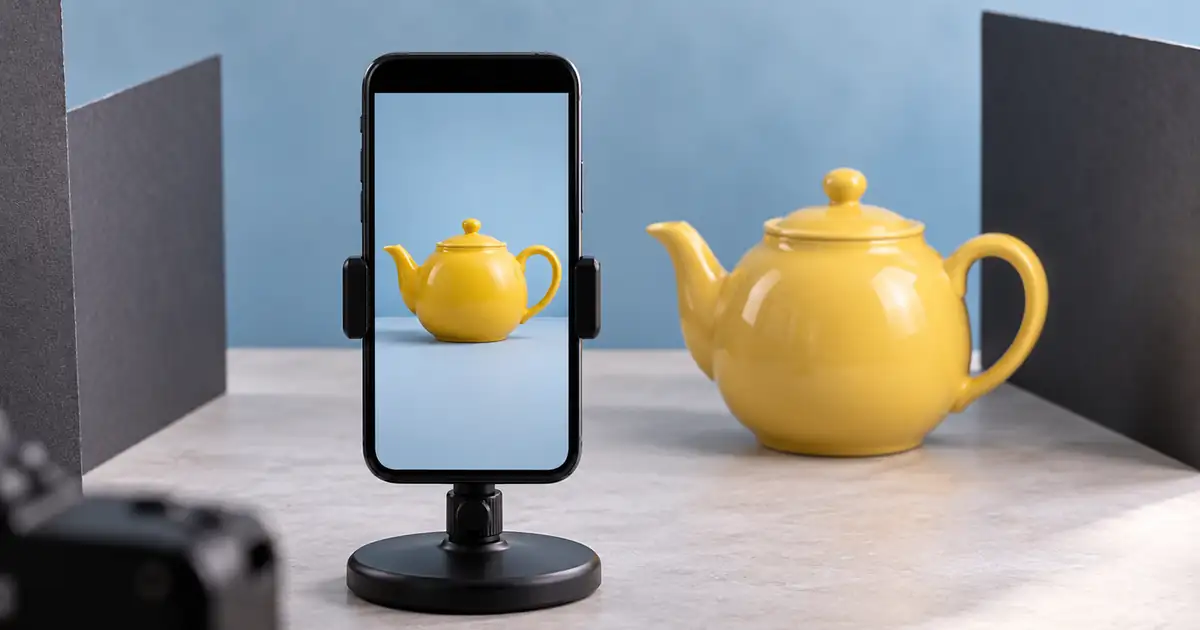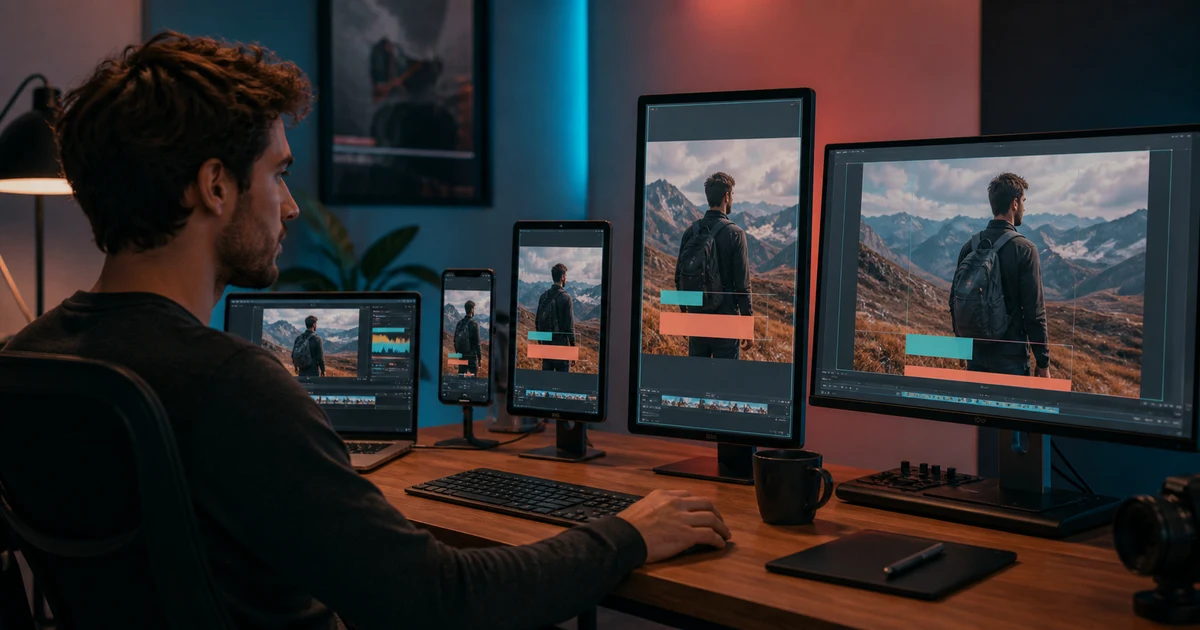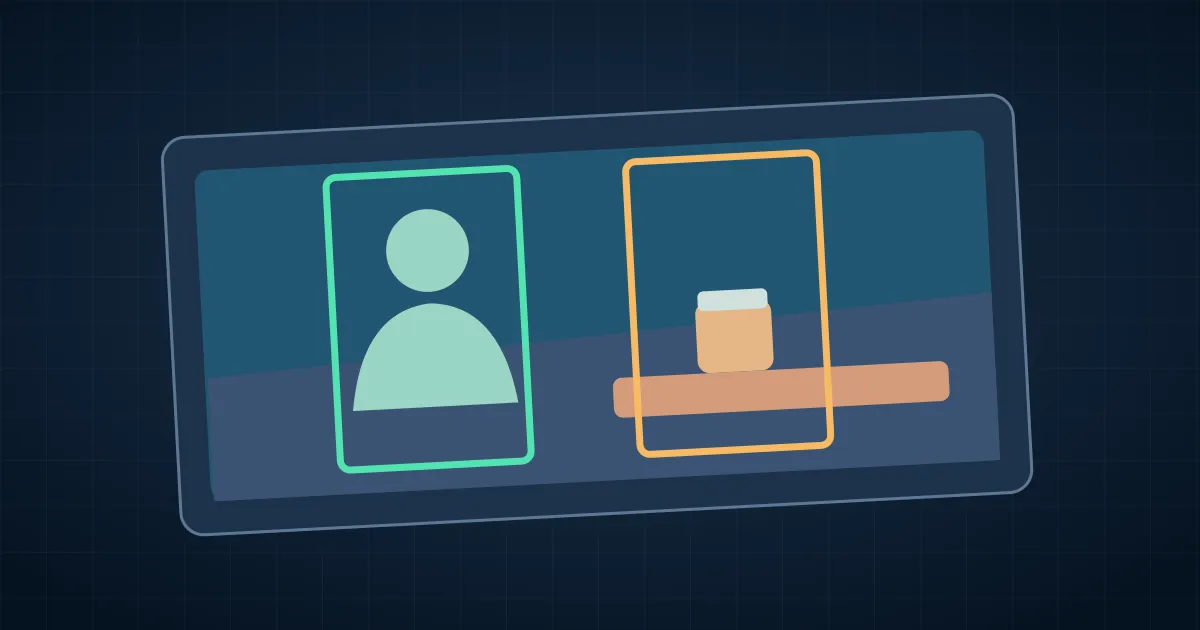

On CapCut desktop, select a clip in the timeline and open Crop to remove unwanted edges from that clip. To turn a horizontal project into a vertical video, set the project or canvas ratio to 9:16, then adjust the clip's scale and position in the new canvas. If the subject moves during the shot, split the clip or keyframe its position.
Those are three separate edits. Crop decides which source pixels remain. The project ratio sets the shape of the final video. Position decides which part of the clip the audience sees at a particular moment. Choose the edit that matches what looks wrong in the preview.
Pick a canvas before repositioning your clips
Duplicate the project or make a version for the new destination. Keep the original horizontal edit so you can recover an entrance or reveal that does not fit in the vertical cut. Open the aspect-ratio control for the project and choose the destination shape. In the desktop editor, look near the preview for the ratio control. CapCut's desktop cropping guide shows the clip crop tool. Interface labels and placement can differ by build.
Pick 16:9 for the landscape deliverable, 9:16 for the vertical version, or 1:1 for a square version if the destination needs it. Choose the ratio first so you place captions, subjects and titles against the right frame. A source clip cropped to a narrow rectangle can still sit in a landscape project with black on both sides.
Crop the source only when an edge needs to go
Select the clip and open Crop from the timeline tools. Adjust the visible area around the portion you want and confirm. Use this when the same unwanted edge remains a problem for that clip, such as a boom stand that never enters the useful picture. Keep enough space around the speaker and props for the move you need later.
If the goal is a full-height vertical delivery, avoid trimming both sides of the source before checking what you need from it. The wide clip has room you can use to follow the subject from left to right. A tight source crop can remove that flexibility.
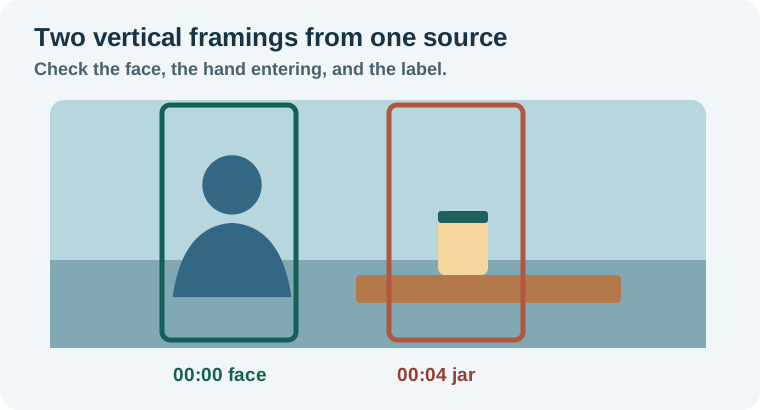
Reframe a wide shot that moves from face to product
Imagine an eight-second tutorial. The host speaks on the left for three seconds, puts a jar near the center at four seconds, and holds the label still at the end. A single centered crop cuts off the host. A fixed crop over the host misses the label.
- Set the canvas to 9:16 and select the wide clip.
- Increase scale until the desired image fills the vertical canvas, provided there is enough detail. Check the edges for empty areas.
- At the opening, position the shot so the speaker's eyes and speaking space sit comfortably inside the frame.
- At the product reveal, move the clip so the jar and the hand holding it remain visible. Use the position keyframe controls on the clip to set the starting and ending values if you want a move between them.
- Scrub through the movement. If the move feels like an unexpected camera pan, split on the action and use two stable framings instead.
Pause at the first contact with the jar. That is the moment when a crop that looked fine at the beginning and end often loses the hand. Record three checkpoints with the cue sheet and add another if there is a fast movement between them.
A purely geometric example explains the squeeze. A 1920 × 1080 source viewed at full source height through a 9:16 window shows about 608 source pixels of width. That is roughly a third of the landscape frame. The project can still export at 1080 × 1920, but the narrow source area has been enlarged. Check fine print and hair detail in the actual exported file.
Fix black bars, clipped captions and sudden jumps
If the export has black bars, start by checking the project ratio and the clip's scale. A clip with black bars already baked into the file may need a source crop first. If you want all of a landscape frame visible in a vertical canvas, use an intentional background or layout and give the wide image space. Filling the canvas and preserving every source pixel are different choices.
Check captions after the crop. A title placed at the far left in the horizontal edit may now overlap the subject, and a caption close to the lower edge can run into platform controls. The vertical video safe-zone workflow explains how to check the final placement. Review the exported file at phone size, including the busiest frame and the end card.
If the crop jumps, confirm you adjusted position on the intended clip at the intended time. Look for a stray keyframe after the reveal or a sudden scale change across a cut. Compare that moment with a version that simply cuts from one framing to the next. A stable cut can tell the story more clearly than a visible search for the subject.
How QuestStudio helps
Use Video Lab for a separately generated vertical insert when the source never includes a usable view. Keep any factual product labels or details grounded in verified footage. For a complete social edit, the TikTok editing walkthrough covers cut order, caption and audio checks after the framing is settled.
Export and reopen the actual vertical file. Check its dimensions, then watch the first line, the movement and the last frame without scrubbing. If all three show what the viewer needs, your crop is ready.
Download the capcut reframe cue sheet.
Frequently asked questions
What is the difference between crop and trim?
Crop removes image area within frames. Trim changes where a clip starts or ends in time.
Why do I still see black bars?
Check canvas ratio, clip scale and whether the source contains baked-in bars. Inspect the exported file outside CapCut.
Can the crop follow a moving subject?
Animate clip position with keyframes, or split the clip and set a stable framing for each shot.
Does cropping lower quality?
Enlarging a smaller portion of the source can make detail look softer. Check the real export at its target size.
Do captions follow the crop automatically?
Review their position in the new canvas. Text added as a separate layer and text baked into the source behave differently.