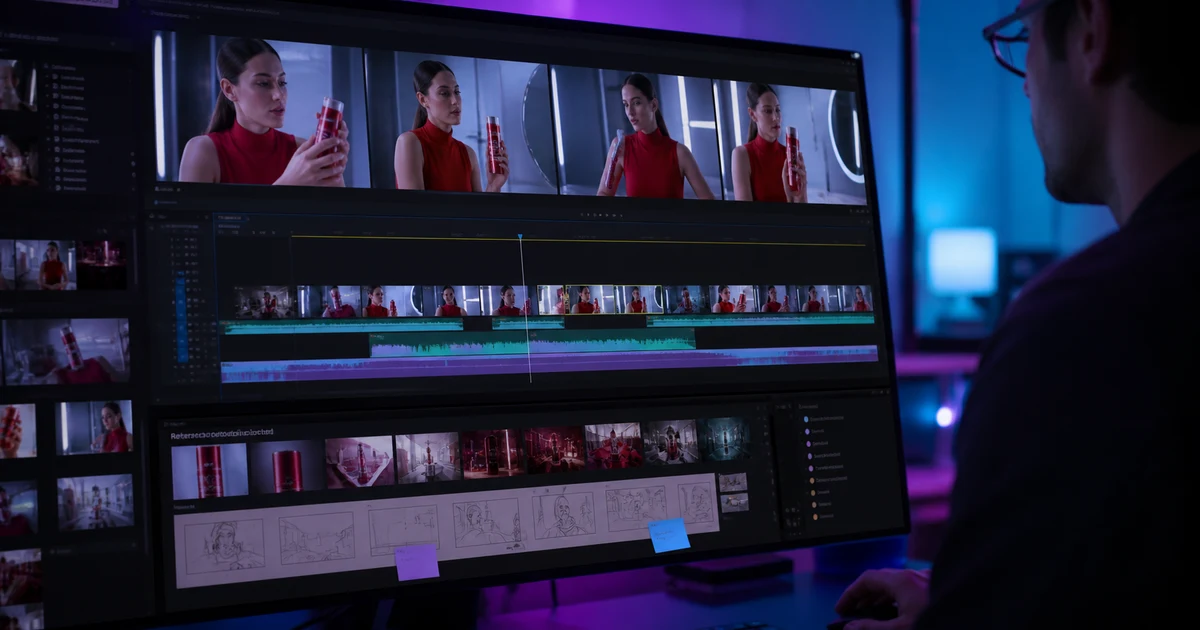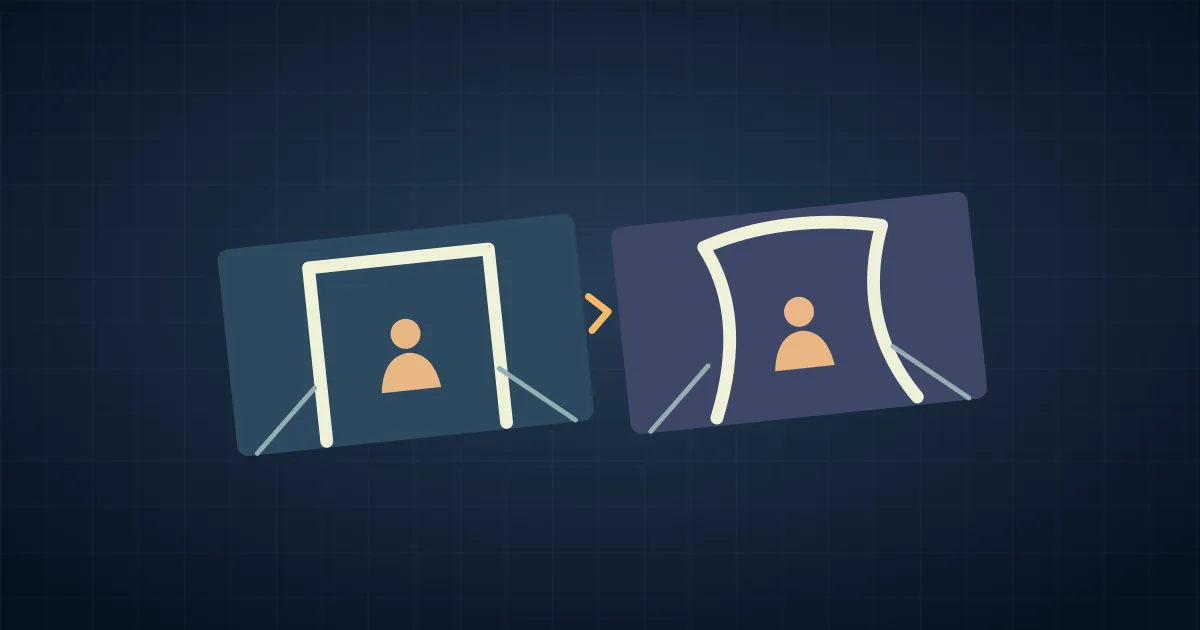

To stabilize a clip in Premiere Pro, select the usable portion, then drag Warp Stabilizer from Effects → Video Effects → Distort onto it. Wait for the analysis to finish and play the shot at normal speed. If a doorway bends or the image zooms in too far, lower Smoothness or try a simpler Method in Effect Controls.
A hand-held move can still feel deliberate after stabilization. The goal is to remove the distracting bump while preserving the shot you chose. Compare the before and after over the whole move, especially where an object passes near the frame edge.
Prepare one clean clip for analysis
Duplicate the sequence or keep a nearby comparison version. Trim off the unusable start or end and isolate one continuous shot before applying the effect. A whip at the beginning that never appears in the edit can distract you from the part that needs work. If the file contains several shots from a previous export, split the file at the cuts first.
Apply Warp Stabilizer to the intended clip and let both analysis and stabilization complete. Adobe's Warp Stabilizer instructions also describe the dimension requirement. When Premiere says the clip and sequence dimensions do not match, nest the clip and apply Warp Stabilizer to the nest. Inspect the nested framing before you compare the result.
If you are also changing speed, isolate the two operations in separate sequence layers if Premiere rejects applying both to the same clip. Test a short section through the exact order you will use. Time changes can alter how a motion looks even when the framing is identical.
Choose motion and method separately
Smooth Motion keeps some camera movement while reducing shake. Start there for a pan, a walking shot or a deliberate push. No Motion aims for a fixed camera result and can ask for more crop when the original camera travels. It fits a shot that was meant to look locked if there is enough room around the important details.
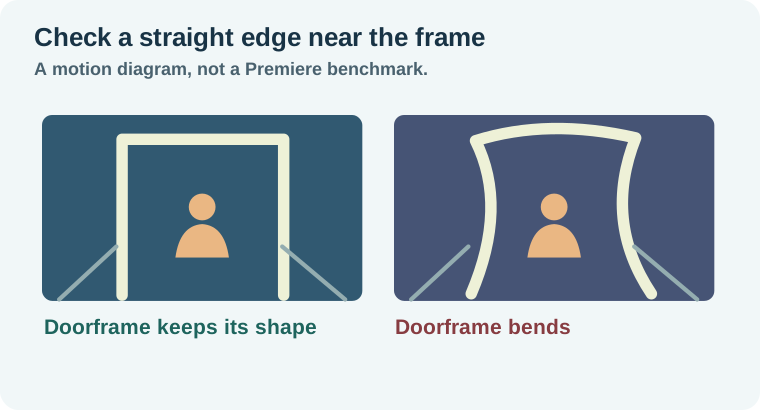
Method determines what kinds of correction the effect may use. A simpler Position or Position, Scale, Rotation method can be a good comparison when Subspace Warp makes parts of the image flex. A straight beam or doorframe is a useful witness. Watch it near the edge while the main subject moves, then inspect the hand or prop you originally wanted to see.
Change one variable at a time. If you switch the motion result, reduce Smoothness and change the method together, you will not know which decision reduced the crop. Adobe's settings reference explains the choices and border handling.
Worked example: smooth a short doorway approach
Imagine an eight-second clip walking toward a workshop bench. A vertical doorframe is near the right edge, and the speaker raises a mug near the end. Make an original reference and set three review points. Check the entry step, the doorframe halfway through and the mug as it enters.
In candidate A, try Smooth Motion and Subspace Warp at a modest Smoothness setting. Ten percent is a convenient example value for an A/B comparison, with no promise that it fits your clip. In candidate B, hold Smoothness constant and choose Position, Scale, Rotation. Play both versions next to the original. Record whether the move still advances naturally and whether the doorframe keeps its shape.
Suppose A looks still in the center but makes the wall lean briefly, while B preserves the wall and leaves one small step visible. Decide which defect is more distracting in the finished edit. If B is preferable but the step still draws attention, try slightly more smoothing on B and inspect the crop again. The result is a choice about the shot, not a contest to reach the lowest visible motion.
Watch what the crop is hiding
Stabilization repositions frames. That can leave empty areas around the edges, and framing settings can crop and scale to hide those areas. Temporarily inspect the border behavior without automatic scaling where helpful. An excessive zoom can cost more than the original shake, especially when the subject starts close to the edge.
Play the final crop in context. A stabilized take that cuts off the mug at the end fails the example even if the doorframe is perfect. Compare it with a shorter section, a less aggressive pass or a clean cutaway. Stabilization cannot bring back an object that has already left the recorded frame or recover detail lost to motion blur.
For a problem confined to a small segment, the one-bad-second repair guide gives ways to isolate the bad moment. If a generated clip's geometry itself moves from frame to frame, the image-to-video jitter diagnosis helps identify when a new generation is a better source.
Keep a record of how you framed the final version. If the same clip needs a vertical cut, compare stabilizing in a source-shaped sequence before reframing with analyzing inside the delivery sequence. The crop available to hide movement changes when you work with a narrower frame. In either case, review the result after all scaling and reframing. A pass that is acceptable in the wide master may leave too little space for the vertical version.
How QuestStudio helps
Use Video Lab to prepare a separate insert if the shaky take cannot support the final edit. Keep factual footage for the action or product details that must be accurate. Stabilize the recorded clip in Premiere and make the cutaway decision in the context of the timeline.
Export a short proof across the worst bump and the crop-sensitive moment. Review the moving edge, the subject and the cut on the device that will play the finished video.
Download the stabilization comparison log.
Frequently asked questions
Should I use No Motion for every clip?
Use it for a shot meant to look locked. Smooth Motion is a better starting point when you want a deliberate pan or push to remain.
Why is Premiere asking me to nest the clip?
Warp Stabilizer expects the clip dimensions to match the sequence. Nest mismatched clips and apply the effect to the nest.
Why does the background wobble?
Compare a lower smoothing amount and a simpler method. Check a fixed architectural edge throughout the shot.
Does stabilization repair blur?
It changes frame alignment. Blur already recorded within a frame remains a separate issue.
Can I stabilize an entire edit at once?
Work shot by shot so the analysis handles one continuous camera move and you can inspect framing for each cut.