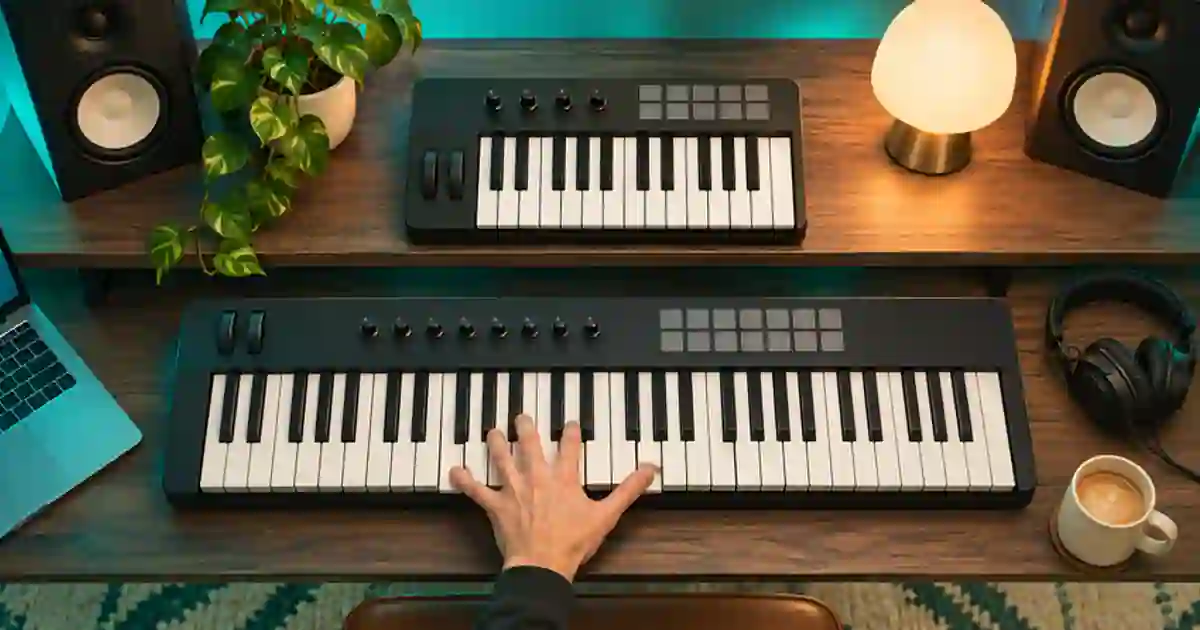

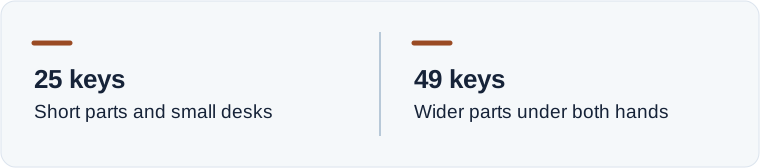
Choose 25 keys when you mostly enter bass lines, drums, or short melodies one hand at a time. Choose 49 when you routinely play parts that need a wider range in one pass. I’d judge both sizes with a phrase you actually write. Counting how often you stop to change octaves tells you more than a photo of the controller on an empty desk.
My gear pick for this setup
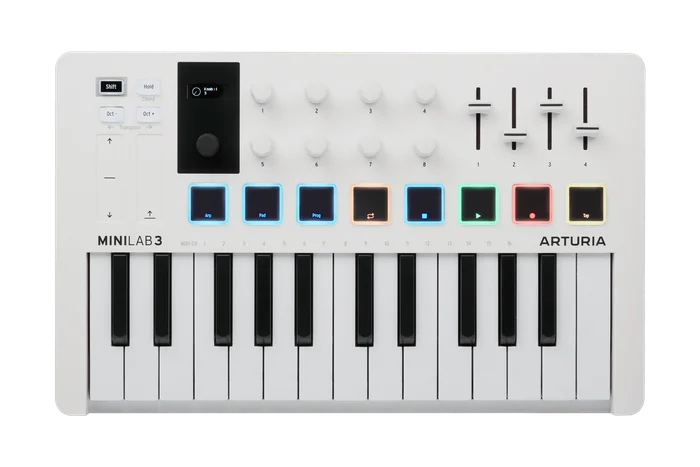
Arturia MiniLab 3, white
For a compact setup focused on drum programming, short melodies, and one-hand parts.
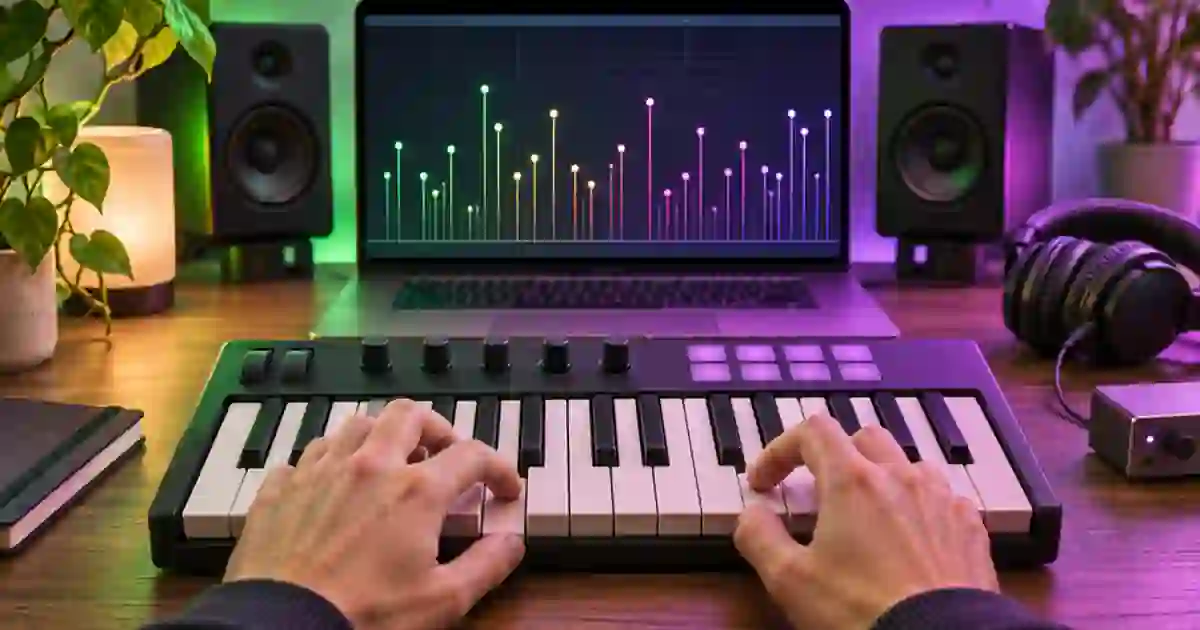
I’d pick the MiniLab 3 for short playable parts and a small desk. I’d move to a larger range if octave switching breaks a regular two-hand part.
Write down the notes you need at the same time
Find one short part from a recent project and identify its lowest and highest notes. If it is a bass line that stays in one octave, a compact keyboard can often play the whole phrase without shifting. If you play a low bass note with one hand while voicing a chord high up with the other, the same part may require more available notes at once. Octave buttons move the playable range. They cannot give you two distant ranges at the same time unless your setup has another way to split or remap the keyboard.
Compare the number of keys with their size and feel. Compact keyboards often use smaller keys, but the exact action and dimensions vary. If you play soft repetitions or reach for wide chords, try the key spacing and return feel where you can. For beat programming, test pad placement and whether you can reach play and record controls comfortably. Key count is one decision. The way the controller fits your hands and software is another.
Compare two musical jobs before ordering
Make a simple bass phrase and a two-hand pattern. In the first, use four short notes and one pickup. In the second, keep a low root note under two different chords. Try both on a small controller, or mark the available range on a keyboard you can borrow. Count the times you shift octaves and where the shift falls in the phrase. If the shift happens between takes, it may be easy to live with. If you need to shift mid-phrase while holding a note, more keys may make the performance easier.
Try the same test from an editing point of view. You can record the left and right hands separately and put the clips together in the DAW. That works well when you want control over each part. If the timing or dynamics of one hand depend on the other, playing them together can give you an easier starting point. I’d choose the wider keyboard when that performance is central to the kind of music I make, especially if the larger layout can stay connected.
Measure the controller in the space you use
Check the manufacturer’s exterior width and depth and mark them with tape. Leave room for cables, the computer keyboard, and the mouse. Try sitting where you normally edit. A keyboard that fits on a shelf may still block your hands or controls when you pull it forward. If you travel with the setup, measure the bag and check the connector clearance. The controller needs to fit while you are using it, not just while it is stored.
Check software integration and audio routing separately. A MIDI controller sends notes and control messages. A software instrument or external sound module makes the sound. Verify which connections you need and whether a pedal or other controller will work with the model. If a bundle includes software, confirm the entitlement for the exact listing. The MiniLab and Ableton walkthrough shows how to verify notes and DAW controls in a small setup.
Buy for the part you will play again
Use a short loop from Music Lab as a timing or arrangement reference and play a new line alongside it. Keep the MIDI clip separate from the reference audio so you can change voicing and sound later. If the compact controller makes it easy to record the kind of part that adds to the track, choose it. If the best line requires a bigger span and you keep breaking it into pieces you would rather perform together, choose more keys.
Write the decision in one sentence before shopping. “I need two hands at once across these notes” is actionable. “I want more room to grow” is harder to check. You can revisit the decision after a few actual projects and see whether it still describes what you play.
Check the work after you leave the desk
Save the same idea in two versions and reopen both the next day. Check which one is easier to extend with an extra chord or a low note. If the smaller controller requires a new octave setting for every pickup, count those steps. If the larger keyboard is hard to leave connected, measure how often you move it to get back to the mouse. The right size should work during revisions as well as the first take.
A two-phrase size test
Record four bars of bass and then a chord pattern with a low held root. On a small controller, count each octave change and note whether it interrupts the performance. If you have a wider keyboard, repeat without changing the instrument or tempo. Listen to both versions and check how much editing you need. Measure the desk with the controller footprints and include rear cable clearance. Choose the size that lets you record the part you want while leaving room to edit.
Download the midi keyboard size worksheet (CSV)
Frequently asked questions
Are 25 keys enough for producing beats?
Often. Try your normal drum, bass, and melody parts. Check whether the pads and octave controls fit how you enter them.
Can 49 keys replace a full digital piano?
That depends on range and key action. Compare your real parts, especially two-hand pieces and sustained low notes.
Can I use octave buttons instead of more keys?
They move the current range. If a part needs separated notes simultaneously, more keys or a suitable split may be easier.
Do MIDI keyboards make sound on their own?
A controller needs a sound source such as a software instrument or external module. Check whether the particular keyboard includes its own sound engine.
Sources and further reading
Affiliate disclosure
As an Amazon Associate I earn from qualifying purchases.
Continue with a useful next step
 Music
MIDI Keyboards for AI Music: Where MiniLab 3 Fits In
See where a MIDI keyboard fits an AI music workflow. Review Arturia MiniLab 3, separate audio from MIDI, and try an eight-bar arrangement before buying gear.
 Creator Workflows
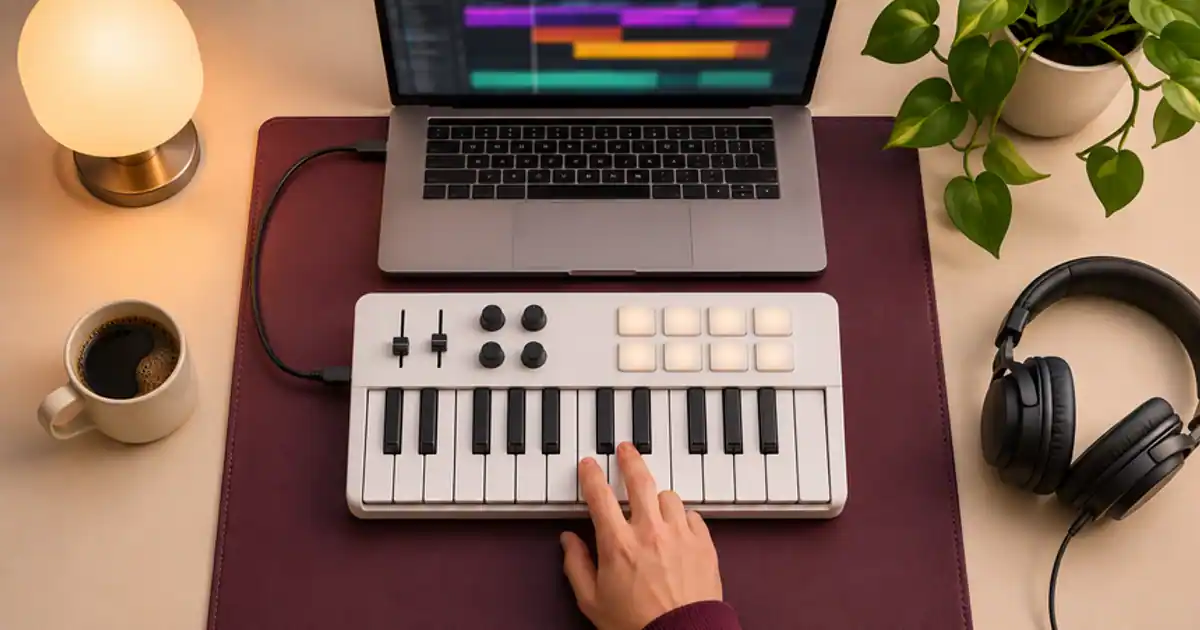
Arturia MiniLab 3 With Ableton Live Lite: First Track
Set up an Arturia MiniLab 3 in Ableton Live Lite, record a playable four-bar MIDI clip, and decide if a compact controller fits the music you make.
 Music
MIDI Keyboard Velocity for More Natural Accents
Fix flat MIDI keyboard dynamics by comparing note velocities, controller curves and instrument response. Keep the accents that make the phrase feel natural.