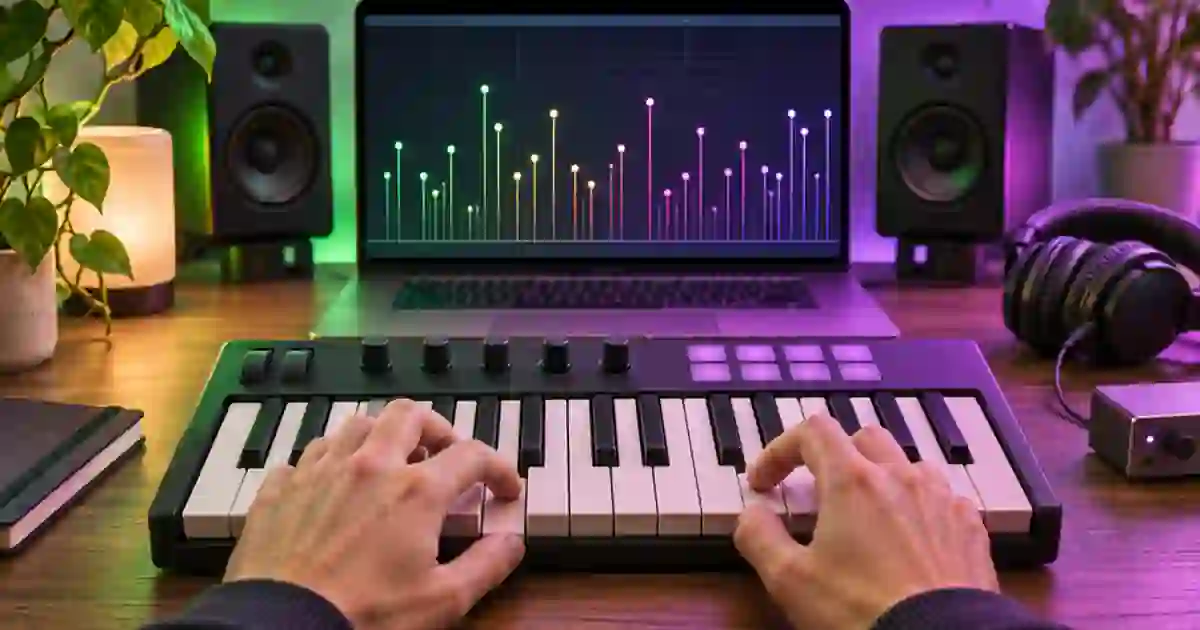

If every MIDI note in your keyboard recording feels equally loud, I recommend looking at the velocity lane before changing the instrument preset. Play the same notes softly, normally and firmly. If their values barely change, check the controller and recording path. If the values do change, check how the instrument responds to them.
My gear pick for this setup
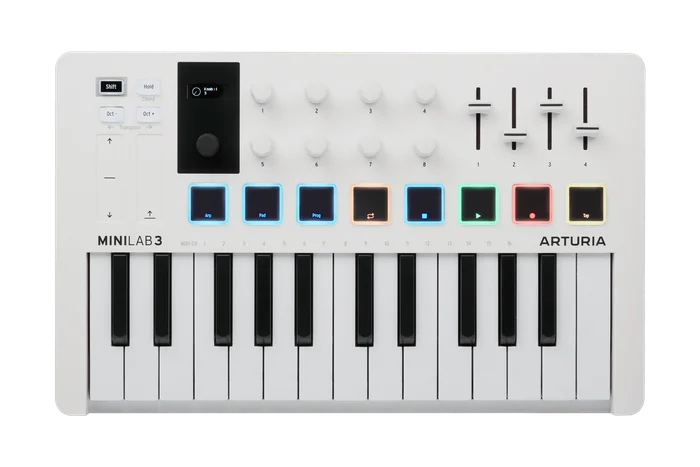
Arturia MiniLab 3, white
A compact controller for testing touch and accents
I’d consider the white Arturia MiniLab 3 for a small desk that needs playable keys and adjustable response. Check the manual for the current curve controls and test your chosen patch.
Compare input values before judging the sound
Velocity represents how a MIDI note was struck or the value assigned to it. For MIDI 1.0 note-on messages, playable note-on velocities are generally 1 to 127. A zero note-on velocity is commonly treated as note-off. A virtual instrument can map velocity to amplitude, brightness, sample layers or other behavior. The same notes can feel different when you move to another patch even if the recorded velocity values are identical.
Record a simple three-note phrase at different touch strengths without extra MIDI effects. Open the editor’s note velocities and compare the values. If the controller sends a range of values but the sound stays flat, try another instrument patch or inspect its velocity response. If every value is the same, look for a fixed velocity option, MIDI effect or editing setting that changes the incoming notes. I record a short sample so I can distinguish the controller from the patch.
Choose a curve around your normal touch
A velocity curve changes the relationship between how you strike a key and the number the controller sends. Use the manufacturer’s supported setting for your exact model. For example, a softer response can make stronger values easier to reach, while a harder response may give more room below the top of the range for a heavier player. The labels can differ across controllers, so test the result instead of relying on the name.
Compare two settings with the same short phrase and instrument. Write down the approximate low, middle and high values you can produce comfortably. If most notes crowd near the top, try the curve that gives your touch a more useful spread. If you cannot reach the accent you want, try another setting or edit the specific note. I favor the curve that lets me play the part comfortably rather than requiring exaggerated strikes for ordinary accents.
Keep the accents that serve the arrangement
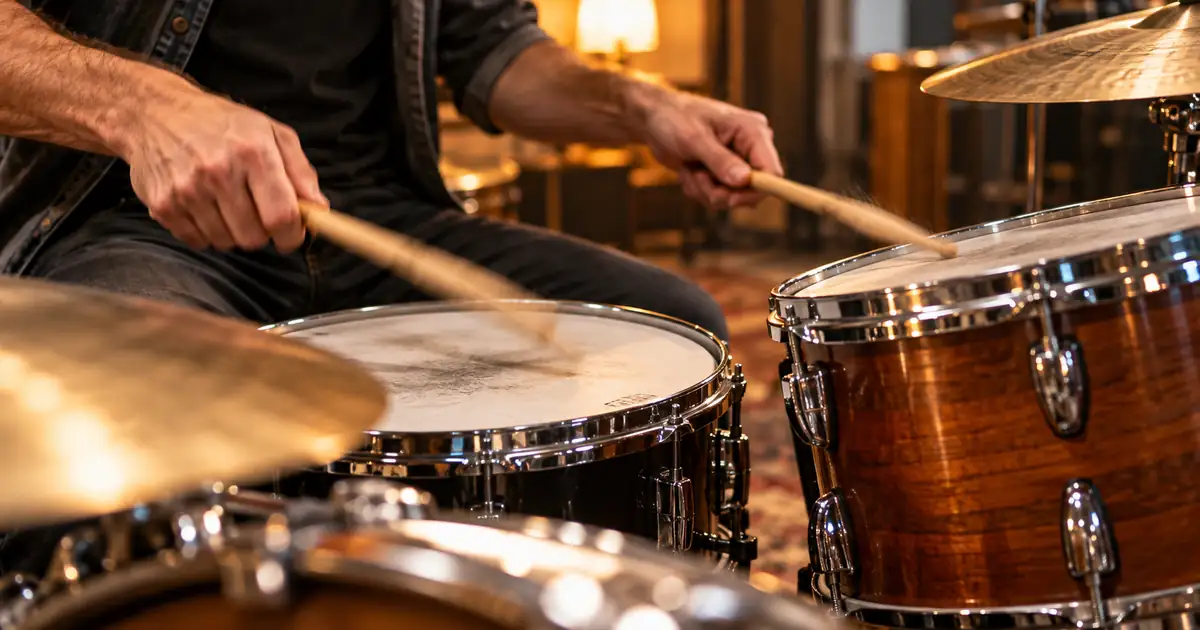
For a four-beat drum part, I might make the main hits stronger and the nearby ghost notes quieter. In the editor, inspect the first pass before flattening everything. Fix the few notes that distract from the groove. If an instrument sounds too harsh at the top velocities, try balancing the patch or changing the response before removing useful performance detail. Quantizing timing and changing note velocity are separate edits.
On a sustained instrument, touch can change the attack but may not continuously change the sound after the note starts. Use the instrument’s controls for sustained dynamics when needed. Check the phrase at the intended music level and hear it under narration. Stronger accents can help a transition land, while a sudden loud hit can compete with a word. The MIDI controller guide covers setup choices and the mono review workflow gives another way to check the music in context.
Keep the performance beside the rendered audio
I save the MIDI clip and the audio render together. If I use Music Lab to explore a separate music bed, I compare the rendered phrase and the bed in the actual edit. MIDI gives you editable note events. The rendered audio is what you can audition and mix alongside the other track. Keep the timing, accents and versions labeled so you can revisit the decision later.
Check the instrument response with a fixed phrase
Copy the same four MIDI notes into two instrument tracks. Keep the pitches, timing, and velocity values identical. Try velocities of 40, 65, 85, and 110, then listen to both with their output levels close enough to compare. One instrument might change loudness at each step. Another might change sample layer or filter tone near the top. When only one patch produces the problem, adjust that patch before changing your keyboard curve.
Write down the curve and the instrument preset beside the MIDI clip. For a percussion part, compare the soft notes in the context of the bass and lead, since a ghost note can disappear in a busy mix even when the velocity difference is obvious in solo. For sustained keys, listen for an abrupt tone change on the accented note. Save the four-note clip so you can repeat the comparison whenever you change the patch.
Choose a playable range on a four-beat phrase
Use a four-beat sequence with a soft lead-in, two ordinary hits and one accent. Record it on two controller settings without changing the sound. In the velocity lane, compare how far the hits spread and whether the strongest note is the one you intended. I would choose the setting where an ordinary touch leaves room for a noticeable accent. If the recorded numbers vary but the patch still feels flat, compare another patch or check its response. If the same note keeps hitting too hard, edit only that note and listen again. Play the phrase under the planned narration or scene transition, then keep both the raw MIDI and the chosen render. The worksheet can hold the curve, instrument, approximate value range and the accent you kept.
Download the music production workflow worksheet (CSV)
Frequently asked questions
Is velocity the same as volume?
Velocity is note-event data. An instrument can use it for loudness, brightness, sample selection or another behavior.
Why are all the MIDI velocities identical?
Check for a fixed controller setting, a MIDI effect, or an editing operation that replaced the incoming values.
Can I change velocity after recording?
Yes. Edit the note values in your MIDI editor and listen to the result through the actual instrument patch.
How should I choose a velocity curve?
Compare two curves using the same notes and patch. Keep the one that gives your ordinary touch enough range for soft notes and accents.
Sources and further reading
Affiliate disclosure
As an Amazon Associate I earn from qualifying purchases.
Continue with a useful next step
 Music
MIDI Keyboards for AI Music: Where MiniLab 3 Fits In
See where a MIDI keyboard fits an AI music workflow. Review Arturia MiniLab 3, separate audio from MIDI, and try an eight-bar arrangement before buying gear.
 Voice
How to Check a Voiceover and Music Mix in Mono
Check a voiceover and music mix in mono to catch masked words, vanishing effects and stereo phase issues. Compare the same phrase at a matched level.
 Music
AI Music Drum Fills: Lead Into the Next Section Cleanly
Shape AI music drum fills around the next section. Compare restrained, busy and quiet transitions, protect the vocal phrase, and check the incoming downbeat.