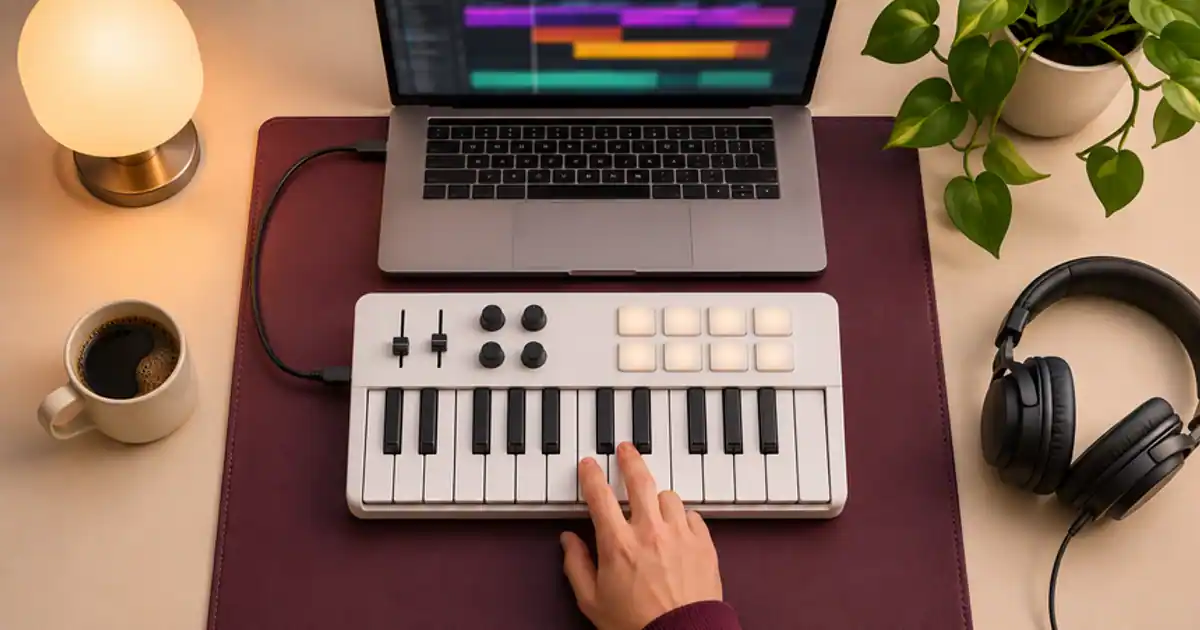

Set up the MiniLab 3 in Ableton Live Lite by connecting the controller, loading an instrument on a MIDI track, and proving that a single key can make sound before configuring the pads and knobs. I’d buy a compact controller for a part I want to play, such as a bass line, a drum pattern, or a melody. If your job is only to edit an existing stereo file, you can start without one.
My gear pick for this setup
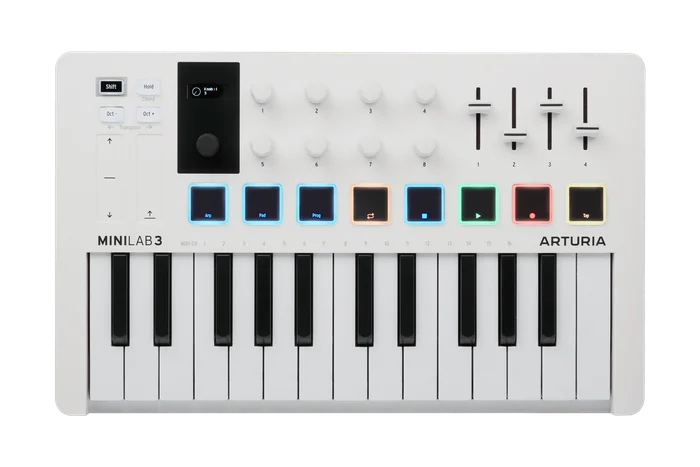
Arturia MiniLab 3, white
For a small desk where keys, pads, and basic DAW control are more useful than a large keyboard.
I’d pick the MiniLab 3 for short parts and quick edits in a compact setup. If a used bundle is on your shortlist, check software entitlement and transfer before you pay.
Check the exact package and software access
Before ordering, confirm which software is included with the listing and how you redeem it. For a used unit, verify whether the seller can transfer the hardware registration and whether any bundled software license comes with it. Those are separate questions. Check your operating system against the current requirements for the Ableton version you intend to install. If you already own a compatible version of Live, you can judge the controller on the hardware and integration you need.
Measure where the keyboard will sit while you use the mouse and computer keyboard. Think about the largest part you plan to perform. A compact range can work well for drum input, a single-hand bass part, and short melodies. For two-hand parts across a wider range, test octave changes or consider a larger keyboard. If your workflow relies on a particular pedal, external instrument, or connection, check the model documentation for the physical port and how it is configured.
Get a sound before mapping controls
Connect the MiniLab to the computer and open Live. Set the normal audio output so you can hear Live play. Add a MIDI track, load a software instrument, and arm that track. Press a key and check whether Live receives MIDI and the track makes sound. If the MIDI indicator responds but there is silence, check that the instrument is on the track, the track can be monitored, and the main audio output goes where you are listening. The keyboard sends performance data. The software instrument makes the audio.
Use Arturia's integration instructions for the DAW control surface and matching MIDI ports. A working note input and working transport controls are two different checks. If keys play but a transport button does nothing, verify the control surface settings and the controller's DAW mode. If a single press triggers two notes, check whether the same performance is routed through more than one input. Make one change at a time and play one note after each change.
Record one clip you can hear in context
Set a comfortable tempo and turn on the metronome. In Session View, record into an empty clip slot on the armed track, or record a short passage into Arrangement View. Start with four bars. Play a simple bass note on the first beat of each bar and add a pickup on the last half beat before the loop returns. Play it back before quantizing. Move a late note if it interferes with the groove and keep a small variation that feels deliberate. Try the pads on a separate drum track when you can already record and replay notes.
Use one knob or fader for a change you can hear. For example, test moving an instrument control during one bar, then see whether Live records the movement as intended. If you map a knob manually, write down what it controls. A layout that makes sense for one project may conflict with a different preset or DAW script. Keep a simple working default so you can still record quickly after experimenting.
Decide whether it earns the desk space
I’d compare entering four bars with the mouse against playing them twice on the controller. Check how long it takes to get a part you want to keep, how easily you can find the notes, and whether the physical controls help with another task. If you frequently need a wider keyboard, make that decision before buying. If the compact keys are enough and the controls make repeated recording easier, the smaller footprint is a benefit you will feel every session.
Draft a short mood or rhythm in Music Lab and use the audio as a listening reference in your project. Put your played MIDI part on its own track. Check whether it supports the intended groove. Retain the editable MIDI clip and render your final audio separately. The velocity guide is useful if an instrument feels too stiff or changes tone when you hit an accent.
Check whether you need another input device
Play the same short phrase twice while using the computer keyboard for transport. Then run it with the controller's transport assigned. See which feels quicker when you start and stop repeatedly. If you want more pads for a drum set, count how many sounds you need simultaneously and test bank changes. The hardware choice gets clearer when it is tied to one repeated movement instead of the number of controls in a product photo.
A four-bar test before the return window closes
Load a bass or keys instrument. Record one note at each bar line and a pickup before the loop restarts. Make a second clip with a one-bar drum pattern. Use the controller to record both, then test one transport control and one knob. Save the set, close it, and reopen it. Confirm your inputs and sounds still work. Decide which action saved you enough effort to repeat. If you spent most of the time changing octaves or reaching around a crowded desk, write that down before choosing a different size.
Download the ableton live lite midi setup worksheet (CSV)
Frequently asked questions
Why does Live see MIDI but play no sound?
Load an instrument on the MIDI track, check track monitoring or arming, and verify that Live's audio output is routed to your speakers or headphones.
Why do the keys work but the transport buttons do not?
Check Arturia's DAW integration steps, the controller mode, and the control surface's assigned MIDI ports. Note input can work independently of transport.
Does the MiniLab 3 make sound on its own?
It is a controller. A software or hardware instrument makes the sound in response to the notes it sends.
Does a used MiniLab 3 include Live Lite?
Verify the seller's software entitlement and transfer details for the exact unit. A hardware purchase does not guarantee a redeemable software code.
Sources and further reading
Affiliate disclosure
As an Amazon Associate I earn from qualifying purchases.
Continue with a useful next step
 Music
MIDI Keyboards for AI Music: Where MiniLab 3 Fits In
See where a MIDI keyboard fits an AI music workflow. Review Arturia MiniLab 3, separate audio from MIDI, and try an eight-bar arrangement before buying gear.
 Music
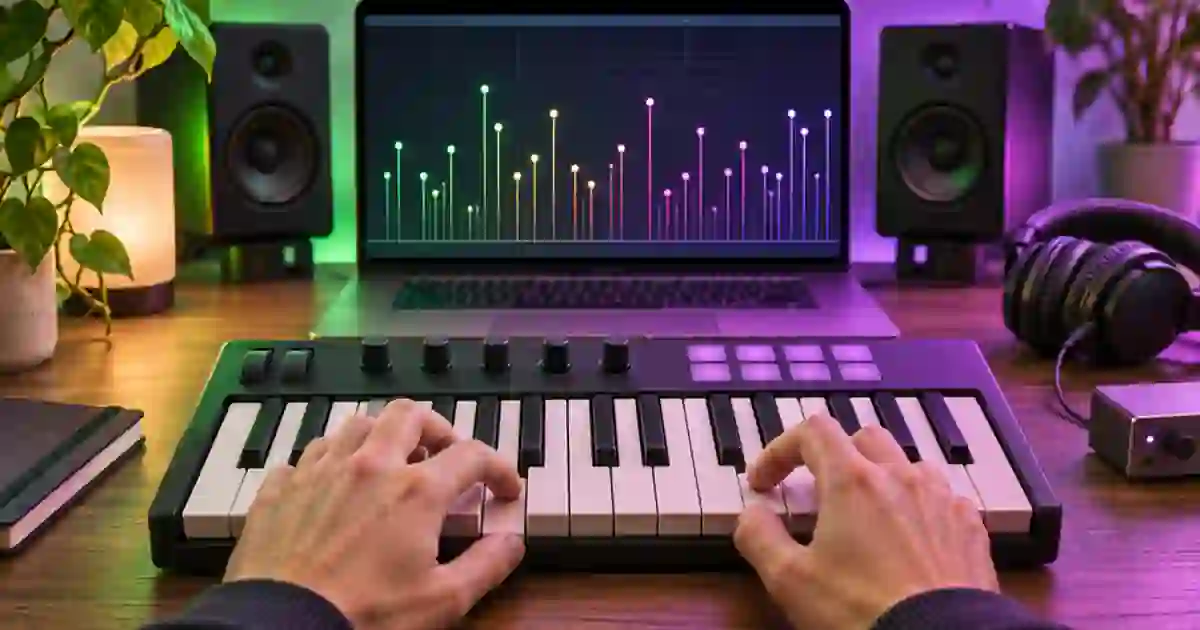
MIDI Keyboard Velocity for More Natural Accents
Fix flat MIDI keyboard dynamics by comparing note velocities, controller curves and instrument response. Keep the accents that make the phrase feel natural.
 Music
AI Music Drum Fills: Lead Into the Next Section Cleanly
Shape AI music drum fills around the next section. Compare restrained, busy and quiet transitions, protect the vocal phrase, and check the incoming downbeat.