
An ABR file is a Photoshop brush pack. To add it in Photoshop desktop, open Window → Brushes, open the Brushes panel menu, choose Import Brushes, and select the .abr file. Expand the imported group and select one preset with the Brush tool active. If the download came as a ZIP, extract it first and point Photoshop at the ABR inside.
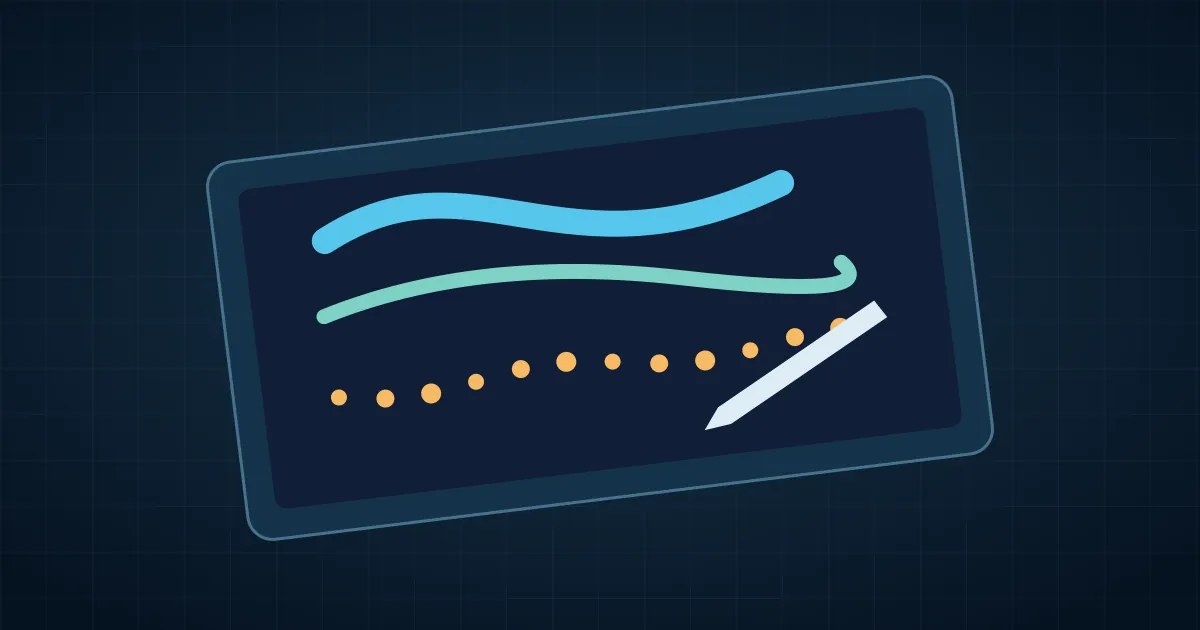
Installing the pack takes a minute. The useful part is finding out whether the preset actually does what you bought or downloaded it for. A charcoal brush can look great on the preview card and leave a trail of evenly spaced dots on your photograph. Here is a short test you can reuse for any new pack.
Find the ABR and import it once
Open the downloaded folder and look for the actual extension. A PDF usually contains instructions, a JPG shows sample strokes, and a PNG might be a source texture. Import the ABR. Keep the original download and any usage terms in the project or asset archive so a collaborator can identify the same pack later.
Open the Brushes panel, plural. Brush Settings is a different panel for adjusting how the current brush behaves. From the Brushes panel menu choose Import Brushes and select the file. Scroll through the preset list and expand the imported group. If you see several copies, check the pack names before cleaning up so you keep the one you intended to use. Adobe documents the import and the companion export command in its brush pack instructions.
Select the Brush tool and click a preset. Make the first mark on an empty pixel layer above a plain background. That makes it easy to distinguish an installation problem from a locked layer, an active mask, or an unexpected blend mode in an existing project.
Make three marks on a test canvas
Create a 1,200-pixel-wide practice document. Put a light gray fill at the bottom and make a blank layer for each brush you want to try. Pick a dark foreground color. Begin at 120 pixels, Normal mode, and a known opacity and flow. If selecting a preset changes a tool setting, record the actual setting beside its sample.
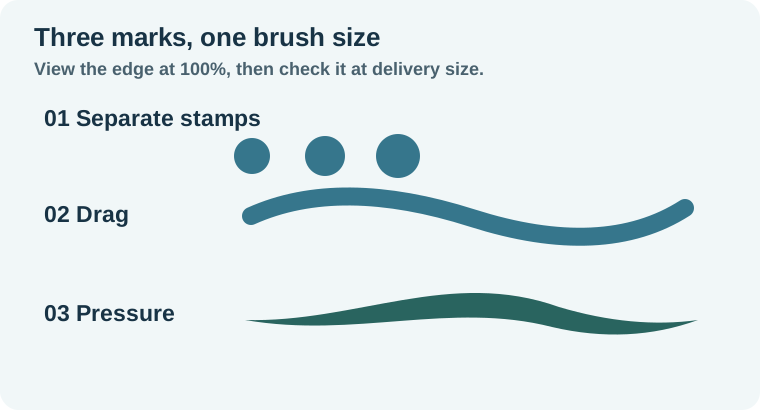
- Click three times without dragging. Look at the edge and the center of each dab. Some textured presets intentionally vary the stamp.
- Drag one slow line, then one quick line. Watch for separate dots, repeated texture, or a heavier mark where the pointer pauses.
- With a pressure-sensitive pen, draw a stroke from light to heavy and back. Repeat with a familiar brush to establish that the hardware is sending pressure.
View the file at 100% for the edge and repeat pattern. Then zoom out to the size at which someone will see the asset. A rough fringe can be useful at print size and disappear in a small thumbnail. Conversely, a periodic gap that you miss at fit-to-screen can become the most noticeable detail after export.
Change one setting and keep the original preset
For a brush that leaves scalloped gaps, inspect Spacing under Brush Tip Shape in Brush Settings. A smaller spacing value can bring the repeated tips closer together. With a textured preset, doing that can also make the grain fill in. Make the same stroke on a new layer and compare it side by side with the original. If you like the result, save it as a separate brush preset with a name that says what changed.
If a mark is much softer than expected, compare size, opacity and flow before changing the brush tip. Opacity controls the strength of a stroke, while flow affects how paint builds up as you apply it. Several overlapping passes can make a low-flow brush look dense. Try a single pass first and then deliberately build up over a second sample.
For a pen taper, check whether the relevant brush dynamic is set to Pen Pressure. Shape Dynamics can drive size. Transfer can use pressure for opacity or flow. When a known pressure preset also fails, test the tablet input and driver before editing the imported pack. A mouse can still test shape and spacing, but it cannot supply pen pressure.
Worked example: soften a paper edge without eating the label
Suppose a pale paper sleeve needs a little texture where it fades into an illustrated background. Start with a real edge on a copy of the artwork, and add a layer mask. On the test page, compare a soft round preset with one grain preset at the same diameter. Use white and black as appropriate on the mask and keep the sample small enough to review in one view.
The soft round brush makes a clean, even transition but may look too smooth beside the grain. The textured brush can make the seam feel like part of the paper, provided the repeated marks are hard to see. If the texture cuts into the product name, restore the mask over that area with white and use the grain only in the empty margin. Record the preset, diameter and spacing you actually used so the second side of the sleeve can match.
The layered Photoshop product graphic walkthrough shows where to keep the artwork, type and edit layers. Use the brush test here to decide which preset belongs on the mask.
Fix an imported brush that appears to do nothing
First click the thumbnail you mean to paint on. A white brush on a fully white mask is a valid action with no visible change. Test a black mark on a blank layer to isolate the preset. Check foreground color, layer visibility, active selection, opacity and flow. If the brush creates a tiny dot, compare its diameter with the document dimensions rather than dragging harder.
When brushes appear and disappear between machines, retain the ABR as a handoff artifact. Adobe's Brushes panel can export selected presets into an ABR. Give the receiving editor both the project file and the brush pack, and include one approved sample stroke. The sample makes it possible to distinguish a missing preset from a different tablet response.
How QuestStudio helps
Use Image Lab to explore a separate paper texture or background if you need one. Keep that asset on its own layer, then use the tested Photoshop brush to control the boundary around the original subject. For a label that needs revision, the editable Photoshop text guide explains which text can still be changed as type.
Keep the imported preset that passes your test and label any modified version. The next time a brush pack arrives, the worksheet gives you a baseline instead of another mystery group in the Brushes panel.
Download the brush test sheet.
Frequently asked questions
Can I import a ZIP file directly?
Extract the download and choose the ABR inside it from Import Brushes.
Where do the imported brushes appear?
Look for the imported preset group in the Brushes panel. Expand it to select an individual brush.
Why is pen pressure unavailable with my mouse?
A mouse supplies pointer input without pressure. Use a pressure-sensitive device and check it with a known working preset.
Can I share just one modified brush?
Select the preset you want in the Brushes panel, then use Export Selected Brushes to create an ABR.
How do I keep the unmodified brush?
Save a separate preset for your changes and leave the original preset in the imported group.