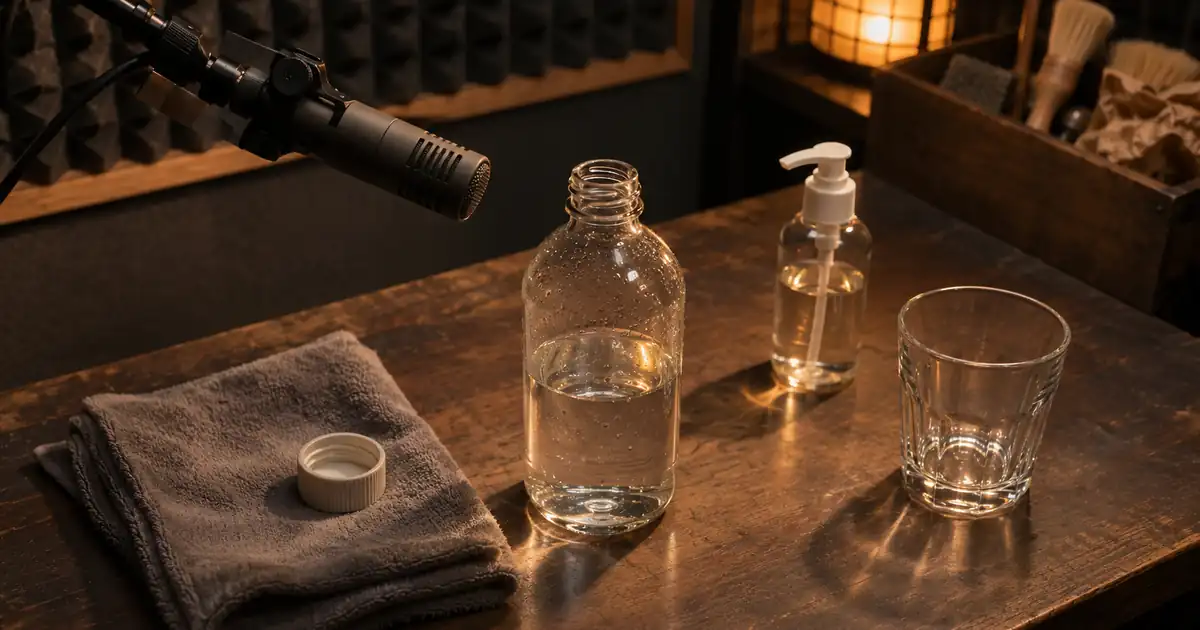

A bottle cap, a pump click and a pour can overlap in a six-second product demonstration. Giving them one loud generic effect makes the scene harder to understand. Build product demo sound effects from the visible actions, then decide which sounds deserve attention and which should stay quiet.
Lock the picture first. Mark the cap release, the mechanism contact and the beginning and end of the pour. Keep impact sounds separate from continuous sound so you can repair timing without shifting everything. Review the final video with narration and music in place.
Download the cap, click and pour cue sheet. You can continue a silent clip in Music Lab or assemble approved creative in Product Ads.
Start with the locked picture
Save the exact video version and timeline frame rate. A later trim or speed change moves the sound targets, so a cue sheet without a picture version is incomplete. Work from the delivered crop when possible; a cap contact visible in the wide master may sit outside the vertical version.
Watch once without sound. Write down what actually happens. A hand approaching a cap is preparation; the cap separating from the bottle is an event. The pour begins when liquid arrives, not when the hand starts to tilt. These distinctions produce better timing targets than a general instruction to make the video sound realistic.
Separate onsets, bodies and tails
An onset is the beginning you align with an event. The body gives a sound its character and duration. The tail lets it decay into the scene. A cap landing on a soft cloth needs a different tail from a cap landing on a hard counter, even if their visible contact times match.
A pour is continuous. Mark its start and end, then listen for changes in intensity within that interval. Do not stretch a single impact to fill the whole action. Keep small handling sounds separate when they help explain the mechanism, and leave them out when they compete with the important cue.
Work through the three-cue example
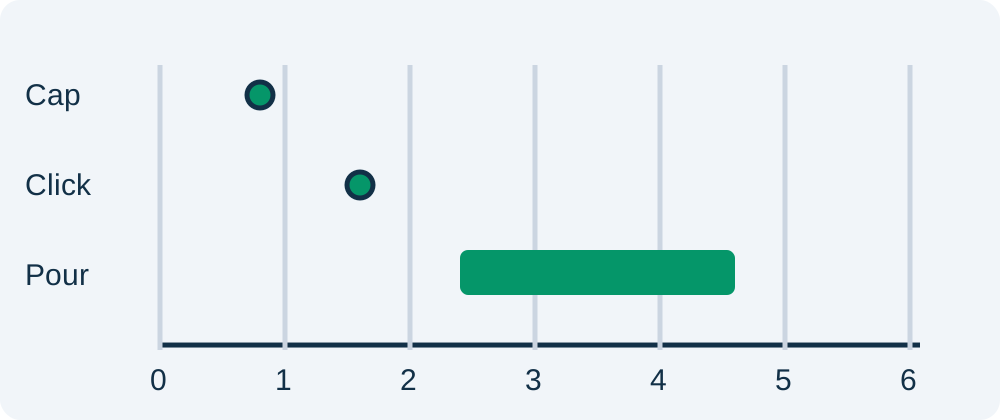
Our fictional demonstration lasts six seconds. The cap touches the surface at 0.8 seconds. A mechanism clicks at 1.6 seconds. A pour begins at 2.4 seconds and ends at 4.6 seconds. Those numbers describe this teaching sequence, not a universal product-ad rhythm.
Build each sound separately. Start the cap cue near its actual contact and keep its decay short enough to leave room for the click. Give the click a clear but restrained transient. Let the pour occupy its own interval without a large cinematic swell that overwhelms the product action.
The downloadable sheet includes a separate column for the sound's file onset. If a useful recording contains silence before its transient, align the transient rather than placing the file's left edge on the marker. Otherwise every cue can be late even though the clips appear aligned in the editor.
Hear an original timing exercise
The audio below uses simple synthesized ticks and noise. It demonstrates cue timing only; it is not a recording of a real cap or liquid and is not a test of a commercial sound model. Listen for the two short events followed by the continuous interval.
Place the exercise under a blank six-second timeline and add markers at the times above. Then replace the synthetic cues with appropriate permitted recordings or generated sounds. The timing structure can remain useful while the sound materials change completely.
Choose sound character from the object
Describe the material, size, action and listening distance. A small plastic cap on cloth should not sound like a metal lid dropped in a warehouse. A close product shot may use detailed sound, but excessive loudness can make a small object seem physically larger than the picture suggests.
For text-led sound design, the Foley generation guide covers describing separate sources. For video-led work, use the actual silent clip as the timing reference. Neither route removes the need to listen against the picture and adjust the edit.
Repair timing before mixing
Solo one cue and compare its onset with the visible event. Move it in small increments, then play the surrounding action at normal speed. Do not judge sync only while scrubbing slowly. An apparently aligned waveform can still feel wrong because its main audible impact occurs later.
Once the events fit, restore narration and music. Lower or simplify effects that hide spoken words. Keep enough room for the continuous pour to end naturally. If the soundtrack becomes crowded, remove a decorative handling sound before making every cue louder.
Check the exported advertisement
Play the actual exported file from beginning to end. Confirm the opening trim, picture speed and final crop match the version used for cue timing. Listen through ordinary speakers as well as headphones when practical. A subtle click that works in a quiet room may disappear in a busier playback situation.
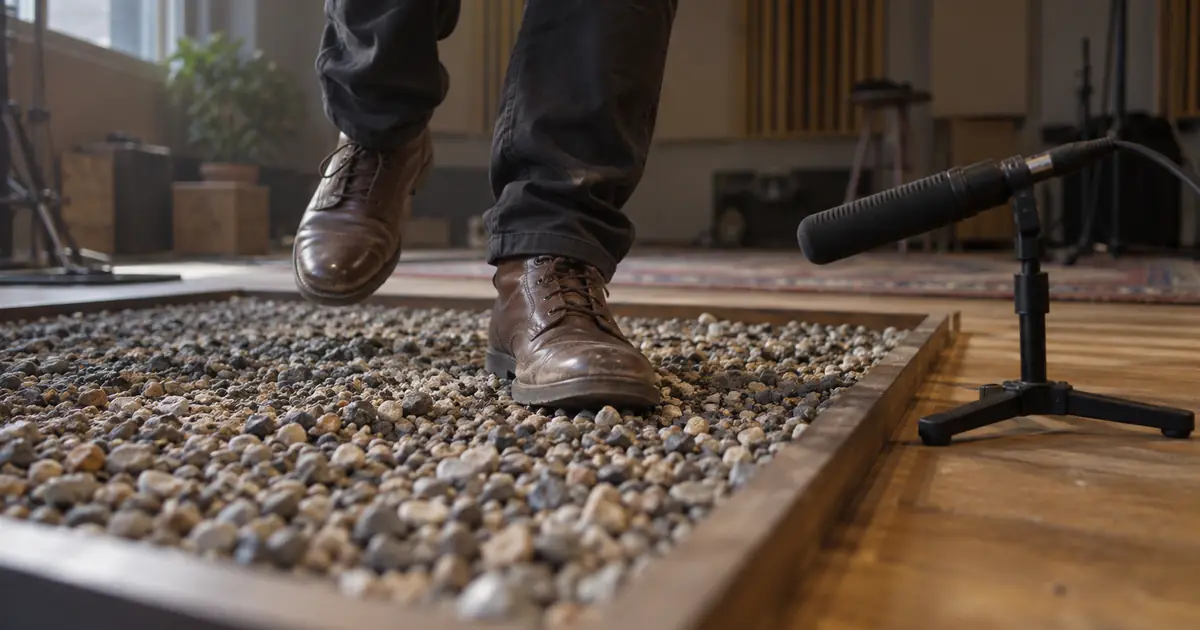
For a visible walking action, use the separate footstep contact workflow. For this product sequence, keep the cap, mechanism and liquid cues attached to their own events. The same editor can handle both jobs, but the review targets differ.
How QuestStudio helps
Use Music Lab's relevant audio workflow with an accepted silent video, then evaluate the output against the cue sheet. Treat it as a candidate soundtrack rather than an automatically approved mix. Keep detailed sound placement and final mixing in an editor that provides the controls you need.
Product Ads is the next useful destination when you have the accepted visual and approved message. Preserve the picture version and cue records with the project so a later edit does not silently invalidate the synchronization work.
Frequently asked questions
Should I generate all three sounds together?
You can try a complete pass, but separate cues provide more control when their timing or material needs revision. Keep impacts separate from a continuous pour when practical.
Why is a cue late when its file starts at the marker?
The file may contain silence or a soft lead-in before the main audible event. Align the relevant transient or action onset, not automatically the file boundary.
Is the audio example a realistic product recording?
No. It is an original synthesized timing exercise using ticks and noise. Replace those signals with suitable permitted sounds for an actual product advertisement.
When should I add music?
After the main effects fit the accepted picture. Then review them with narration and music together, simplifying the mix where sounds compete.
What changes require a new sync check?
Picture trims, playback speed changes and other timing edits require another check. Review the actual exported file even when the source timeline appeared correct.
Try one reviewed production step
Bring the approved source and the smallest useful brief to Music Lab. Compare the result with your reference before expanding the project.