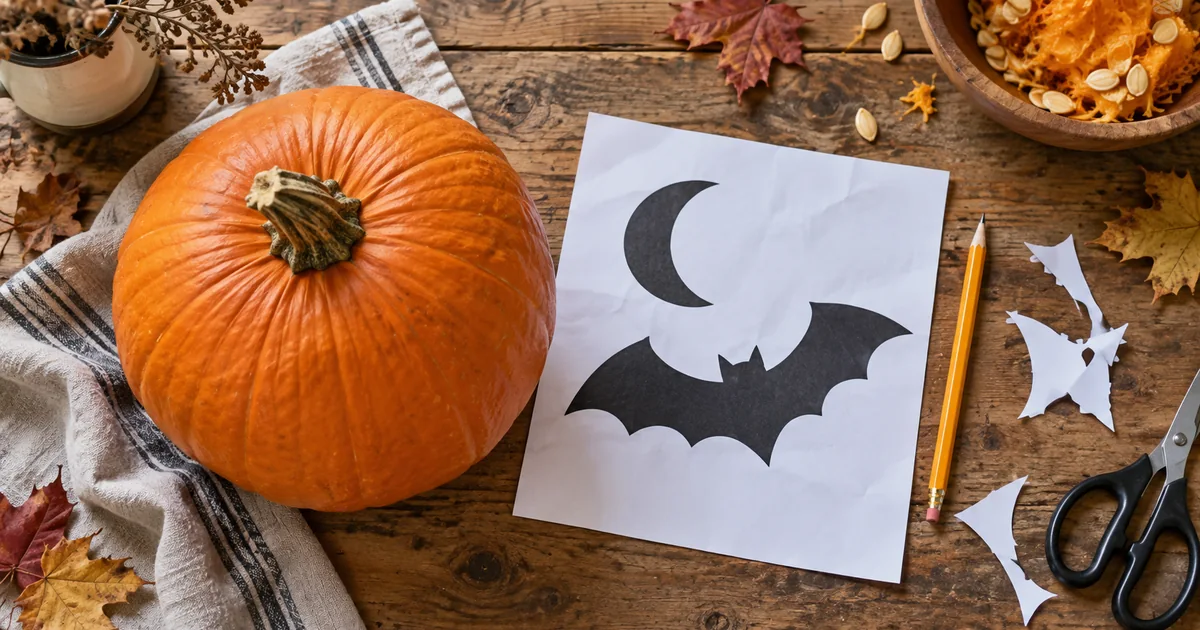

AI can draw a great-looking pumpkin pattern that falls apart as soon as you cut it. The problem is usually a floating eye, a thin whisker, or a shape whose center has no connection to the rest of the pumpkin. This workflow turns an AI concept into a printable pattern you can inspect before committing to a real pumpkin.
Download the stencil cut-and-keep worksheet · Draft a simple stencil in Image Lab
Pick the carving method before generating the picture
For a beginner pattern, use two states: keep the shell or cut an opening. A shaded portrait has a different job because it may require scraping areas to different depths. If the model generates grayscale shading, do not silently treat those gray areas as cut-through holes. Either redraw the pattern as two clear values or choose a different, more advanced method deliberately.
Write your legend on the working copy: black means remove, white means keep. Other patterns may use the reverse convention. The important part is consistency. The image's prettiest version is not always its clearest instruction sheet, so keep a concept preview separate from the print you will actually follow.
Choose a motif with a readable outer shape: a crescent moon, a broad bat, a simple cat profile, or three bold stars. Detailed fur, eyelashes and tiny lettering can look attractive at full-screen size and disappear when reduced to a pumpkin-sized pattern.
Measure the usable face of the pumpkin
Measure the reasonably smooth area where the design will sit, not the entire circumference. A tall narrow pumpkin and a low wide pumpkin need different compositions. Note the approximate design width and height on the worksheet. Leave space around the motif so you are not forced to wrap essential features over a deep rib or a sharp curve.
Dremel's stencil application guide recommends checking printed sizes and describes transferring a design with small marks. That practical fit check matters more than an arbitrary “high resolution” instruction. A larger file does not fix a pattern that wraps around the side where nobody can see it.
For the worked example, use a broad bat below a crescent moon. Treat a 150 mm design width as an example to test against your own pumpkin, not a universal size. Print a rough rectangle at that width and place it against the surface before detailing the design.
Ask for a stencil concept with explicit constraints
This is a design brief, not a structural validator. Inspect the result yourself even if the prompt explicitly requests connected shapes. Models can make a convincing graphic without respecting the physical relationship between its regions.
Generate a small number of alternatives, then choose the simplest one that communicates the idea. A bat with three broad points on each wing may be easier to transfer than one with a dozen delicate points. Do not ask for more detail merely because the first design looks plain on a monitor.
Run the island test
Imagine removing every black area. Now follow each white region with your finger. Can it reach the outer white margin without crossing a black opening? If not, that piece is an island. A white eye inside a completely black animal head is a common example. Once the black material disappears, nothing holds the eye in place.
You have three useful repairs. Connect the island to the surrounding structure with a white bridge, merge it into a larger retained shape, or remove the detail from the design. For a two-state beginner pattern, simplicity is usually the quickest repair. If you choose a scrape-only treatment instead, redraw the legend so it cannot be mistaken for a cut-through instruction.
| Problem in the design | Why it matters | Useful correction |
|---|---|---|
| White pupil inside a black eye opening | Retained center has no support | Remove pupil or connect it with a clear bridge |
| Thin white strip between two large holes | Narrow retained structure is fragile | Widen the strip or combine the openings |
| Tiny black whiskers | Difficult to transfer and distinguish | Reduce them to a few broad shapes |
| Gray shadow around an edge | Cut boundary is ambiguous | Redraw as a clean two-color edge |
| Fine text with enclosed letters | Letter centers can become islands | Use larger stencil lettering or omit text |
Do this check on the actual print size. A bridge that looks thick while zoomed in may be a tiny sliver on paper. There is no universal safe bridge width for every pumpkin, tool and design; the paper proof is a planning aid, not a guarantee of material strength.
Make the print predictable
Place the approved pattern on a page in a document or graphics editor. Set its physical width deliberately and add a separate calibration line of a known length. Keep the line outside the artwork. Export or print at actual size, then measure that line with a ruler. “Fit to page” can quietly change the dimensions you thought you selected.
For raster artwork, you can calculate the approximate pixels needed: physical width in inches multiplied by your chosen print resolution. A six-inch pattern at 300 pixels per inch uses 1,800 pixels across. That is a planning example, not a requirement that every stencil needs a photographic file. Clean edges and an accurate scale are more important than a very large blurry image.
If you trace the image to vector, inspect every contour afterward. Automatic tracing may add lots of tiny points and preserve the very noise you wanted to remove. The image-to-SVG workflow explains why a trace needs cleanup before it becomes a useful production file.
Build a paper proof and a transfer copy
Make two printouts. Use one to mark every keep area and every opening. Use the second as a paper proof, removing the intended openings with an appropriate paper craft method. See which retained shapes detach or become difficult to handle. A paper pattern cannot replicate pumpkin thickness, but it can expose an unsupported island immediately.
Fit the transfer copy against the pumpkin and inspect the outermost details. If a wing disappears around a rib, reduce the overall size or bring the wing inward. Do not solve poor fit by distorting one side so much that the two halves no longer read as one bat.
Follow the transfer method and tool guidance appropriate to your carving kit. Keep children involved in design and marking with suitable supervision, and leave tool use to someone able to handle it safely. This guide's main deliverable is the checked design, not a claim that AI can assess the strength or safety of the final carving.
Save the version that actually worked
Keep the concept image, the corrected stencil and the final-size print file separately. Add your size, color convention and revision note to the worksheet. “Bat v3, widened center bridge” is more useful next year than a folder full of files named final.
If you photograph the finished pumpkin, compare it to the proof and note what was too delicate or hard to see from a few steps away. That feedback improves the next design. More ornate generation is rarely the missing step; clearer shapes usually are.
How QuestStudio helps
Use Image Lab to explore a simple two-color concept. Perform the connectivity check and physical sizing in your graphics or print workflow. QuestStudio helps create the artwork; a generated preview does not certify a carveable pattern. Save the corrected design and brief together so future variations start from a usable structure.
Frequently asked questions
Can I turn a pet photo into a stencil?
Yes, as a design starting point. Reduce it to a few identifying shapes, then check every retained region for a connection. Fine fur and eye detail usually need simplification.
Why do the eyes fall out of my pattern?
A retained eye can be surrounded by an opening with no material connecting it to the shell. Add a bridge, merge the shape or omit the isolated detail.
Is a black-and-white image automatically a stencil?
No. It still needs an unambiguous cut/keep convention, connected retained shapes, sensible spacing and a print size that fits the pumpkin.
Do I need an SVG file?
No. A clean raster print may be sufficient. Vector files help with scaling and contour editing, but tracing alone does not repair structural problems.
Can the AI preview prove the pattern is safe to carve?
No. A rendered pumpkin is an illustration. Inspect the design and follow appropriate tool and material guidance for the physical work.
Print the proof before the final pattern
Start with one motif, remove unnecessary detail, and finish the paper check. A simple design that transfers clearly is a better result than an elaborate image that cannot hold together. Draft the first concept in Image Lab.
The worked example is a proposed creative exercise, not a measured model benchmark. The hero is an original AI-generated editorial illustration.