
Sunglasses have two lenses, two frame rims and several small connections that need to agree. An AI edit can make one lens rounder, straighten one temple or change a brown tint into a mirrored finish. Start with a real product photograph and review the pair as a connected object before approving the scene.
The practical goal is a supporting product image with the same visible frame and lens appearance as the source. It is not an optical test. A convincing photograph cannot establish UV protection, polarization, prescription suitability or how the glasses fit a person.
Use the paired-frame review sheet to prepare a small edit in Image Lab.
Choose references for geometry and color
Capture a front view that shows both lenses clearly and a three-quarter view that explains the bridge, hinges and temples. Keep an additional reference for the frame color and visible lens tint under controlled light. A strongly colored surface can reflect into the lens and make its apparent color harder to judge.
Separate reference purposes. The front image is useful for paired geometry; the angled view is useful for depth and hardware. Do not ask the system to combine incompatible camera views into a single supposedly exact product. Choose one view as the edit source and use the others for inspection.
Compare relationships instead of demanding perfect symmetry
Real sunglasses photographed at an angle will not show identical lens outlines. The nearer lens may appear larger, and a temple can be partly hidden. Judge whether those relationships remain consistent with the source perspective. Forcing mirror symmetry onto an angled photograph can distort the product.
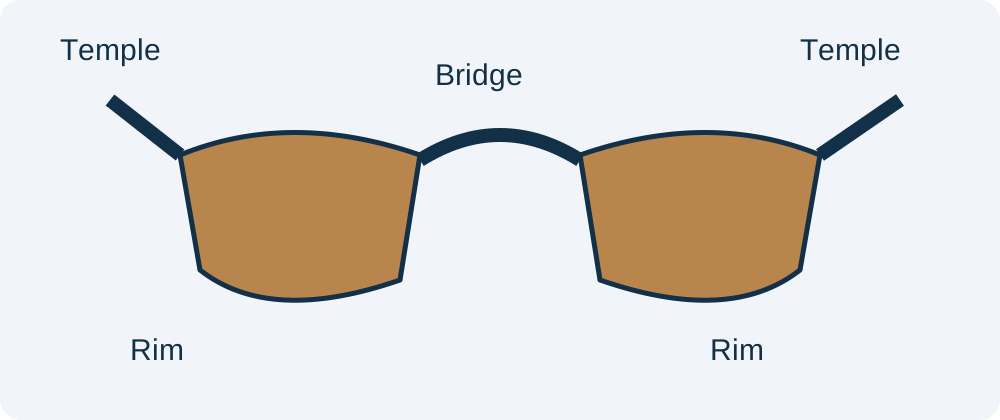
Trace the bridge into each rim. Follow the top edge to the hinge, then follow the visible temple to its tip. Inspect the small connections, not just the broad outline. A new lens shape may be obvious, while a disconnected hinge or a temple passing through a lens can survive a quick glance.
Control the scene around the lenses
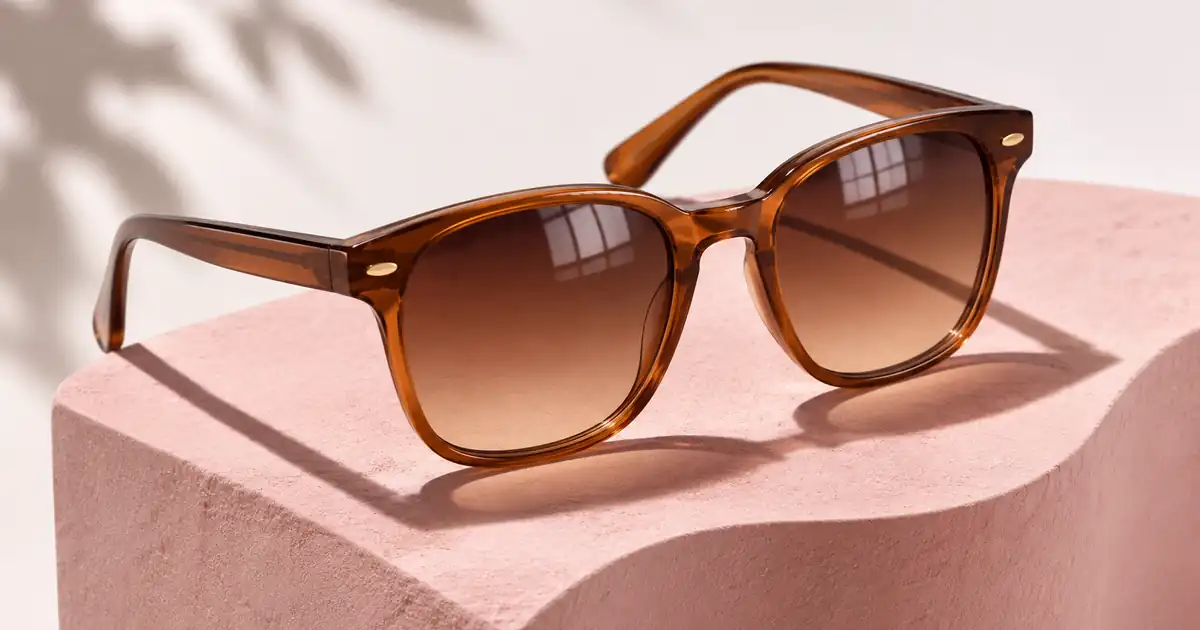
Our fictional example uses a warm brown frame and lightly tinted lenses on a pale studio block. We keep the product angle and ask for a quieter surface. A neutral backdrop makes the first comparison easier than a sunset scene full of colored reflections.
Keep room around both temple tips. A tightly cropped frame can hide an attachment defect, and later expansion may invent a different temple. If the source photograph clips an important end, use another source rather than asking a generative expansion to establish the product's shape.
Use the supplied sunglasses photograph as the product reference. Keep the source viewpoint, frame outline, bridge, hinges, temple positions and visible lens tint. Create a simple pale studio surface with soft light. Preserve the relationship between the two lenses. Do not add mirrored coating, change the frame pattern or invent printed marks.
Review this first pass before adding a busier lifestyle setting. Record the accepted light direction and surface so a second color option can use a similar treatment. Each color variant still needs its own real source; a color-swapped frame is not evidence of another SKU.
Inspect tint, transmission and reflections separately
Ask three different questions. Does the visible tint resemble the reference? Do objects behind the lenses remain plausible for that view? Do reflected shapes agree with the scene? A pleasing reflection can conceal an unexpected change in transparency or coating.
Do not use a dramatic reflection as a substitute for reviewing the lens itself. Compare the candidate at similar brightness to the source, with both images displayed on the same screen. This is a practical visual check, not calibrated color measurement or an optical performance assessment.
If the product color is a buying decision, retain a straightforward real photograph in the gallery. The cosmetics shade guide explains the related distinction between creative supporting scenes and evidence of an actual shade or finish.
Keep virtual try-on questions outside the still-life brief
Placing glasses on a generated face introduces new issues: bridge placement, temple alignment, ear contact and apparent scale. A still-life product photograph does not answer those fit questions. Use a separate approved workflow and real fit information when the gallery needs an on-person view.
Likewise, do not write “polarized” because a rendered lens appears to reduce a reflection. Optical claims should come from verified product documentation. Keep the creative reviewer responsible for the picture and the product owner responsible for the factual record.
Repair a failed candidate in a useful order
Reject major geometry changes first. If a lens has a different outline or a temple joins the wrong location, return to the source. Once the object is stable, address tint changes. Then refine distracting reflections or the surrounding surface.
Make one revision request at a time. “Restore the source bridge and preserve the accepted background” is more precise than asking for a more realistic product. When repeated edits change other parts of the pair, stop and choose a better source or a simpler scene.
How QuestStudio helps
Use Image Lab to explore a supporting environment while preserving a permitted reference. Compare the result with the source before deriving multiple crops. The reflection repair workflow helps when highlights obscure small product details, while the scale guide helps plan a gallery that communicates physical size.
Approve the full pair first, then the detail crop and the small product card. A clean thumbnail is useful only when the larger image still shows the correct product. Keep the accepted source and the final derivative together so future revisions begin from the same reference.
Frequently asked questions
Can an AI sunglasses image establish UV protection?
No. Visible tint and reflections do not establish UV protection, polarization or prescription performance. Those claims need verified product information.
Should both lenses look exactly the same size?
Only if that matches the source perspective. An angled photograph naturally presents the two sides differently, so compare their relationship with the actual reference.
Can I make every frame color from one photograph?
Use a real reference for each sold color variant. A generated color change can explore a concept, but it does not prove the appearance of another physical product.
Why does lens tint change on a new background?
Background light, reflections and generated transmission cues can change the apparent tint. Begin with a neutral scene and inspect tint separately from the styling.
Is this a virtual try-on workflow?
No. This guide covers still-life supporting images. On-person placement adds separate fit, scale and contact checks that need an appropriate reference and review.
Try one reviewed production step
Bring the approved source and the smallest useful brief to Image Lab. Compare the result with your reference before expanding the project.