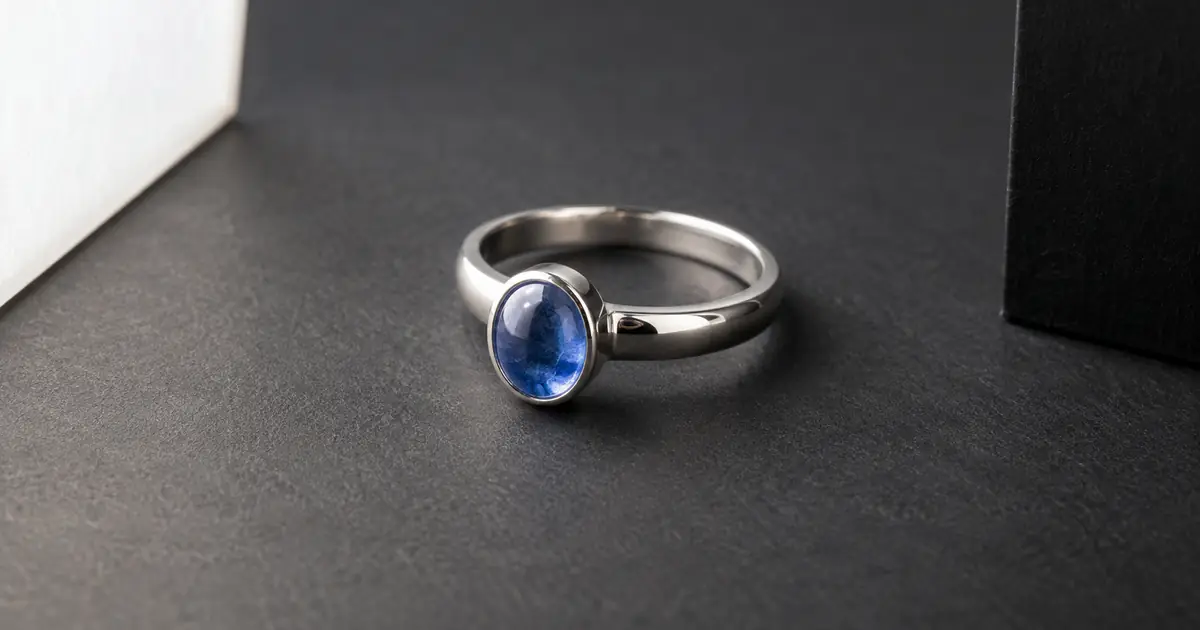

A dark stripe across a ring can be a useful reflection. A bright patch can hide a missing prong. Before asking AI to make jewelry shinier, decide which marks describe the metal and which marks obscure the product. The distinction matters more than how luxurious the background looks.
Download the six-zone jewelry reflection review · Review one jewelry edit in Image Lab
First decide what the reflection is doing
Put the original photo beside a neutral background and look at the ring before zooming in. Can you understand its roundness, the thickness of the band, and where the stone sits? Bright and dark shapes help answer those questions. Removing all of them can make polished metal look like flat gray plastic.
A working jewelry photographer’s reflection-control guide explains how broad light sources and white or black cards shape what polished metal reflects. That is useful source preparation. It does not mean an AI editor can reconstruct every detail under a blown highlight.
Write a narrow problem statement: “The phone reflection covers the lower-left band, but the edge remains visible.” Avoid “Make this ring perfect.” The first request identifies a location and a repair goal. The second invites a redesign of finish, setting, stone and lighting.
Separate a repairable mark from missing information
| What you see | Useful first action | What to avoid |
|---|---|---|
| A recognizable camera reflection on otherwise detailed metal | Try a local correction or change the source setup | Regenerating the entire ring |
| A featureless white patch over a prong | Take a better-exposed reference from the same angle | Approving an invented setting |
| A dark contour that describes the band | Keep it unless it conflicts with the intended scene | Erasing every dark shape |
| A colored cast from nearby fabric | Use a neutral reference to judge the intended change | Making every metal the same white |
| Soft engraving or uncertain hallmark | Supply a readable source or omit the detail shot | Treating sharpened text as verified engraving |
A practical test is whether you can name the underlying feature from the original image. If you cannot tell whether a setting has four or six prongs, an attractive generated answer does not settle the question. A second source photograph can establish the fact. A stronger prompt cannot.
Keep concept art and listing work in separate folders. You may explore an imagined ring for a mood board, but that file should never become the reference used to approve photographs of an actual item.
Prepare one source that makes comparison possible
For the exercise, use a plain silver ring with one oval stone. Photograph a three-quarter view in which the near band edge, stone outline and visible supports are readable. Keep the camera steady. Set aside another view of the underside or side if those details are important; it is supporting evidence, not permission to synthesize a new angle.
Leave enough space around the piece to judge its contact with the surface. A crop that cuts off the bottom of the ring hides whether it is floating. Avoid changing background, camera angle and lighting at the same time during the first edit. Otherwise you cannot tell which request caused a new artifact.
Save the untouched source before cleanup. Record the real material and finish using your product information, not an AI guess from appearance. Silver, white gold and platinum can look similar in a photograph. This workflow cannot authenticate an alloy, gemstone or hallmark.
Write a local edit brief
Treat that wording as an edit brief to adapt to your chosen model. It does not guarantee a protected region. If the interface offers a mask, select only the area you intend to repair and inspect its boundary. If it offers only whole-image editing, be prepared to reject a result that quietly changes other parts.
Do not add sparkle, a new hand model or a marble surface yet. Compare the first repair against the same source. For a second candidate, change one instruction, such as the width of the bright reflection. Keep filenames distinct so a visually pleasing revision does not overwrite the more faithful one.
Inspect six zones before judging the overall look
Use the worksheet to review the outer silhouette, inner band, setting, stone, surface marks and ground contact. At normal display size, judge whether the object reads naturally. At source-matched zoom, inspect whether the same details are present. Avoid comparing a tiny original against a heavily enlarged generated file.
| Zone | Question to answer |
|---|---|
| Outer silhouette | Are thickness, asymmetry and visible contours unchanged? |
| Inner band | Is the opening the same shape, without a new bridge or melted edge? |
| Setting | Do the visible supports remain attached in the same places? |
| Stone | Are outline, visible color and orientation consistent with the source? |
| Surface marks | Did engraving, texture or existing condition disappear or become invented? |
| Ground contact | Does the ring still sit on the surface rather than hover? |
A cleaner reflection may make an existing scratch easier to see. Decide whether that is honest condition information before removing it. Likewise, a repaired highlight should not make a small stone look larger. The approval question is whether the edit solves the stated problem while preserving the piece, not whether every pixel resembles a luxury advertisement.
Use a stop rule for difficult repairs
After a failed candidate, write the failure in one sentence. “The reflection improved, but the lower support moved.” That tells you to narrow the edit or return to the source. Repeating the same request with more quality adjectives gives you additional candidates without improving the diagnosis.
If two carefully scoped attempts keep damaging a critical feature, switch methods. A conventional masked adjustment may be sufficient when existing detail is intact. A new source shot is more useful when the detail is absent. A manual retoucher can also make a controlled correction from real references. The simplest acceptable method wins.
Before making a lifestyle version, approve the neutral version first. Then check whether the new environment explains the reflections it introduces. A warm room may produce warm reflected areas, but it should not become an excuse to present the product as a different metal.
How QuestStudio helps
Use Image Lab to make a small reference-based edit with a model that supports your source image. Keep the source, request and accepted result together. Review each output using the same six zones before comparing style or choosing a campaign background.
Start with one reflection problem on one real piece. The useful result is an image you can approve against that source. If the editor must guess an important detail, return to the camera before continuing.
The examples are proposed production exercises, not measured tool tests. The original hero image is an AI-generated editorial illustration.
Frequently asked questions
Should I remove every reflection from jewelry photos?
No. Controlled highlights and dark contours communicate polished metal and shape. Remove distracting reflections only when the change preserves the product’s visible details.
Can AI recover a stone or prong hidden by a bright highlight?
It can generate a plausible feature, but that is not proof of the real structure. Use a clearer reference or retake when the detail matters.
Why does silver look plastic after editing?
The edit may have removed too much contrast or replaced a structured reflection with a uniform gray surface. Compare the metal against the original before adding more shine.
Can I use a text-generated ring for an actual listing?
A text-generated concept does not verify a real item. Base listing imagery on the actual product and check visible construction, condition and color against trustworthy sources.
What should I check before changing the background?
Approve the piece on a simple background first, then review the silhouette, band, setting, stone, marks and contact again in the new scene.