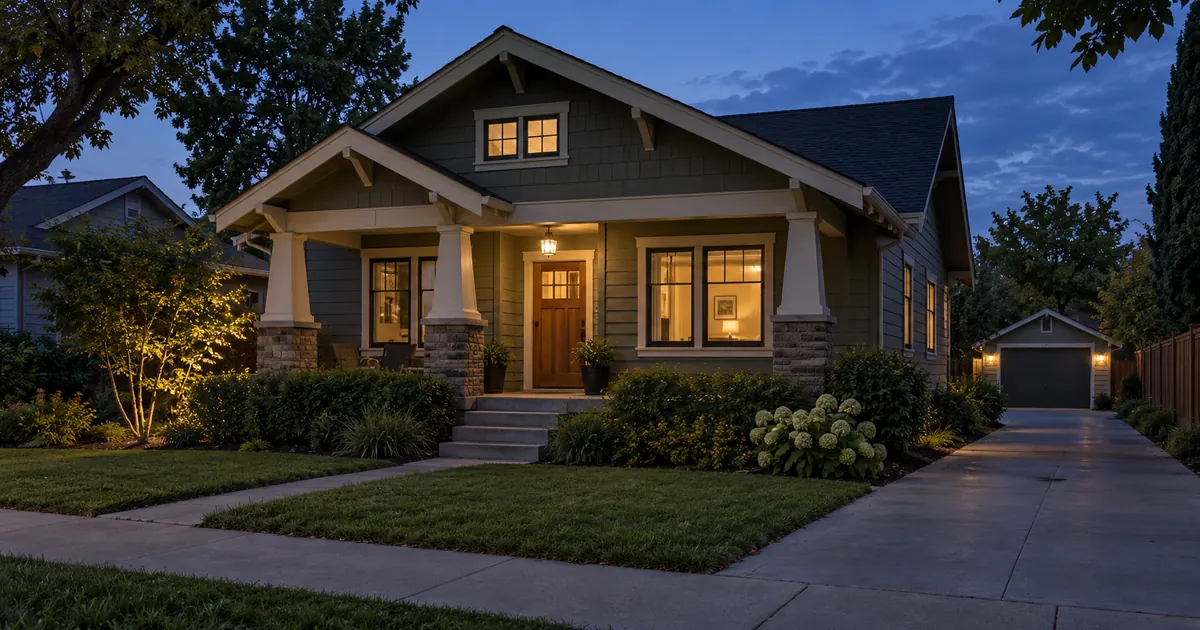

Day-to-dusk photo editing changes the lighting treatment of a daytime exterior to suggest twilight. A credible result needs more than a replacement sky: the building, glass, fixtures and ground must agree about where the light comes from. Start with a suitable source and compare the property details before approving the mood.
This is a review-led workflow for listing photographers and agents. The hero is an AI-generated illustration of a fictional home, not a before-and-after demonstration or a real listing. The downloadable five-zone worksheet helps you inspect your own source and edited image.
Decide whether this source should become a dusk image
A softly lit daytime photograph is usually easier to adapt than one with a hard noon shadow running across the front wall. Look for a clear roof edge, recoverable window detail and enough information in the darker parts of the property. A compressed screenshot is a poor starting point for a large listing image.
| Source condition | What it complicates | Practical choice |
|---|---|---|
| Soft daylight, clean roof edge | Relatively little conflicting illumination | Try a restrained conversion |
| Hard sunlight and long sharp shadows | The original sun remains visible in the lighting | Prefer a different source or real twilight capture |
| Bright clipped windows | Missing glass and interior information | Use another exposure rather than inventing detail |
| Branches crossing the sky | Fine masking around leaves and roof | Allow a manual edge-review pass |
| Property features hidden in darkness | The edit may conceal important information | Choose a clearer source or keep the daytime view |
If the project needs an accurate record of the installed nighttime lighting, photograph it at the actual time of day. A generated glow is not evidence of how a fixture performs. A dusk treatment can be attractive while still being unsuitable for that particular job.
Write down the details that cannot change
Before editing, make a short inventory: number and shape of windows, roof edges, porch posts, doors, siding, steps, driveway, fences and visible neighboring structures. Note anything easy to lose in a stylized result, such as a narrow side gate or a utility box near the eave.
Save the original at full resolution and work on a copy. Record the source filename beside the draft. For a series, use one naming pattern so another reviewer can pair each edit with its actual source instead of comparing two already edited files.
NAR’s discussion of listing-photo enhancement stresses accurate representation and reviewing altered images before publication. Check your broker, MLS and applicable local requirements for editing and disclosure. A label does not make an invented property feature accurate.
The real-estate photo prompt collection covers many broader scenes. Here, the task is narrower: evaluate a lighting conversion without turning the house into a redesign.
Choose one dusk direction before generating variations
Pick a restrained blue-hour treatment or a warmer early-evening treatment. Avoid combining a fiery sunset, deep midnight sky and brightly sunlit landscaping in the same image. Gather a reference for the lighting mood, but do not ask the model to copy that reference property.
Write down how dark the exterior should remain and which existing fixtures are allowed to appear illuminated. Keep some windows dark when that suits the actual source. An identical orange rectangle in every window looks like a graphic effect and can erase the glass divisions.
For multiple images of one property, use compatible sky color and illumination. You do not need identical cloud placement in every angle, but the house should not jump from sunset to late night between neighboring gallery images.
Run a small, constrained first edit
Open Image Lab and use the source photo with a model that supports reference-image editing. Keep the initial request focused on the time-of-day treatment. Do not combine it with virtual staging, garden replacement, a new driveway and a wider camera angle.
This prompt is an instruction to review against, not a guarantee that every detail will survive. If the selected workflow has no supported reference input, stop rather than substituting an unrelated generated house. The editing versus generation guide explains that distinction.
Compare one result before making a large batch. Reject a structural change immediately. It is easier to restart from the original than to gradually persuade an altered roof or doorway back into place.
Review five zones in a fixed order
Use the same inspection order each time. It prevents the dramatic sky from taking all your attention while a small but important property detail changes below it.
| Zone | Look for | Reject or repair when |
|---|---|---|
| Sky and boundary | Clean roof, chimney and leaf edges | A bright halo outlines the roof or branches disappear |
| Building surface | Readable texture and plausible ambient light | Siding melts, paint changes or the wall keeps a noon highlight |
| Windows | Consistent frames and restrained reflection | Mullions move, glass becomes flat orange or new rooms appear |
| Existing fixtures | Glow tied to an actual visible source | The edit adds lamps or creates pools of light from nowhere |
| Ground and surroundings | Believable shadows, fences and neighboring features | Damage disappears, boundaries move or the driveway is redesigned |
Inspect both at listing size and close up. At listing size, ask whether the lighting feels coherent. Close up, check physical details. A result can pass the first test and fail the second.
Temporarily place the original above the edit in a conventional image editor and alternate visibility. Align the frames before comparing. This simple blink check is particularly effective for roof edges, windows and landscaping. It does not prove compliance, but it makes unintended changes easier to see.
Repair the smallest failed area
If the sky boundary has a halo but the building is accurate, repair the boundary with a careful selection or mask in your photo editor. Avoid regenerating the whole property merely to fix a narrow edge. Trees may need patient local work because small branches expose many tiny pieces of sky.
If windows look uniformly painted, reduce the strength of the glow and recover the original frames, reflections or curtains. Do not create a detailed fictional interior to make them more interesting. The visible glass should still belong to the same building.
If the driveway has a strong daytime shadow, choose whether you can correct the illumination without hiding surface information. When the source is fighting the target time of day, returning to a better photograph is a valid production decision.
Use a reject rule for structural drift: a changed door, missing post, relocated fence or altered roof goes back to the source. Keep that rule separate from stylistic preferences such as a slightly cooler sky. Otherwise the team can spend a long review discussing color while overlooking a factual change.
Prepare the listing handoff
Deliver the original and the approved edit together, with a plain description of the treatment and the source filename. The publishing team needs to know that it is a day-to-dusk edit and decide how it may be used under the destination’s requirements. Keep any required disclosure readable in the actual placement.
Use the five-zone review sheet to record repairs, unresolved concerns and the approving reviewer. If the image will be cropped for a social post, check the crop separately. A crop can remove a disclosure or make the remaining lighting look different.
Retain a clear daytime view in your working set. It helps the team answer questions about materials and features without relying on a stylized lighting treatment. When staging is also involved, use the multi-angle staging workflow as a separate review rather than combining all changes into one opaque pass.
Know when the conversion is finished
The useful stopping point is a readable, believable image that preserves the property and passes the intended publication review. More orange glow or a more dramatic sky does not necessarily improve it. Compare the final export with the last approved version so a sharpening or compression step has not reintroduced edge artifacts.
For repeat work, record how many drafts required structural rejection and how long local repair took. Those observations help you decide whether the next property is better served by AI-assisted editing, conventional retouching or a real twilight shoot. Do not infer faster sales from the attractiveness of one image; that is a separate outcome with many other influences.
Frequently asked questions
What is day-to-dusk photo editing?
It is a lighting treatment that makes a daytime exterior suggest twilight. A complete edit needs coherent sky, surface, window and fixture lighting while preserving the actual property.
Is virtual twilight the same as a real twilight photo?
No. A real twilight photograph records the property at that time. A virtual treatment changes the image and should not be used as proof of actual nighttime illumination.
Can I convert any daytime photo?
Some sources are poor candidates, especially clipped windows, strong noon shadows or missing detail. A different exposure or a real twilight shoot may be more efficient and accurate.
Why do the windows look fake?
Common causes are uniform orange fill, lost frames, excessive glow and invented interiors. Recover the original glass detail and reduce the effect before adding more generation.
Do I need to disclose the edit?
Check the requirements of your broker, MLS, jurisdiction and publication destination. Preserve the original and tell the publishing team what changed; do not assume a generic disclosure permits misleading alterations.
Approve the house before approving the sky
Start with the source inventory, review all five zones and reject changed property facts. Once those checks pass, a restrained lighting treatment is usually easier to trust than a more dramatic one.