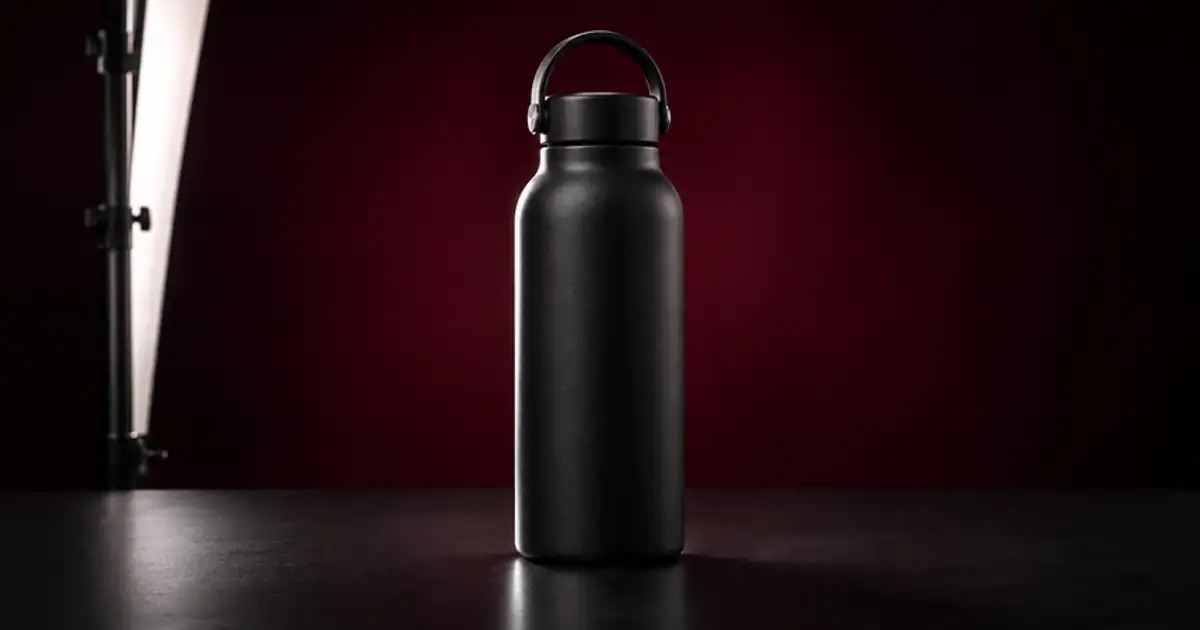

Photograph a black product on a black background by lighting the surface you want to reveal and keeping that light off the backdrop. A narrow edge highlight can give a bottle a visible contour while the front stays dark. I’d start with one light and a small fill card. Buy a second light after you can show which part of the object the first light cannot reach.
My gear pick for this setup
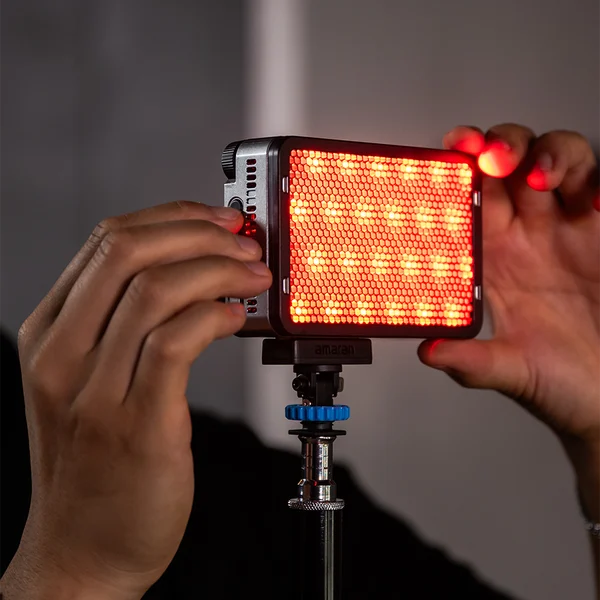
amaran Ace 25c, charcoal
For small products where a close light, diffusion, and black cards can shape a narrow highlight.
I’d use the Ace 25c for a tabletop object I can light from close range. For a tall bag or a large appliance, check the size and output of the whole modifier setup first.
Decide what needs to stay readable
Set the product on the surface you will use and look at it in ordinary light. Write down two features the customer must see. For a matte travel bottle those could be the cap profile and grip texture. For a glossy container they might be the pump and label. Capture a neutral reference before changing the lighting. Keep that frame to compare against your dark version, especially if the product has a faint logo or a dark-colored finish that can look black in the final image.
Move the product forward from the backdrop, then frame it again. This gives you room to place the light and makes it easier to keep the light off the background. If the surface reflects the light source, adjust the product and camera before you worry about the background color. A glossy table can double every edge stripe and make a clean silhouette look busy. Make the background distance and camera crop part of your setup notes so a replacement shot is easier to match.
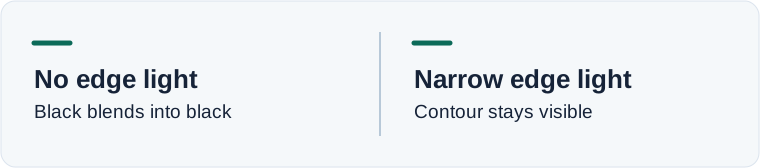
Make a highlight by moving the source
Place a diffused light slightly behind and to the side. Aim it across the product, then rotate it slowly until you see a visible boundary through the camera. A glossy object reflects the shape of the source. A strip of diffusion can give you a long, soft reflection with room to see the curve. On matte plastic, move the light so it brushes the surface and shows texture. Watch the upper cap, lower corner, and side separately. The best angle for one edge may leave the other invisible.
If the stripe is too broad, change the apparent size of the light from the product’s point of view or block part of the bright surface with a black card. If the light is spilling onto the background, put a flag between the light and the backdrop while keeping it clear of the fixture. Use a stable support and keep modifiers within the light maker’s heat and clearance limits. I’d spend on a shapeable source and a secure stand before buying more light output.
Fill the front just enough
Once the edge works, hold a white card outside the frame where it can bounce a little light onto the label. Check the label through the camera. If the bottle suddenly looks gray, move the card back or use a smaller one. If one side of the lettering disappears, try shifting the fill sideways. A label that looks readable at full size can still disappear in a marketplace thumbnail. Review a small crop before dismantling the setup.
Set the exposure from the important highlights and details. Keep the cap and stripe from clipping if their shape matters. Use a supported camera position so you can change shutter time for a still subject when needed. Compare the midtones to the neutral reference. A clean dark frame keeps the material cues the buyer will see in person. Look closely for dust and lint along the highlight, where small particles often become more obvious.
Save a listing image and a detail image
I’d use the low-key view where the product needs a strong silhouette and keep a brighter reference for finish and details. Shoot the same angle with slightly more fill so you can compare options at the same crop. If an edge looks better but the text is hard to read, retain the edge frame for a campaign and use the brighter frame where the shopper needs to inspect the label. Make the usage decision while both frames are available.
If you want a separate campaign background, take the approved photo into Image Lab and preserve the object. Compare the result to the reference for silhouette, cap shape, material color, and readable type. The raking light guide has another way to show small relief without relying on a heavy edit.
Check the bottom edge separately
A strong highlight near the shoulder can make the product float if you lose contact with the surface at the base. Look at the bottom corner where it touches the table. Move a small card lower or aim a little bounce at the front of the base. Keep a real contact shadow if it shows the object is sitting on the surface. When you compare the two frames, check the outline at both the top and bottom before deciding the light is ready.
A four-frame edge-light test
Keep the camera and product fixed. Shoot an ordinary reference, then a dark background with no edge light, then add one narrow source to show the shape. For the fourth frame, add a small bounce card just far enough to reveal the lettering. Put all four thumbnails next to each other and ask which frames show the finish and label accurately. Record the light direction, distance to the background, and the card position. If your current fixture can make the fourth frame reliably, keep it. If it cannot make a controlled stripe, look for the modifier or second source that solves that specific gap.
Download the black-on-black product photos worksheet (CSV)
Frequently asked questions
Do I need two lights for black-on-black photos?
One light and a bounce card can work for many small products. Add a second source when an important edge or label remains hidden after you adjust placement.
Why does the black backdrop look gray?
Check for spill from the key light and reflections from the table. Separate the product from the backdrop and change the angle or flag the spill.
Should I raise exposure to show the product?
Check the important detail first. A better-positioned edge or bounce light can reveal the surface without lifting the whole frame.
Can I shoot a glossy black item this way?
Yes. Move the diffused source while watching its reflection. Use the visible strip to describe shape and check that it does not hide printed detail.
Sources and further reading
Affiliate disclosure
As an Amazon Associate I earn from qualifying purchases.
Continue with a useful next step
 Creator Workflows
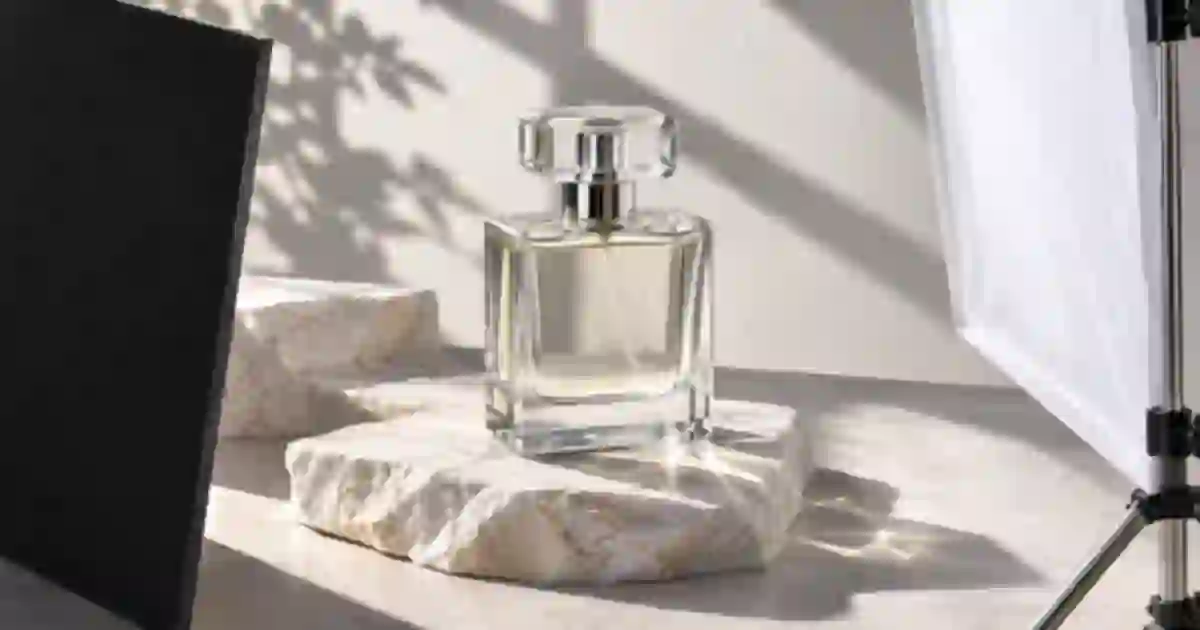
Raking Light for Texture in Product Photography
Use raking light to show texture in product photos. Compare three frames of the same item and keep the finish, label and real surface detail readable.
 Image
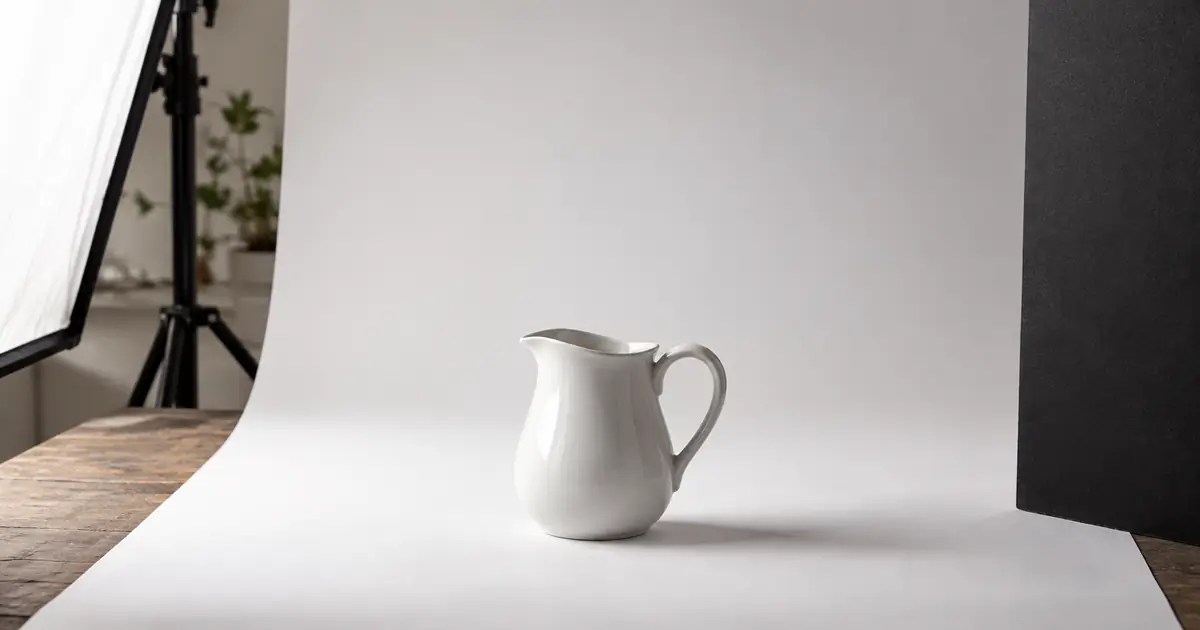
Negative Fill for Product Photography With Black Cards
Use negative fill to make clear or glossy products readable. Place a black card, compare four lighting frames and keep the product label easy to read.
 Image
White Product on White Background: Keep the Edges
Photograph or edit a white product on a white background without losing its edges. Check highlights, handle openings, texture and shadows before approving.