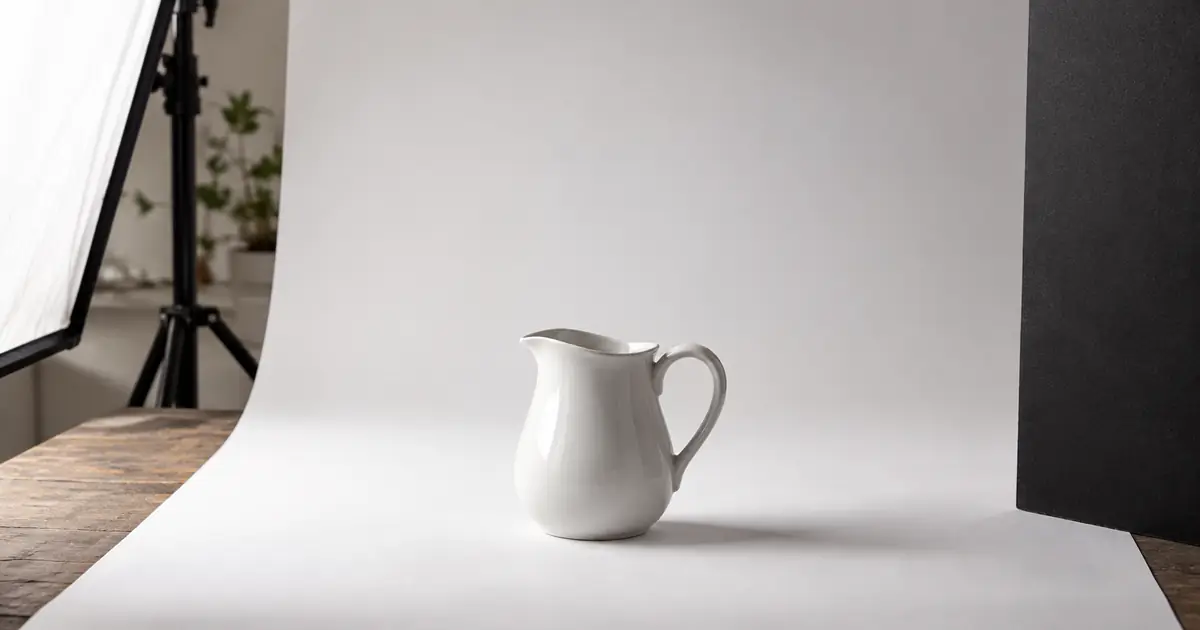

The background looks clean, but half the white mug has disappeared into it. Making the whole photograph brighter usually makes this worse. A useful white-on-white product image needs two things at once: a clean backdrop and enough tonal detail to describe the actual item.
Download the white product edge acceptance map · Refine a product photo in Image Lab
Find out what actually disappeared
Open the source and edited image at the same scale. Look at the boundary that seems missing: the shoulder of a bottle, the edge of a plate or the outside of a mug handle. If it exists in the source but disappears after cleanup, you have an editing problem. If the original already merges the item into the background, start with exposure and lighting.
A white object does not need to contain the same brightness everywhere. A slightly darker side, a narrow reflection and a shaded opening give it shape. Turning every light area into featureless white can remove the very information that tells a buyer what the product looks like.
Use the highest-quality original available. If you photographed RAW, check whether lowering exposure or highlights reveals real detail before declaring the area lost. If a finished JPEG has clipped both the rim and the paper to identical white, an AI-generated new rim is a guess, even when it looks convincing.
Separate a white backdrop from a white object
Think of the backdrop and product as two editing regions. You can clean uneven paper without flattening the glaze on a ceramic pitcher. You can neutralize a background color cast without making cream fabric look bright white. The purpose is a readable item against an appropriate backdrop, not identical RGB values across the photograph.
If your destination requires a pure-white background, verify its current image rules and inspect the background region specifically. Do not use a global brightness slider as a compliance shortcut. A histogram tells you how many bright pixels exist, but it does not tell you whether they belong to paper, lettering or an important product highlight.
Save a working copy before any adjustment. A useful filename includes the product variant and a version number. Keeping the original available makes it possible to distinguish an actual construction detail from something introduced during cleanup.
Improve the capture when the source is the problem
Visual Education’s white-products photography workshop demonstrates why lighting ratio, flags and reflections matter on matte and glossy objects. A glossy surface can reflect its surroundings so strongly that its edge blends into a bright backdrop. Changing what the surface reflects can restore definition before editing.
Try a small black card just outside the frame beside the product, then inspect the effect. On a glossy object it may create a darker reflected edge; on a matte object it may reduce fill and reveal the side. Move the card gradually. An oversized dark stripe is not an improvement simply because the outline becomes easier to see.
Keep the product lighting and background lighting separable where your setup permits. Avoid flooding the item with extra light merely to brighten the paper. Examine the brightest useful detail, such as a raised white logo, while changing exposure. The goal is to retain that detail in the capture.
For a phone photograph, use a stable support and a consistent light source. Tap the product to set focus and adjust exposure if the camera allows it. Check the result after capture rather than trusting a bright screen preview. A small improvement to the source can save several uncertain rounds of reconstruction.
Use the pitcher acceptance map
For this proposed exercise, photograph a white ceramic pitcher with a curved handle. Before editing, record five details in the worksheet. These are the acceptance criteria, not decoration to add later.
| Feature | What must survive | Reject the edit when |
|---|---|---|
| Rim | Original thickness and visible interior | The opening closes or the lip becomes a different shape |
| Spout | Same curve and tip | A sharper or longer pouring edge appears |
| Handle opening | Same negative space and attachment points | The hole fills in or a join moves |
| Glazed body | Natural highlight and gentle tonal change | The surface becomes flat gray or featureless white |
| Base | Original footprint and believable contact | The bottom floats, narrows or gains a heavy outline |
Add one feature specific to your own item: an embossed mark, a seam, a translucent lid or a tiny printed label. A model may preserve the overall silhouette while changing this small detail. That can be enough to make the image unsuitable for a real listing.
A white towel needs a different acceptance map from a pitcher. Replace the glaze check with loops, pile direction and stitched hems. The review should describe the product you actually sell rather than impose the same glossy edge treatment on every white object.
Make one bounded editing request
Use a model that accepts the source image for editing. If your editor provides a selection or mask, restrict the change to the backdrop and inspect the boundary carefully. A text request is a direction, not a guarantee that all original product pixels will be preserved.
Start with one candidate and compare it with the source. If the product stays intact but the paper remains slightly uneven, a local background adjustment may be enough. If the handle becomes thinner or the spout changes, reject that candidate. Asking for more realism does not repair a product that has become a different design.
Avoid the two tempting edge fixes
The first temptation is drawing a dark outline around the product. That makes the silhouette readable, but it can look like a sticker and misrepresent a glossy or translucent material. Prefer the tonal separation already supported by the photograph. Stronger separation should still follow the lighting and surface.
The second is applying a broad feather to hide the cutout boundary. Feathering can soften a small transition, but too much erases thin handles, light fabric fibers and raised lettering. Inspect both the outside silhouette and enclosed gaps. A tidy outer edge can conceal a broken handle opening.
A pale fringe is also different from missing shape. The fringe may be leftover background color around a selection. Compare it against a temporary darker viewing backdrop in your editor to see the boundary clearly, then return to the intended background before approval. This diagnostic view is not the final listing image.
Check the delivered crop, not only the large preview
If the outline is clear but the product shade changes between exports, use the product photo color-correction workflow to trace the change from source to delivered image.
Review at full image size for changed construction and at the intended listing size for readability. Downsampling can soften a narrow edge that looked adequate when enlarged. Export one candidate at the actual delivery dimensions and reopen that file before making the final choice.
Keep enough space around the item that the rim, handle and shadow are not clipped by the crop. Compare it beside other approved products at the same display scale. If one item looks gray because all its shading was darkened to force separation, return to the lighting or background adjustment instead of copying the treatment across the catalog.
Stop when the item reads clearly and the source details remain trustworthy. For a real product, a slightly less dramatic photograph with accurate geometry is more useful than a polished reconstruction of a shape you do not sell.
How QuestStudio helps
Open Image Lab and select a model that supports editing with a reference image. Use the bounded backdrop request, then apply the acceptance map to the exported candidate. Available inputs vary by model; this workflow does not assume a dedicated white-product mode or an exact pixel lock.
Keep the source, worksheet and accepted export together. If the source never captured the necessary edge, use the worksheet to plan a clearer photograph. Start with one item and one background correction before applying the approach to the rest of the catalog.
The examples are proposed production exercises, not measured tool tests. The original hero image is an AI-generated editorial illustration.
Frequently asked questions
Why does a white product disappear on a white background?
The product and backdrop may have too little tonal separation, or editing may have clipped the highlights and erased the boundary. Compare the original before choosing a fix.
Should every pixel of a white product be pure white?
No. Subtle shading, texture and reflections describe its shape. Background requirements should not be applied indiscriminately to the product itself.
Can AI recover an edge that is missing from the original?
It may generate a plausible edge, but that is not proof of the real shape. Check a better source or retake the photograph when product accuracy matters.
Should I add a black outline around the item?
Usually a natural tonal edge is preferable. A uniform outline can make the product look cut out and may misrepresent its material.
How do I check a white handle or opening?
Compare the negative space and attachment points against the source at the same scale, then inspect the exported image at its actual display size.