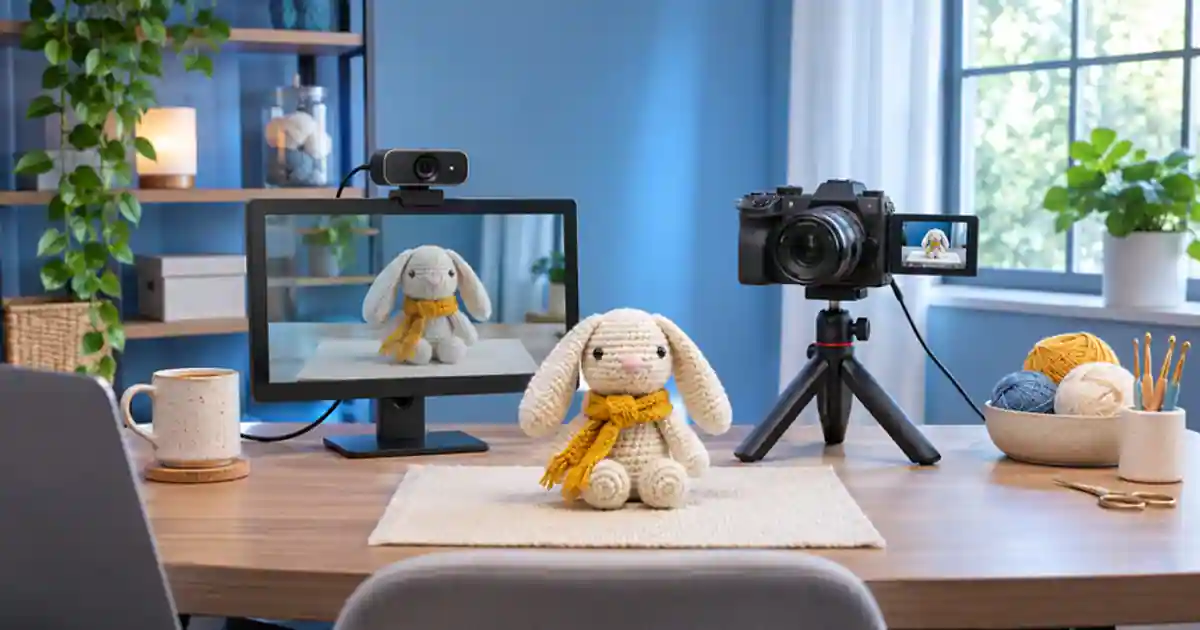

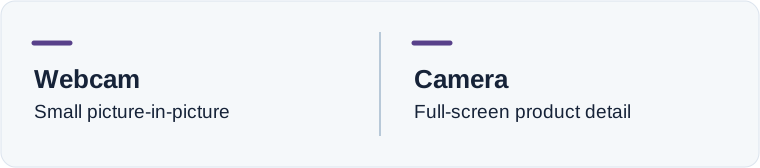
Keep the webcam if the camera is a small window next to your screen share and the viewer can see your face and hands clearly. Consider a camera upgrade when the camera view carries the tutorial. A full-screen product demonstration can benefit from lens choice, controlled focus, and the ability to frame a small detail. I’d record one complete demonstration before deciding which of those limitations is worth paying to remove.
My gear pick for this setup
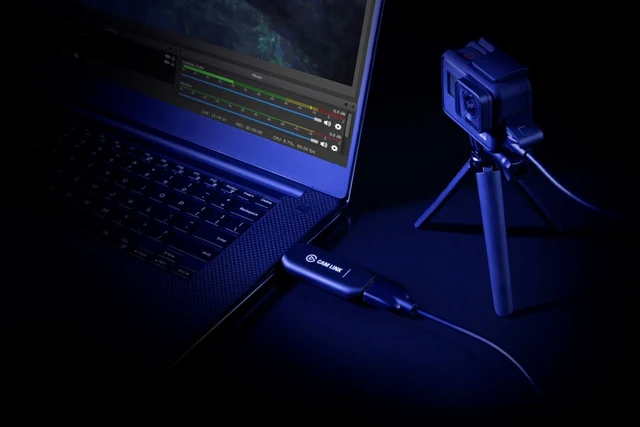
Elgato Cam Link 4K
For an existing camera that provides clean HDMI and can run for the whole show.
I’d consider Cam Link 4K after confirming the exact camera and output mode. If I only need a small picture-in-picture shot, I’d test the webcam and lighting first.
Start with the shot your audience needs
Write down where the camera image appears in the final video. A 300-pixel corner window rarely benefits as much from a sharper lens as a full-screen close-up of a connector or material finish. For a desk tutorial, the face may only need to show that you are speaking and reacting. For a product channel, people may be pausing to read a label or see your hands fit two parts together. These are different tests, even if both videos use the same resolution.
Record a wide desk shot and a tight product shot. Hold a small object where you expect to use it during the actual demo. Check the cut at the exported size. If the only issue is a blown-out window or shadow across the product, change the light and try again. A lens upgrade will not move the light source. If your camera repeatedly focuses on your face while the item is too close, record that as a focus or working-distance problem before choosing new equipment.
Compare the complete setup costs
For a webcam, include its mount, the placement you need, and any lighting that makes its image useful. For a camera, include a lens with a usable focus distance, a stable mount, a power solution approved for that camera, and the cable and capture path. Some cameras can work in a supported USB webcam mode. Try it before buying an HDMI device if it offers the framing, resolution, and run time you need. Check the behavior with the actual application you will record in.
For an HDMI route, look for clean output at your intended mode, stable power, and compatible capture hardware. Confirm whether a focus box or battery icon is embedded in the feed. Elgato documents compatibility requirements and notes that capture resolution also depends on the software. Try a borrowed compatible device where practical, especially if the camera is older or has limited outputs. Read the clean HDMI walkthrough if overlays show up in the recording.
Run the session you expect to record
A camera can look great during the first thirty seconds and lose signal later when it sleeps or heats up. Set up your usual mic, recording app, and scene switches. Run a representative session with the same resolution and power arrangement you intend to use on the channel. Check the recording near the end. Note whether you can start again quickly after stopping and whether a restart requires touching the camera behind the desk.
Review the exported footage in the place the audience will watch it. Listen to a few hand movements or taps to check if the audio is still aligned when you switch camera scenes. Compare the small picture-in-picture view at phone size and the full-screen close-up at desktop size. I’d favor the route that delivers the important view consistently. For a one-person channel, the simplest reliable setup is often the one you will actually use every week.
Give the close-up its own job in the edit
Make the most important product view first. If a camera makes the product readable, cut to that view when the narration mentions the feature and cut back once the explanation continues. If you need a supporting motion illustration, use the approved camera frame as a reference in Video Lab and keep it separate from the actual demonstration. The recorded shot should show the real action or feature a viewer needs to evaluate.
Keep a small list of what failed, what fixed it, and what you still need. If the webcam works for the face shot and the phone records a usable product close-up, you may already have two angles. If the camera improves the demonstration and needs a reliable feed into your recorder, that is where I’d budget for the capture device.
Keep one fallback shot ready
Save a working webcam scene even if you move to HDMI. During rehearsal, disconnect the camera after stopping the test recording and confirm you can switch to the fallback without changing the microphone. Check that the two views have a similar eye line and that the product or screen still fits. In a scheduled demonstration, a simpler second angle buys you time to diagnose a cable or power issue. Put its setup steps next to the main recording checklist.
A two-angle upgrade test
Record a 25-second introduction with the webcam. Bring a small product close, point to a real button, and set it back down. Then capture the same action with your available camera or phone from the angle you would actually mount it. Export both at the same size. Ask someone to identify the button and tell you whether the action is clear without rewinding. Next, leave your preferred setup recording for your normal session length. Use the answer and the run-time result to decide whether to improve the light, add a close-up camera, or buy a capture path.
Download the youtube camera setup worksheet (CSV)
Frequently asked questions
Can I start a YouTube channel with a webcam?
Yes. A stable shot, controlled light, and clear audio can be enough for screen tutorials and talking-head work. Check your export before upgrading.
Does every mirrorless camera need a capture card?
No. A supported USB webcam mode or separate recording to the camera may cover your workflow. HDMI capture is useful when you need a compatible live feed.
Does a capture card clean up camera overlays?
It receives the camera's HDMI signal. Confirm the camera can output a feed without overlays before buying.
Should I prioritize 4K?
Choose it when the delivery, reframing, or detail requires it and the setup can run reliably in that mode. Evaluate the picture at the size the audience will see.
Sources and further reading
Affiliate disclosure
As an Amazon Associate I earn from qualifying purchases.
Continue with a useful next step
 Video
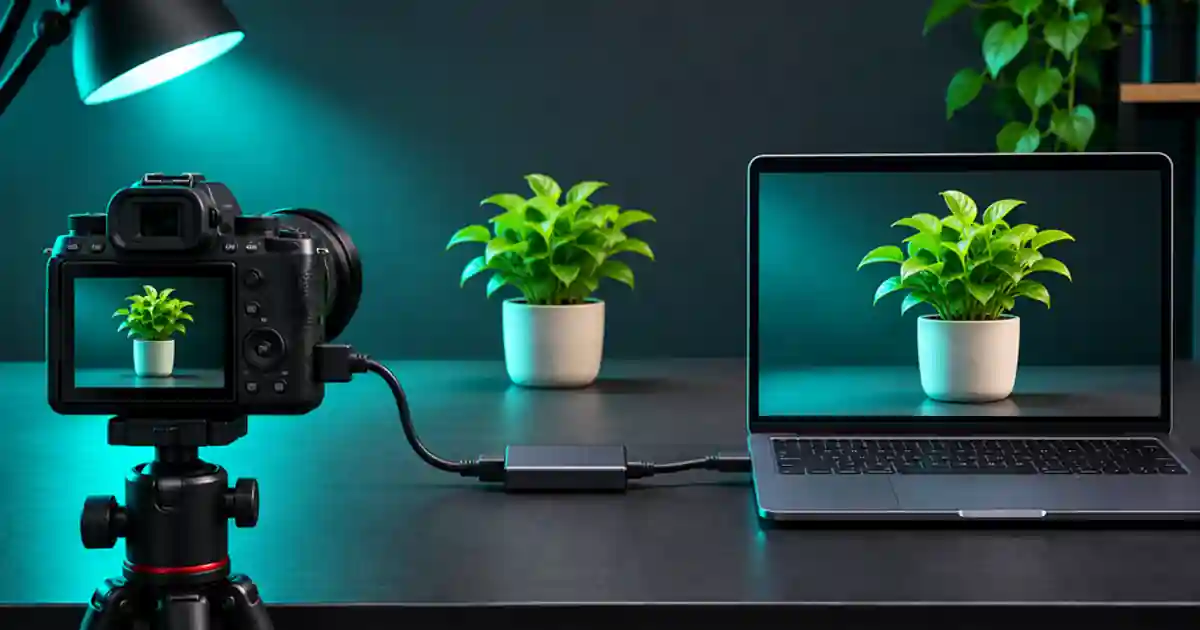
Capture Cards for Cameras: Check the Whole Recording Path
Connect a camera to your computer with the right HDMI capture adapter. Check clean output, USB support, Cam Link revisions, audio sync and a real recording.
 Image
Clean HDMI for OBS Without Camera Overlays
Get clean HDMI into OBS by checking the camera output first, then verifying the capture card, source settings and a short recording for returning overlays.
 Creator Workflows
OBS Screen Recording: Capture a Clear First Tutorial
Set up an OBS screen recording with a deliberate capture source, clean microphone routing, and an export check. Use a short test plan before your full tutorial.