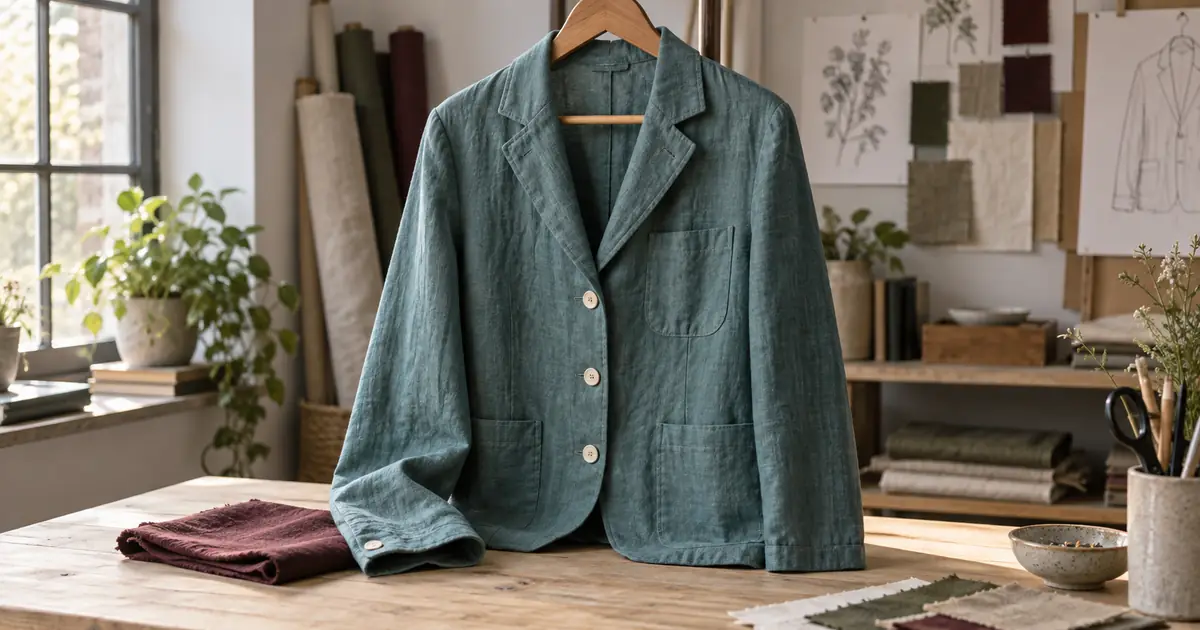

You ask for a burgundy jacket and get a smoother fabric, different buttons and a warmer face. The color changed, but so did the photograph. A useful clothing recolor starts with a smaller brief: one garment, one color change, and a clear list of details that must survive.
Download the garment recolor acceptance sheet · Try one garment recolor in Image Lab
Choose recoloring when the garment is already right
A color edit keeps the cut, fit, pose and construction. Replacing a jacket with a dress is a different job, with different failure risks. So is predicting how an item will fit a customer. Keep this project limited to the visible color of an existing garment.
For a personal styling concept, an approximate shade may answer the question. For a store listing, the image has to represent an actual variant. Record which job you are doing before you start. An imagined burgundy option can be useful for planning without becoming a claim that you sell that exact shade.
Our example is a teal linen jacket with cream buttons. The requested change is burgundy fabric; the buttons, stitching pattern, lapels and person remain as photographed. That brief gives you several concrete details to reject a bad edit against.
Check the source before changing the color
Choose a photo with visible fabric texture and a readable boundary around the garment. Look especially at the neckline, hair, hands, cuffs and gaps between an arm and the body. Those are places where a model or selection can accidentally include skin or background.
Use a source with ordinary, understandable lighting. A dramatic blue stage light makes it harder to distinguish garment color from illumination. Correct an obvious overall color cast first if you have a trustworthy reference, then save that version separately. Do not recolor several generations of the same file in a chain.
Start every new colorway from the approved source. If burgundy becomes the input for mustard, and mustard becomes the input for navy, small changes to seams and texture can accumulate. Independent versions make the comparison much easier.
Write the color-only request
Replace “jacket” with the exact item and location when several garments appear: the outer jacket, the shirt beneath it, or the left person’s scarf. An unqualified “change the clothes” can include more than you meant. Describe protected trims explicitly when they differ from the main fabric.
A color name is an approximate visual direction. You can supply a swatch where the chosen tool accepts a reference, but a hex value or reference image does not guarantee an exact textile match. Fabric sheen, the source exposure and the viewing display all affect how the result appears.
Choose between a generative edit and a masked adjustment
A dedicated AI recolor tool such as Photoroom Recolor describes preserving texture and stitching as its goal. Treat that as something to verify in your output. A conventional masked adjustment is another useful path when the photograph already contains good detail.
Adobe’s object-color adjustment instructions use a selection, a Hue/Saturation adjustment and a mask that can be refined. The advantage is a visible boundary you can correct without asking a generator to redraw the garment.
Try the method that gives you enough control for the actual image. A solid midtone fabric may be a straightforward adjustment. A patterned jacket partly covered by hair may need careful masking. If the first AI result redesigns construction, switching methods is often more productive than asking for a stronger version of the same edit.
Recognize the difficult color changes
| Change | Main risk | Better review question |
|---|---|---|
| Teal to burgundy on midtone linen | Color leaks into buttons or background | Did the fabric change while trims stayed original? |
| Black fabric to a pale shade | Dark areas contain little visible texture | Are the new folds supported by the source? |
| White fabric to dark navy | Highlights or stitching become flat and muddy | Does the same construction remain readable? |
| Patterned cloth to a new base color | Print colors and boundaries shift together | Did only the intended fabric areas change? |
| Satin or sequins to another shade | Reflective highlights become painted color | Does the original material still behave like itself? |
Moving from black to white is not simply choosing a different hue. It changes the brightness relationship that made folds visible. If a very dark source lacks usable detail, generation may invent it. Photographing a real light-colored variant can be the cleaner choice for product work.
Likewise, retain natural variation across the fabric. The lit shoulder and the fold under an arm should not become one uniform patch of burgundy. A garment needs its existing light structure to continue looking three-dimensional.
Review the edit in two passes
First hide the target swatch and inspect structure. Compare the collar, shoulder line, cuffs, hem and button spacing against the original. Check one small texture area on each side of the garment. If the weave changes into leather or the sleeve gets narrower, the candidate fails even if the new shade is attractive.
Then inspect color and spill. Check the skin beside the neckline, fingers touching the cloth, strands of hair at the shoulder and the space behind a bent elbow. Look for a colored halo or a small island of the old fabric color. A mask correction may solve a boundary error; a full regeneration may introduce new ones.
Finally view the whole image at its intended display size. A zoomed edge repair can look technically tidy but create an unnatural overall patch. Compare all variants in one contact sheet with consistent crop and exposure so the color decision is not influenced by different framing.
Approve real variants against real evidence
For a listing, keep a photo of the physical color variant or an approved production reference beside the edited file. Ask the person responsible for the product to review it under a consistent viewing setup. Record that approval with the source file and variant name.
Do not use the most saturated candidate simply because it looks best in a feed. The image should help a buyer understand the item. If the product does not exist in the requested shade, label the work as a concept in the context where you present it. Keep its filename separate from approved catalog assets.
How QuestStudio helps
Open Image Lab with your source photo and select a model that supports image editing. Start with the single-garment request, then compare the result against the worksheet. The appropriate input controls depend on the selected model; this guide does not assume every model has a mask or an exact-color lock.
Save the source and accepted version together. Once one color passes the structure and spill checks, use the same review for the next independent variant. That is a more useful finish line than generating a large collection of inconsistent outfits.
The examples are proposed production exercises, not measured tool tests. The original hero image is an AI-generated editorial illustration.
If the fabric has false repeating color bands, use the clothing-photo moire diagnosis guide to compare the source and export sizes while preserving the real weave.
Frequently asked questions
Can AI change clothing color without changing the person?
That is a reasonable edit goal, but it needs inspection. Compare the face, skin, hands, hair and pose with the source before approving the result.
Why did the fabric become smooth or plastic?
The editor may have regenerated texture instead of changing color alone. Try a narrower selection, a clearer source or a conventional masked color adjustment.
Can I recolor black clothes to white?
Sometimes, but dark sources may not contain enough visible texture to support the change. A generated result can invent folds, so use a real variant photograph when accuracy matters.
Will a hex color guarantee the exact garment shade?
No. A requested color does not guarantee a physical textile match. Lighting, material, processing and the viewing display affect the result.
Should I create each color from the previous edit?
Start each variant from the approved original. Serial recoloring can accumulate changes to fabric, construction and the surrounding photograph.