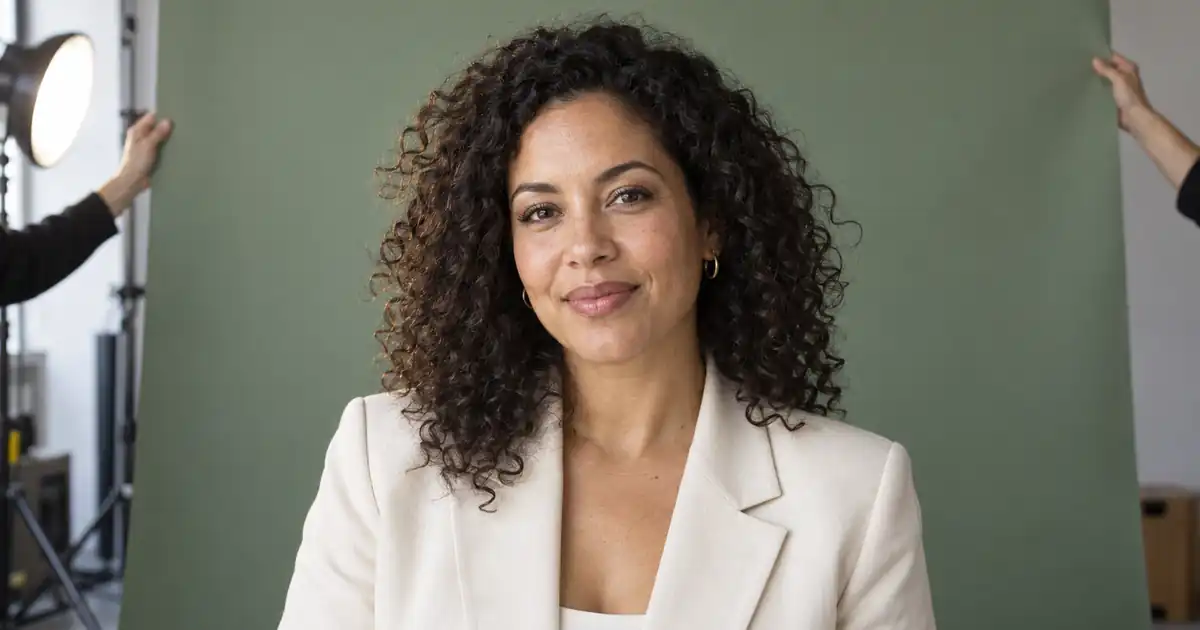

You like the expression in your headshot. You do not like the wall behind you. Replacing the entire image to fix that wall can change the very things you wanted to keep: the shape of your eyes, your smile, your hairline, or the texture of your skin. A reliable background change begins by protecting the person and deciding how much of the image actually needs to be generated.
Download the headshot face preservation and edge audit · Explore a simple headshot setting
Choose a method that matches what you need to change
There are two different jobs hidden inside “change the background.” One removes the existing surroundings and composites a new background behind the original person. The other asks a generative model to redraw some or all of the photograph. Both can produce appealing results, but they provide different control over identity.
If the face is already approved, prefer a workflow that retains those pixels. Background-removal tools such as remove.bg’s portrait background workflow are built around isolating the subject. A generative portrait tool may instead reinterpret facial detail, even when the instruction says to preserve identity.
Use generation for the setting when it helps, then place the original cutout over it in an editor that supports layers. If you work directly with a selective AI edit, inspect the actual mask and compare the protected region afterward. A text instruction is a request, not proof that untouched areas remained identical.
Start with the highest-quality approved original
Find the original photo rather than a screenshot from a profile page. A small compressed crop often has damaged hair edges and limited room around the shoulders. Those problems become more visible when the background changes. Keep an untouched copy and create a working version with a clear filename.
Check focus on the eyes, motion blur, clipped highlights, and the expression. If those need major repair, decide that before editing the background. Combining a new setting, face retouching, clothing replacement, and posture changes makes it difficult to tell which operation altered your appearance.
Choose the final crop now. A square profile avatar and a wide team-page portrait have different space needs. Leave enough headroom for the destination’s crop, including circular masks. Keep important hair and shoulder details away from an edge that may disappear on a smaller display.
Protect the face and refine the subject boundary
| Area | Common failure | What to preserve |
|---|---|---|
| Hair | Hard helmet edge or erased curls | Natural silhouette and believable fine strands |
| Glasses | Missing frame or opaque lens area | Frame shape, eyes, and transparent lens relationship |
| Ears and jaw | Cutout removes small contours | Original outline and skin detail |
| Clothing | Collar cut off or background left between arms | Seams, shoulders, and open spaces |
| Face | Smoother or subtly different features | Original eyes, nose, mouth, expression, and texture |
Inspect the mask against both a light and a dark temporary background. A pale halo can disappear against white but become obvious against green. A dark fringe may be invisible on the old wall and stand out immediately on a cream studio backdrop.
Refine only what is necessary. Fine hair is partially transparent at the boundary; making every strand fully opaque creates a pasted-on look. If a difficult section cannot be isolated cleanly, choose a background close in tone to the original or use a better source photograph rather than repeatedly redrawing the hair.
Choose a background that agrees with the existing light
Read the portrait before choosing the setting. Which side of the face is brighter? Are the shadows soft or sharp? Is the light warm, neutral, or cool? A background with a visible window on the opposite side can make an otherwise clean cutout feel wrong.
A simple studio tone is often easier to match than a detailed office. It introduces fewer perspective cues and less reason to expect a particular shadow. For a business profile, a restrained gray, cream, or muted green can keep attention on the person without suggesting an office they never photographed.
If you choose a room, match the camera height and apparent depth. A portrait shot at eye level should not sit against a background photographed from near the floor. Keep background detail soft enough to support the face, but avoid artificial blur that makes every distance equally indistinct.
Write a background brief with a clear edit boundary
Use this direction only with a workflow that supports the relevant source image or selection. If you generate a separate background, describe the empty setting and light; do not ask that generation to recreate the person. Composite the retained foreground above it afterward.
With a masked edit, check whether the selection includes any skin, hair, or clothing by accident. A generous selection can make blending easier while exposing identity details to regeneration. Work on a copy and review the face even when the tool appears to protect it.
Save the first acceptable candidate before experimenting with more dramatic settings. A polished new office is not an improvement if the expression becomes less recognizable or the headshot no longer suits the destination.
Compare the face at the same scale
Put the original and edited image side by side with the face the same size. Do not compare a close crop with a wide portrait; scale differences can hide subtle changes. Check the eye spacing, eyelids, eyebrows, nose shape, mouth corners, teeth, jaw, and any distinctive marks that should remain.
Then compare the entire head silhouette. Hair volume, ear shape, and the angle of the neck contribute to recognition. A background edit can look harmless at thumbnail size while changing those details at full resolution. If you used a retained foreground layer, confirm that no later filter or global enhancement modified it.
Ask the person pictured to approve the result when working for someone else. The editor may notice technical flaws, while the subject notices that a smile or expression no longer feels like them. Record that approval with the file version rather than assuming any attractive portrait is acceptable.
Fix the edge before changing the whole image
| Symptom | Targeted correction |
|---|---|
| Light outline around dark hair | Refine the mask and reduce leftover old-background color |
| Skin looks unrelated to the room | Choose a more compatible background before altering the face |
| Glasses reveal the old wall | Inspect lens transparency and local compositing |
| Shoulder has a jagged border | Refine that mask edge at useful zoom |
| Portrait appears to float | Simplify the crop or improve the background’s perspective and light |
| Face changed after generation | Return to the original foreground instead of repairing a new identity |
Avoid hiding every edge problem with heavy blur. It can remove natural hair detail and make the person look soft against a sharper background. Apply any edge correction locally and return to normal viewing size before judging it.
A head-and-shoulders portrait usually does not need an invented floor shadow. Adding one because a tool offers the option can create a new spatial inconsistency. Think about what the frame actually shows and what lighting evidence is available.
Export a version that survives the destination crop
Keep an editable master with the original, mask, and background separate. Export the delivery file at the dimensions and format required by the profile or website. Inspect the exported file, not only the editor canvas: compression can make fine edges appear rough, and color handling can shift a carefully matched background.
Preview the image in a square and circular crop if it will serve as an avatar. Check that the eyes remain readable at small size and that the crop does not clip the hair awkwardly. A background with attractive detail at full size can become visual clutter in a small profile icon.
Retain the approved original and a brief note of what changed. If the team later switches to a different brand color, you can replace the background layer without generating another interpretation of the person.
How QuestStudio helps with the setting
Use Image Lab to explore a restrained background or a supported image edit. Confirm the selected model’s controls and do not treat “preserve the face” as a pixel-lock guarantee. For exact retention, keep the original foreground in a layer-based finishing workflow.
The headshot quality checklist provides a broader final review. Background replacement is complete when the portrait still looks like the approved person, the edges hold up, and the file works in its actual destination.
About this guide
This is an editorial production method, not a claim that every AI model can perform every step. Examples and worksheets are illustrative; no measured generation results are implied. The hero is an original AI-generated illustration.
Frequently asked questions
How can I change a headshot background without changing my face?
Keep the original person as a protected foreground layer or cutout, then replace the background behind it. Inspect the mask and compare the final face with the original at equal scale.
Will a prompt saying preserve my face guarantee no changes?
No. Generative edits can reinterpret details. If exact retention matters, use a workflow that preserves the original foreground pixels and verify the final export.
Why does my headshot look pasted onto the background?
Common causes are a halo around the cutout, mismatched light direction, incompatible camera perspective, or background detail that is too sharp. Correct the specific mismatch.
What background is easiest for a professional headshot?
A simple studio tone that matches the existing light is often easiest to integrate. Choose the color and crop for the actual profile or team page.
When you want to keep the room and soften it, follow the portrait blur halo troubleshooting guide to separate selection errors, depth mistakes and foreground spill.