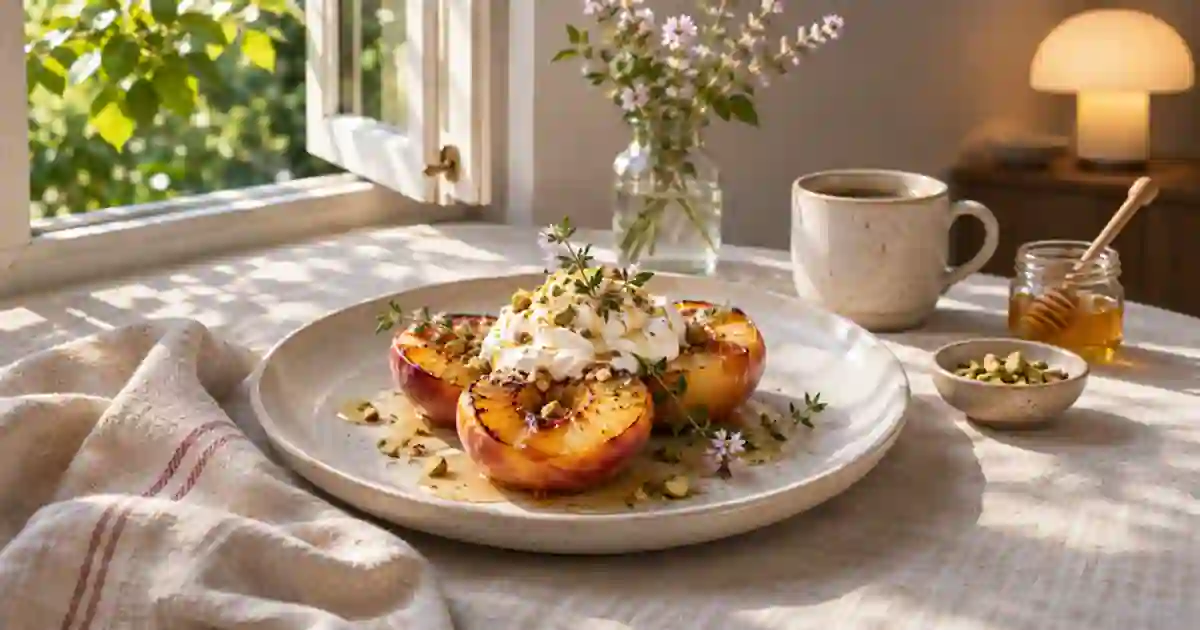

Use a window for food photos when you can shoot during a reliable stretch of light. Buy a continuous light if you need to photograph different dishes on different days and give them the same shadow direction, brightness, and color. I’d test both with a plate you already serve. The question is whether you can make the next dish look like it belongs with the first.
My gear pick for this setup
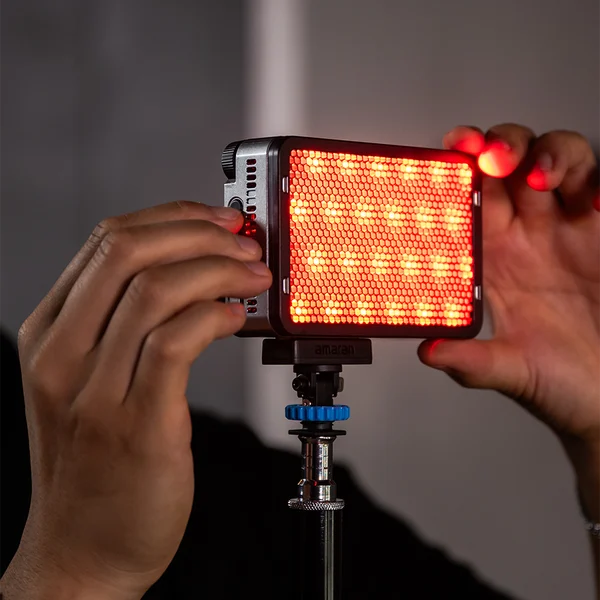
amaran Ace 25c, charcoal
For a single plate or close detail that can sit near a compact continuous light.
I’d use the Ace 25c for a small plate close to the light. To cover several plates through a larger softbox, compare the larger light and modifier sizes you would actually use.
Start with one dish and one side light
Choose a plate that contains both a light surface and a dark detail. A stack of toast with yogurt and fruit is enough. Mark the plate position and the place you will hold the phone or set the camera. Photograph it with the window to one side. If direct sunlight is creating a small bright hotspot, move into shade or diffuse the window safely. If the food looks flat, rotate the plate or move the camera so you can see where the light falls across the texture.
Turn off nearby ceiling fixtures when you can. A warm fixture can create a color cast in one area while the window lights another. A single white-balance change cannot correct two different sources everywhere. Put a neutral card into a separate test frame. Keep it on the same plane as the dish and move it away before the final frame. This is easier to compare than adjusting each image until the plate seems white on your phone.
See what changes when the window changes
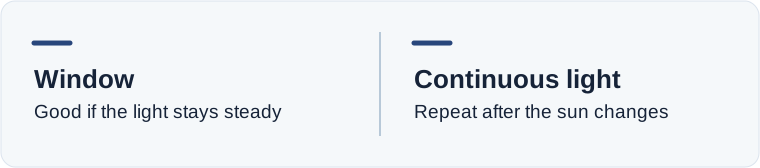
Repeat the photo when you would normally shoot a second menu item. That may be half an hour later during lunch service or after the kitchen closes. Make the frame using the same marks. Compare the color of the plate, the direction of the darkest shadow, and the shine on a sauce or glaze. If the scene changes more than you want, save the first image as a target and test a lamp that can sit in the same direction as the window did.
A continuous fixture lets you see where a highlight sits before recording. Put it at roughly the same angle as your successful window setup and use a modifier to soften it. The apparent size of the bright surface matters. A small fixture very close to a small plate can work for a detail. A larger area or multiple dishes may need a bigger diffuser and enough output after diffusion. Check the finished frame instead of comparing fixture wattage by itself.
Build the lamp setup around repeatability
Mark the stand position and height. Set the camera or phone so it will keep exposure and white balance consistent where your app permits. Take a new neutral reference under the lamp. Add a white card on the shadow side if the food loses useful information there. For a glossy soup, move the light until the reflection shows the surface without covering the ingredients. A small change in angle often does more than raising the brightness.
Check the result at the final image size. A dish photo used in a menu grid should look recognizable when it is small, even if the full-size photo has rich detail. If a shadow obscures the garnish in the thumbnail, adjust fill for that frame. If the lamp works only when the plate is close enough to crowd the camera, you have learned something about the size of light you need. Leave space to handle plates without bumping the stand.
Decide whether to keep the window
I’d keep the window when I can group several dishes into one shoot and repeat the look with a few marks. I’d buy a continuous source when I need to produce a consistent photo after hours or in a room without a good window. Record the plate-to-light distance, the angle, and the modifier. Those three notes are more useful than memorizing one brightness setting when the next dish has a different color or height.
Keep the real plate photo as the source for a listing. For a separate campaign backdrop or scene variation, start from the approved frame in Image Lab. Check that the portion, toppings, and servingware still match. Use the menu cropping guide to verify the same image works when the platform changes the crop.
Give the scene a mark for taller food
A plate and a tall glass can both fit the same menu, but the same light position may not show them well. Put the taller dish or glass on the mark and compare its top and bottom against the reference. A lamp that looks soft on a plate can give the glass a hard hotspot when the glass sits closer to it. Raise or move the modifier and record the second position. Two repeatable positions are often easier to maintain than forcing every dish into one setup.
A two-time lighting test
Photograph one plate near the window and make a note of when you shot it. Repeat the setup at the time you usually need to shoot a replacement. Then use a continuous lamp from the same side and take a frame with a neutral reference. Compare the three crops on one screen. Score consistency of the plate color, highlight, and shadow, and mark the largest dish you expect to photograph. If you can reproduce the window shot easily, keep using it. If a lamp fixes a recurring timing problem, buy the size that covers your largest common setup.
Download the food photography lighting worksheet (CSV)
Frequently asked questions
Is natural light better for food photos?
A steady window can provide attractive soft light. A lamp helps when the window changes between photos or you need to shoot at another time.
What size light do I need?
Start with the largest set you regularly shoot. Check the modifier size, working distance, and exposure after diffusion.
Can I mix window light with a lamp?
You can, but compare color and shadow direction across the plate. Start with one source so you can identify changes clearly.
Where should I place the light?
Start from the side and check the shadow and surface detail through the camera. Move the source as the dish shape and finish change.
Sources and further reading
Affiliate disclosure
As an Amazon Associate I earn from qualifying purchases.
Continue with a useful next step
 Image
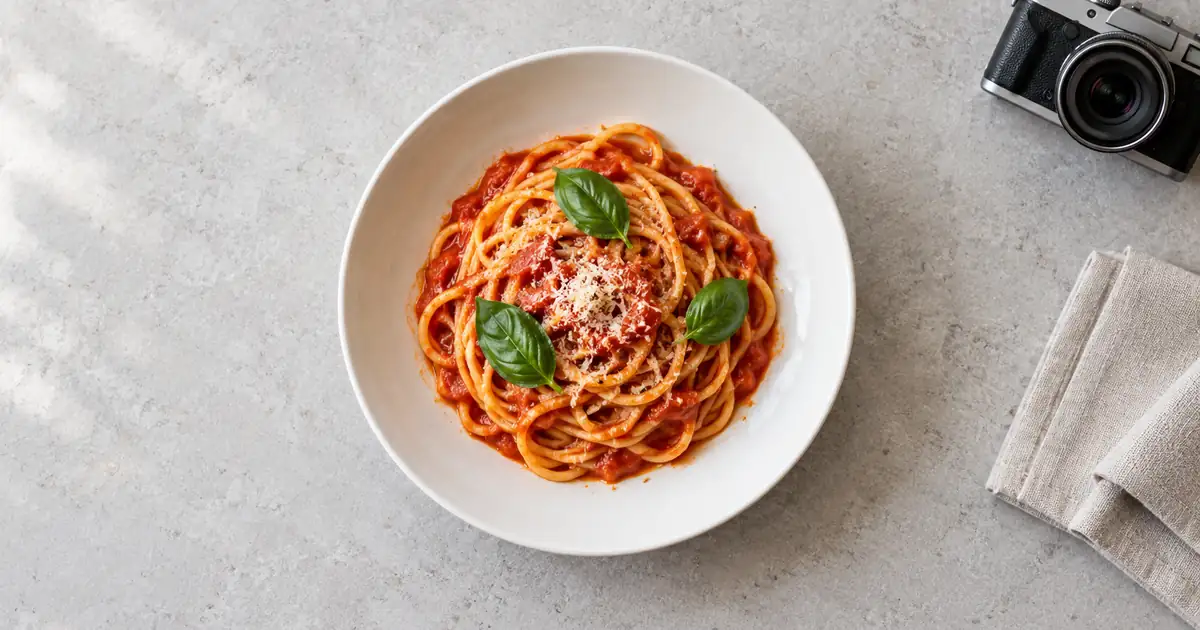
Restaurant Menu Photo Sizes: Crop One Dish for Delivery
Prepare restaurant menu photos for delivery apps. Compare item and cover requirements, inspect two crops, and export a clear dish image without stretching it.
 Video
How to Film Overhead Cooking Videos With Your Phone
Set up a stable overhead phone shot for recipe videos. Choose a mount, plan safe prep and side angles, and edit a clear vertical sequence with readable steps.
 Image
Product Photography Lighting: A Tabletop Setup Plan
Plan a tabletop product photography lighting setup with a soft source and bounce card. Review reflections, keep a test log and change one variable at a time.