
Product photography lighting becomes repeatable when you can explain the source, surface and camera positions. Begin with one broad light, one product and a simple background. Make a test frame, change one position at a time and record the setup that makes the actual item readable.
This guide provides a small-table planning method, not a measured test of a particular lighting kit. The diagram's distances are hypothetical starting points for a layout exercise. Measure your own working setup and use the real product photograph to decide which changes help.
Give the first frame a clear inspection job
Choose one sale variant and the view that needs to be photographed. Decide whether the test frame must reveal the outline, a label, a material texture or a transparent edge. A light position cannot be judged well when the intended detail keeps changing.
Start with a clean item and a stable camera. Keep the product in a marked position on the surface so an accidental rotation does not get mistaken for a lighting improvement. Save the first test even when it is imperfect; it gives you something concrete to compare.
The product shot-list guide helps define the required views. The lighting task begins with one of those views rather than an entire gallery at once.
Map one source, the product and the camera
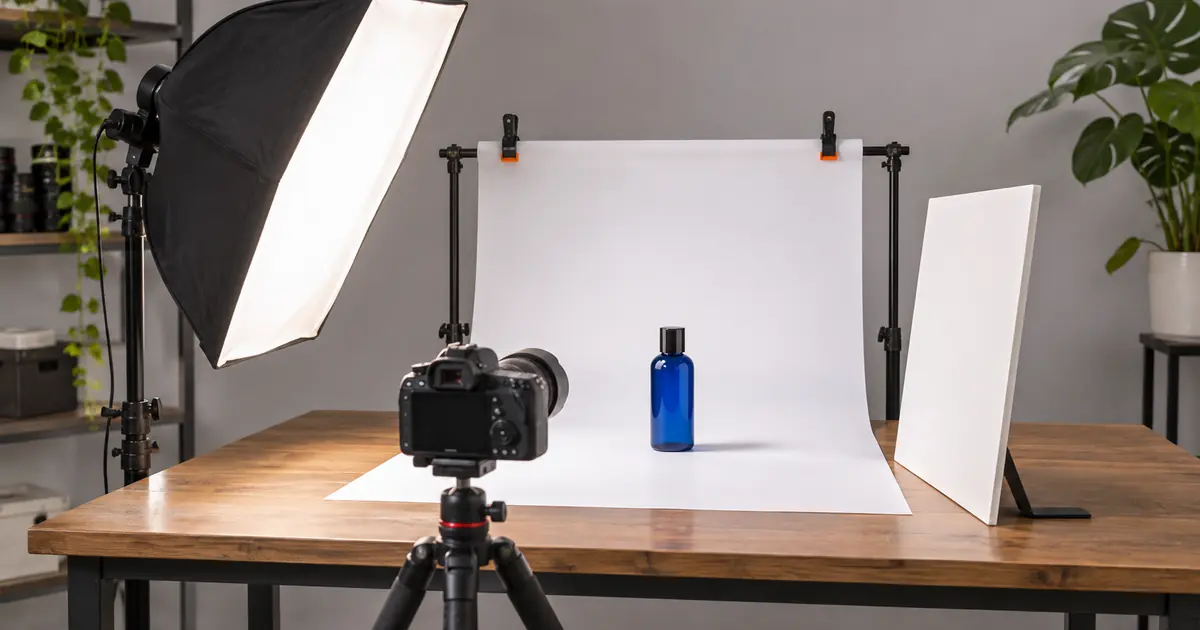
Use a broad diffused source to one side as a manageable starting point. Place the camera where the required view is readable, then introduce a white bounce card on the shadow side if it helps reveal important detail.
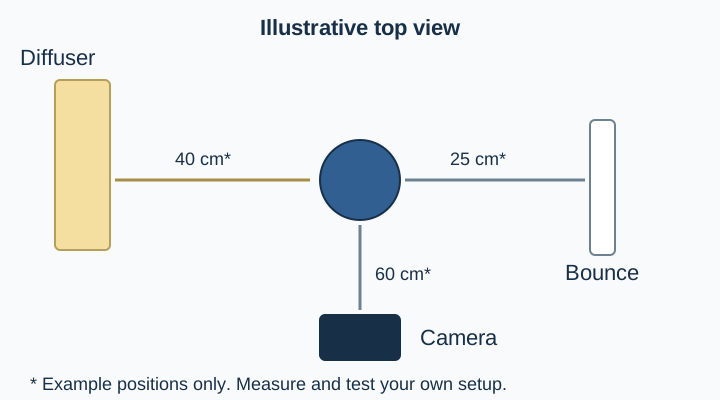
Record the source's position, its apparent size from the product, the product-to-background distance and the camera position. Also note the light output setting and any exposure controls you actually used. You need enough information to rebuild the setup after moving the table.
Adobe's diffused-light overview explains the broad difference between hard and soft illumination. Use the visible result to judge your setup rather than assuming that a particular equipment label guarantees a useful photograph.
Make a matte-surface test first
A matte object can make it easier to see the main light direction without a large mirror-like reflection dominating the surface. Inspect the brighter side, shadow transition and outline. Decide whether the object still has enough shape to read at a small size.
If the shadow side hides an important label edge, move the bounce card closer and take another frame. If the picture becomes flat, move it away or change the angle. Keep the light and camera fixed while testing that one variable.
Write the result in observable terms: “side label became readable” or “shadow side lost shape.” Those notes are more useful than calling one setup professional and another amateur. The accepted position depends on the object and the job.
Let a glossy object show you the reflection
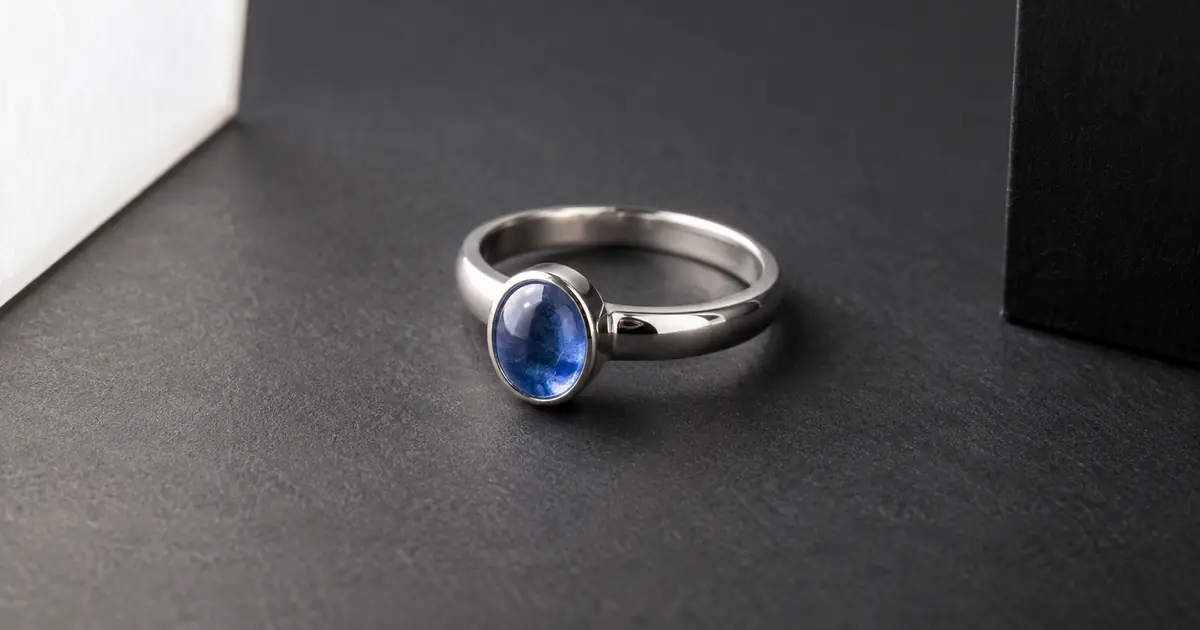
A glossy product reflects the source and surrounding room. The bright patch is part of the setup you are photographing, not simply an editing defect. Move the light, camera or object carefully to see how that patch travels across the surface.
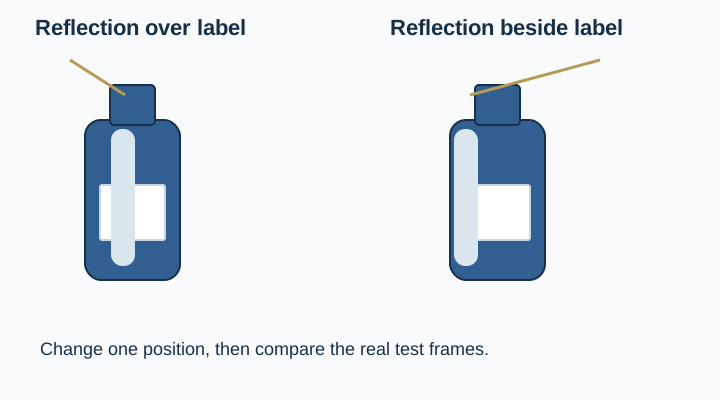
Try to place the reflection where it describes curvature without covering the detail the image needs to explain. Keep the label readable and retain the actual finish. Removing every highlight can make a reflective object look like a different material.
For more detailed reflection work, the transparent-product guide serves the specialist case. This setup method helps you decide which source frame is ready for that closer review.
Separate transparent edges from the background
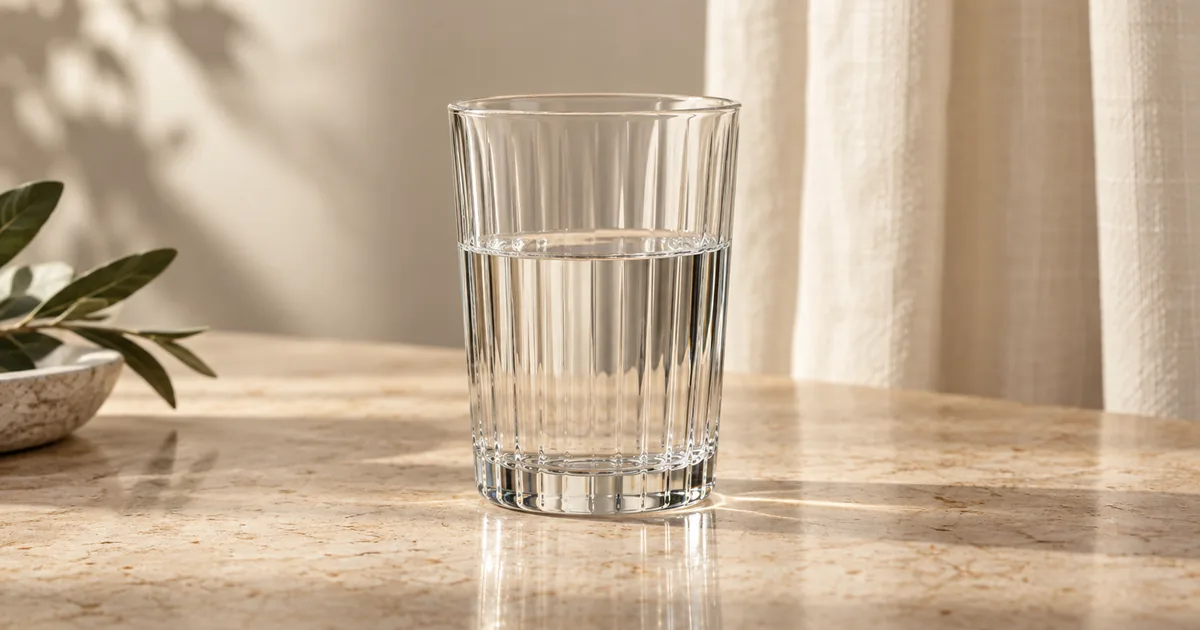
An object with clear or translucent regions may need more careful control of the surrounding light and background than a matte one. Inspect the outline and the areas where the background is visible through the product.
Use a real source view to settle its shape and contents. A broad bright background can make the edge disappear, while a dark reflection can overstate a boundary. Adjust the setup and inspect another test rather than asking an AI model to reconstruct the missing edge from a vague silhouette.
The white-on-white product guide adds a focused method for subtle outlines. Keep material-specific decisions in that specialist workflow instead of treating every clear or pale object as the same lighting problem.
Check exposure on the product as well as the background
A bright clean background does not help if it removes texture from the product. Inspect the brightest important regions and any dark detail that a customer needs to see. Use the camera or editor's clipping display where available, then look at the actual file.
Avoid judging exposure solely from the rear screen's overall brightness. Review the test at a useful scale, especially around white labels, polished hardware and pale fabric. Keep a neutral reference frame when color accuracy is important to the job.
Use verified destination requirements when choosing the final background treatment. A general tabletop setup does not replace a marketplace's current image rules, and a styled supporting scene may have a different role from the main listing image.
Record changes as a small experiment
Name the first test L01 and change only one element for L02. Note the source distance, card position or product rotation that changed. Keep the product and intended view the same until the lighting decision is resolved.
For the layout exercise, the worksheet begins with a camera 60 cm in front of the product, a diffuser about 40 cm to its side and a bounce card about 25 cm from the other side. These are example plan values, not a tested prescription. Use distances that fit your camera's focus, source and object, then write down what you actually measured.
Download the setup log and keep a quick overview photograph of the accepted arrangement in your project folder. A setup becomes repeatable through its record, not through remembering that the softbox was somewhere to the left.
Approve the source before AI-assisted finishing
Choose the real frame with a readable outline, useful material detail and a clear product identity. If glare hides a key feature or focus is missed, improve the capture before asking for a new environment.
Use Image Lab to explore a supporting background from the approved source when the project calls for it. Compare the output with the original product before use. AI finishing should not be the evidence for a shape or label that your source never captured clearly.
The light box versus softbox comparison helps with an equipment decision. This guide's deliverable is different: a recorded position and a source photograph you can reproduce for the next item.
Download the lighting-test worksheet and replace its fictional example entries with your own approved sources.
Frequently asked questions
Do I need several lights to start?
Start with a simple source and inspect the result. Add another light only when it solves a clearly identified problem rather than making the setup harder to understand.
Are the diagram's distances recommended settings?
They are hypothetical planning values. Measure and test the distances that fit your actual object, camera and light source.
Why does the label disappear under a bright patch?
A glossy surface may be reflecting the light source across the label. Change the geometry and inspect a new frame instead of only darkening the whole picture.
Should I remove every reflection?
Not necessarily. A controlled reflection can explain a material and its curvature. Preserve a readable product without making its finish look different.
Can AI fix a source that never shows the product edge?
It may invent a plausible edge, but that does not verify the real shape. Improve the source capture when an important detail is missing.