
To crop a photo in Photoshop, select the Crop tool, set the ratio you need, and drag the crop box into position. In the options bar, turn off Delete Cropped Pixels before applying the crop if you want to keep the hidden area. Save an editable Photoshop file and export a separate copy for delivery.
The crop decides what appears inside the canvas. It also changes how the subject reads. A square crop can look balanced when the same composition in a taller image leaves too much empty space. Use one master and check both versions before you commit to the exports.
Set a ratio before setting an output size
Choose the crop ratio in the Crop tool options. A square is 1:1, while a 4:5 portrait is four units wide for every five high. When you only need a shape, use a ratio setting. When you must deliver a specific pixel size, confirm the export dimensions separately. Ratio and pixel count answer different questions.
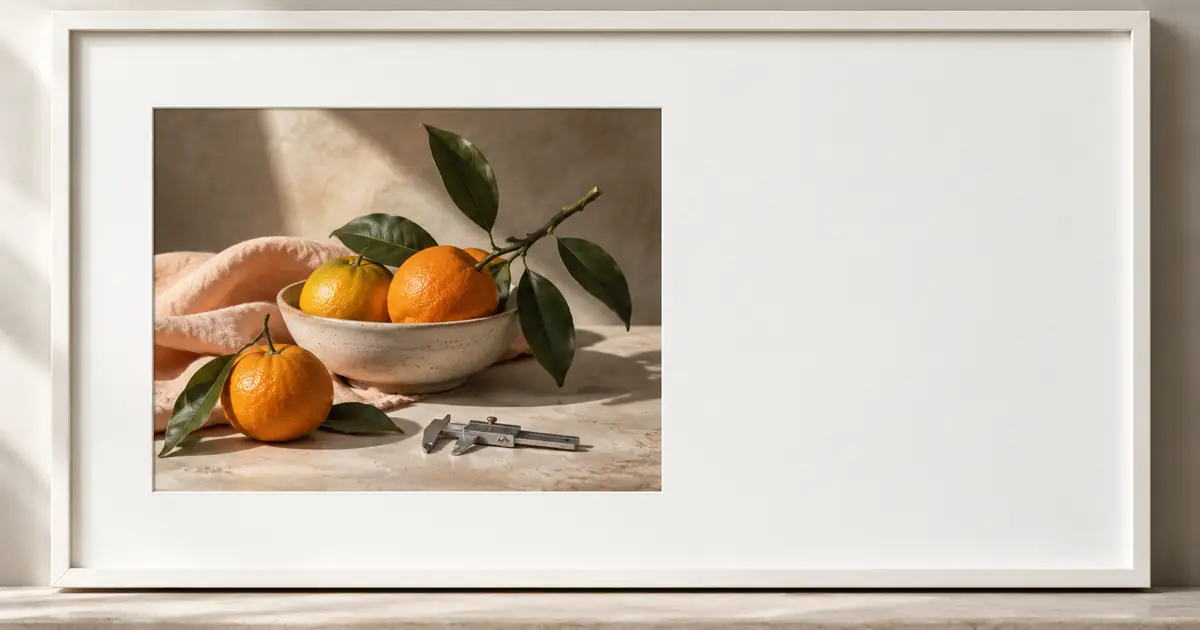
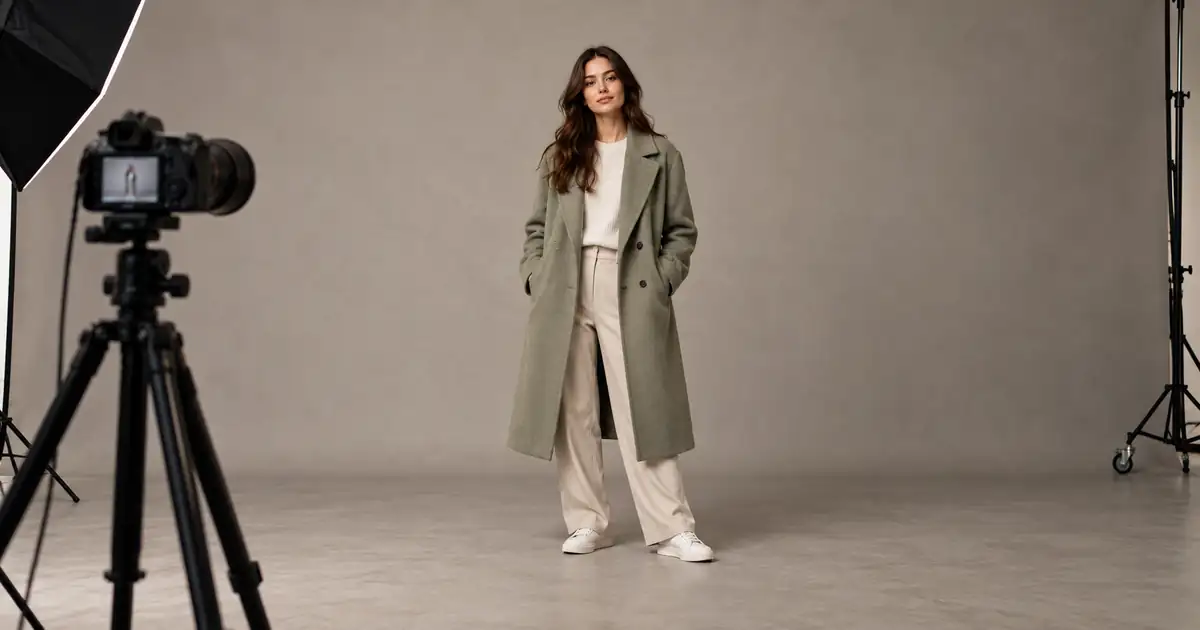
Use the crop preview to protect what the viewer needs to see. For a product shot, that might be the whole handle, its label, and part of the surface beneath it. For a portrait, it might be the top of the head, gaze direction, and enough shoulder space for the layout. The full-body framing guide has a related check for hands and feet.
Adobe's Crop tool options explain the ratio, straightening, overlay, and crop settings. Make sure Delete Cropped Pixels is off before you apply. If the file is a flattened or locked background and the expected edit is unavailable, preserve a copy and work on an editable layer.
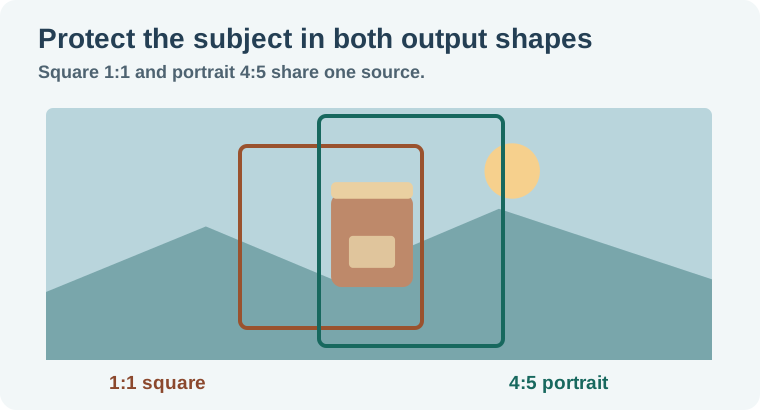
Make a square and portrait proof from one source
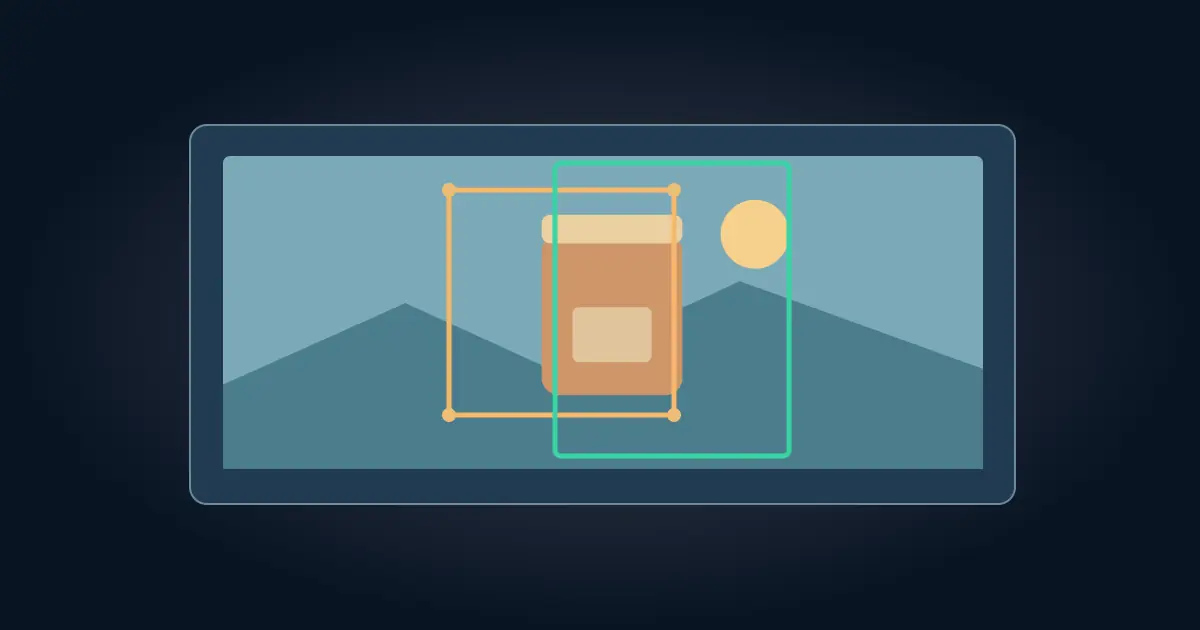
Start with a wide photo of a jar on a workbench. The jar and the hand holding it must both remain visible. Make the square proof first. Set 1:1 and move the crop box until the hand and label have enough room. Leave some surface under the jar so the viewer can tell how it sits. Apply the crop and save the editable source.
Now make a portrait proof from the same photo. Reopen the Crop tool or work in a separate version of the master. Set 4:5 and expand or move the box where the hidden image area is still available. Give the top of the jar enough space for the new layout. Look closely at the side where the hand meets the frame. A larger-looking object can become less useful if the crop cuts off its use.
If the photo does not cover the intended canvas, choose whether to use a deliberate border, a different framing, or an approved extension. Changing canvas size has a separate job. The Photoshop canvas size guide shows how to add space without changing the scale of the image.
Straighten carefully and inspect the edges
If the background should be level, use the Straighten option along a reliable line or rotate the crop slightly. A vertical shelf can help when the floor line is obscured. Straightening can reduce usable area at the corners, so review the subject again after the rotation. Avoid using an object tilted on purpose as your guide.
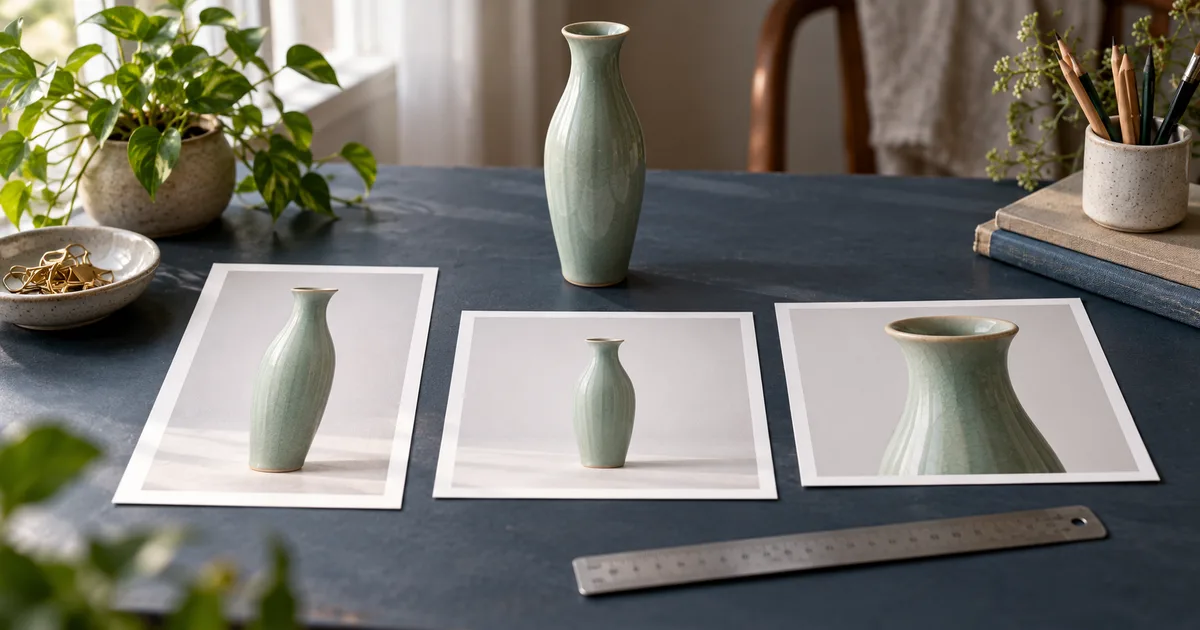
Check the result at the size where people will see it. At full zoom, inspect the label and the cropped edge. At thumbnail size, judge whether the important shape is visible. If the design has space reserved for text, preview it with the real text or a block that has the same width. A crop that looks spacious by itself may have no room left once the title is placed.
If the requested export is a specific marketplace size, check the actual destination guidance before resizing. Use the product image size workflow for a related fit and export exercise. Save a separate version of the cropped master when the destination requires a substantial change.
If you work with a template that has text or a border, apply the crop on a duplicate before changing the delivery master. A crop that trims the background can also move the document edge relative to an existing title. Check the title padding and verify the final crop at both sizes, especially if the team will reuse the same editable source next month.
Reopen the exported file and the master
Open the square and portrait exports in a separate viewer. Check their dimensions and corners, then compare the part of the subject that was hardest to keep. Use names that say which size each version represents. If the files are going to a client, provide the proof at the final pixel size so it can be approved as delivered.
Reopen the master and try moving the crop boundary on a copy. Confirm that the retained source area is available. An exported JPEG or PNG is a flattened proof of what you delivered. Keep the editable master so a new ratio does not depend on pixels that are absent from that proof.
How QuestStudio helps
Use Image Lab to explore a separate background or wider supporting composition when the approved source is too tight. Keep the original framing and identity available for comparison. Finish the exact delivery crop and proof in Photoshop.
Record the ratio, preserved details, and final pixel dimensions together. That makes a later size request an edit instead of a new search for the original.
Download the photoshop crop proof sheet.
Frequently asked questions
What does Delete Cropped Pixels do?
It controls whether the crop discards image area outside the new bounds. Turn it off when you need a revisable crop.
Why can I not recover the hidden area from a JPEG?
An exported JPEG contains the delivered pixels. Use the editable source with its retained crop area.
Does a 4:5 ratio specify the export dimensions?
It specifies the shape. Check the required width and height in pixels separately.
Can I straighten and crop together?
Yes. Straightening can reduce the usable corner area, so review edges again afterward.
What if the subject is already too close to the edge?
Consider a different ratio, a deliberate border or an approved extension. Verify the subject remains accurate.