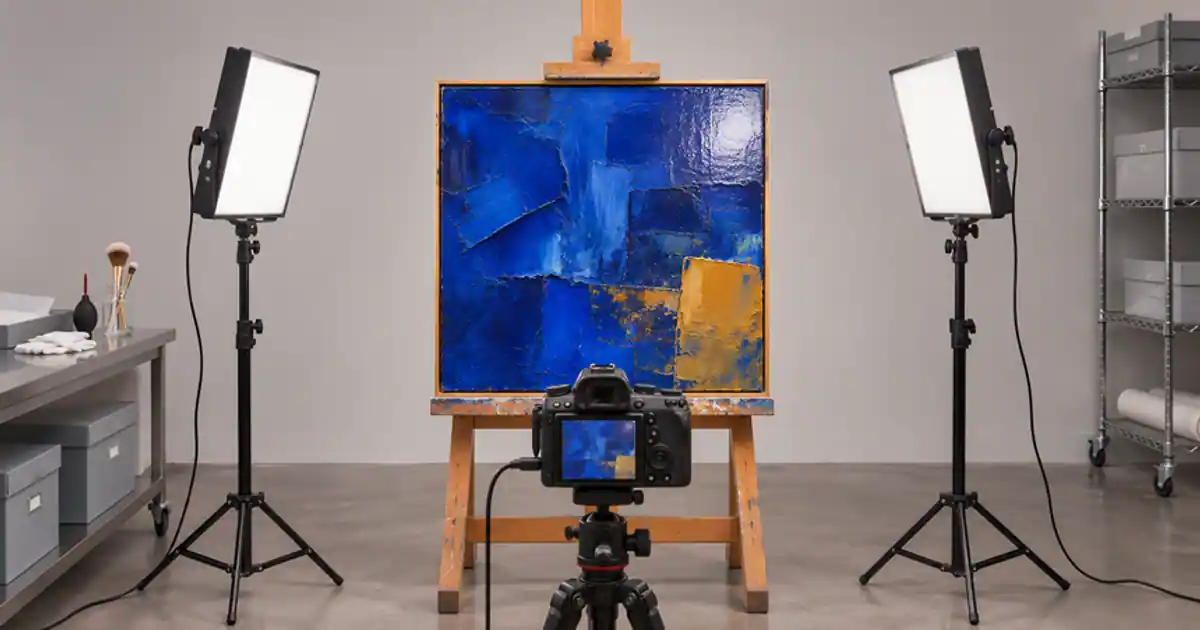

Cross-polarization helps when glare hides parts of a glossy painting or print. It combines linear polarizing material on the lights with a lens polarizer turned to suppress the polarized reflection. I’d start by trying two matched lights from the sides. Add the filters when an ordinary copy setup still leaves a bright patch across the detail you need to reproduce.
My gear pick for this setup
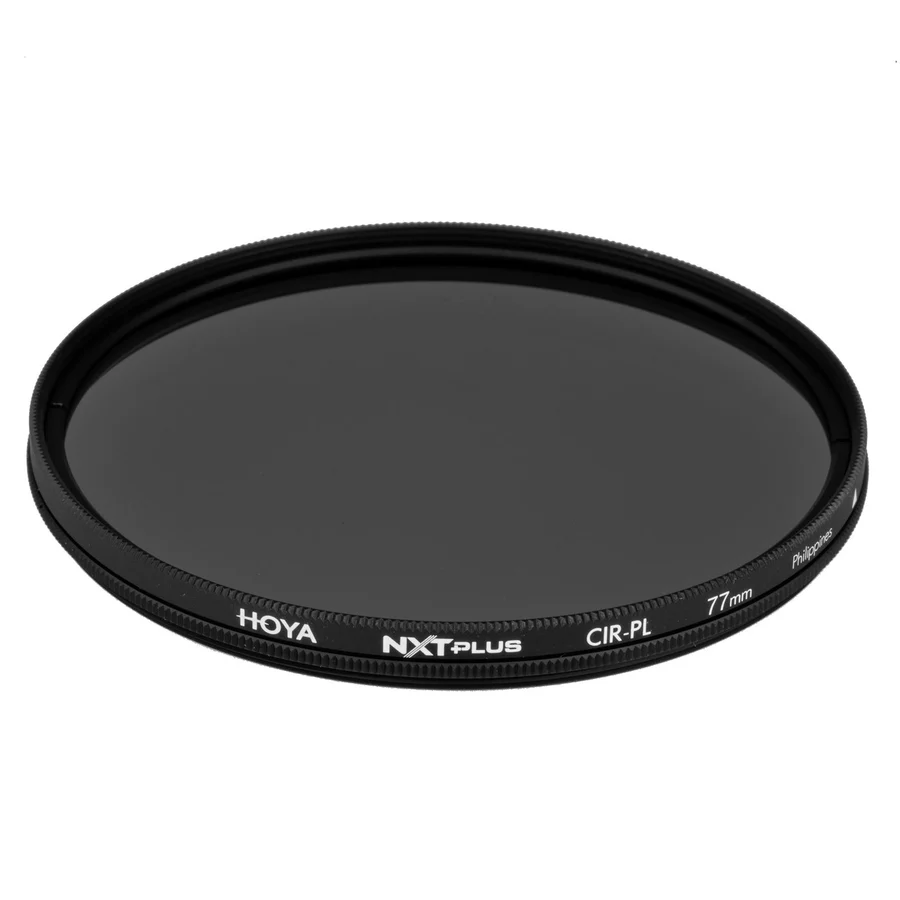
Hoya NXT Plus circular polarizer, 67 mm
For a lens with a 67 mm filter thread and a setup that already has the appropriate film on the lights.
I’d consider this 67 mm Hoya only after checking the lens thread. For a cross-polarized setup, budget for linear polarizing material on both lights as well.
Make a square baseline with two lights
Position the camera so the sensor is parallel to the artwork. Use the edges of the work or a straight reference beside it to check geometry, and center the lens on the art. Place two similar lights at equal distance on opposite sides. Start around a 45-degree angle and adjust based on what the work reflects. Make a frame with the light you have and inspect the corners and the center. A strong bright patch near one edge may be a placement problem that you can fix before buying a filter.
Turn off uncontrolled room lights and remove bright objects that reflect into the work. If the art is behind glass, check whether you can safely photograph it without the glass or change the light angle. Avoid disturbing valuable, fragile, or mounted work. Keep a reference frame of the whole piece with its borders. The next capture should let you compare what the filtration changes under the same geometry.

Check the two kinds of filter you need
A circular polarizer on the lens can help with certain reflections, but a cross-polarized setup also needs the lights to provide polarized illumination. Use suitable linear film in front of each light with the transmission axes aligned. Install the film after the diffusion layer where practical and use the mounting and temperature limits specified by the light and film makers. Keep film away from hot surfaces. Try one light at a time to see if its glare drops as you rotate the lens filter, then confirm the two together.
Choose a lens filter to fit the diameter marked on the lens. A 67 mm filter needs a matching thread or a suitable step ring that does not obstruct the field of view. This measurement is separate from the focal length. Check whether a step ring prevents you from using a lens hood or makes another lens difficult to cover. A single lens filter purchase is sensible when you know the rest of the setup works and can identify which lens will stay on the copy rig.
Expose and balance after the filters go on
Rotate the lens polarizer while watching a glossy region. Stop where the glare is suppressed enough to see the detail, then check another part of the artwork. Add time or light as needed to account for the filtration. A stable support lets you use a longer exposure for still art. Take a reference with a gray or color target under the final lighting. White balance and brightness checks belong after the filters are in their working positions.
Make a second frame with polarization backed off or with the conventional lights. An oil painting may have texture or sheen that matters to the person looking at the work. Strong glare suppression can reveal color and simultaneously make a surface look flatter. For an archive or storefront, consider pairing a clean full view with a separately labeled detail that shows the true finish. Compare both against the physical artwork under a consistent light.
Check a same-size crop before delivery
Compare the no-filter and filtered captures at the same scale. Look for square borders, clean corners, readable brushwork, and color consistency across the image. If a dark corner follows the filter ring, check for vignetting. If the left and right highlights behave differently, revisit the axes of the two lighting films. If the filter made the colors shift, redo the reference capture and correct from the target. The gray card and color target guide explains what the two references can tell you.
Keep a faithful source file for the artwork. If you make a supporting room mockup in Image Lab, compare the art area to the approved capture for geometry, proportions, signature, and color. Use the original photo for the listing view when accuracy matters, and label the room image as a styling example. I’d invest in filtration when the glare keeps a buyer from seeing the real work after you have already tried the placement changes.
Check that the lights match across the piece
Put a neutral target near the left, center, and right in separate test frames without changing the exposure. Compare the samples at the same scale. A noticeable gradient is a reason to check light distance, angle, or uneven filtration before you edit the color. Save one frame with the target for later batches. If you photograph several works on different days, the notes let you return to the same light and camera positions.
A three-frame glare comparison
Choose one small glossy artwork or sample with a colored patch beside the reflection. Record a square conventional copy, a frame with the lens filter alone, and a frame with the matched light films and the lens filter turned for suppression. Adjust exposure after each change so the useful midtones are comparable. Zoom to the same crop and check whether the patch shows its real color and whether brushwork is still readable. Retain the frame that suits the delivery, and save a separate surface view if the finish is part of what the customer needs to see.
Download the artwork reproduction lighting worksheet (CSV)
Frequently asked questions
Can I cross-polarize using only a circular polarizer?
A lens polarizer by itself can reduce some glare. Cross-polarization pairs the lens filter with suitably oriented linear polarizing material on the lights.
Does a 67 mm filter fit a 67 mm focal length lens?
Use the filter-thread diameter printed on the lens or in its documentation. Focal length and thread diameter are different measurements.
Why is the image darker with the filters?
The filters reduce light reaching the sensor. Recheck exposure and your color reference after the lights and lens filter are in place.
Should I remove every reflection from a painting?
Retain enough information to show the real surface. A glare-controlled overview and a separate texture detail can serve different purposes.
Sources and further reading
Affiliate disclosure
As an Amazon Associate I earn from qualifying purchases.
Continue with a useful next step
 Image
Circular Polarizers for Product Photos: Control Glare
Learn when a circular polarizer helps product photos. Check reflections, lens thread size and light loss, then compare Hoya NXT Plus with a no-filter setup.
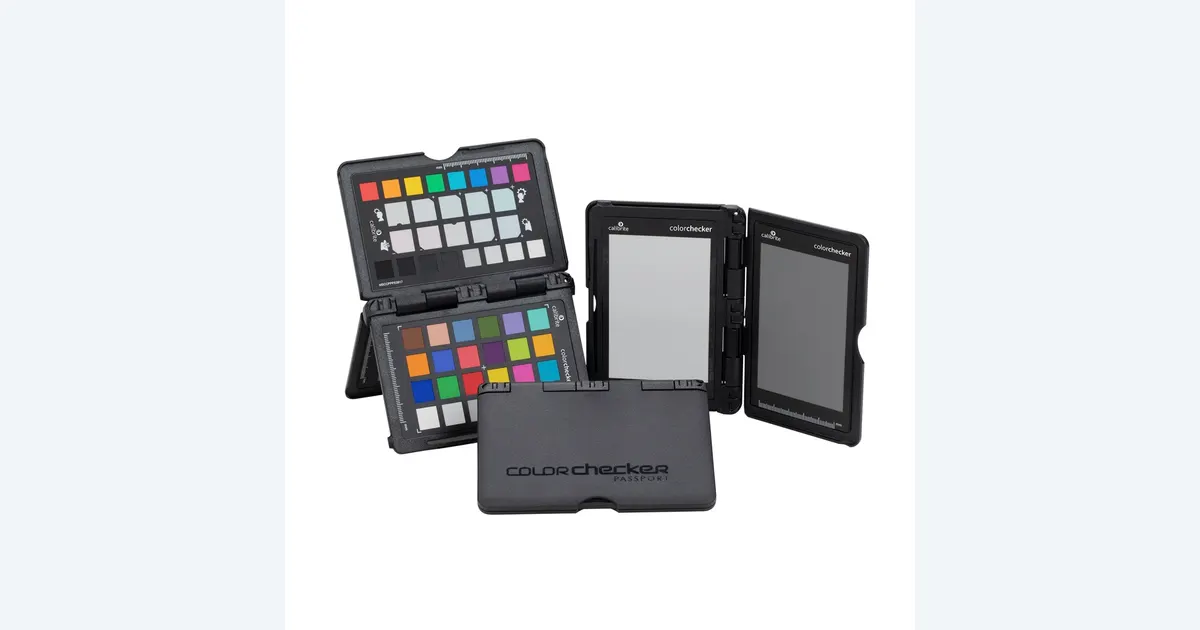 Image
Gray Card vs ColorChecker for Better Product Photos
Choose a gray card or ColorChecker for product reference photos. Separate white balance, camera profiles and screen calibration with a capture checklist.
 Creator Workflows
Raking Light for Texture in Product Photography
Use raking light to show texture in product photos. Compare three frames of the same item and keep the finish, label and real surface detail readable.