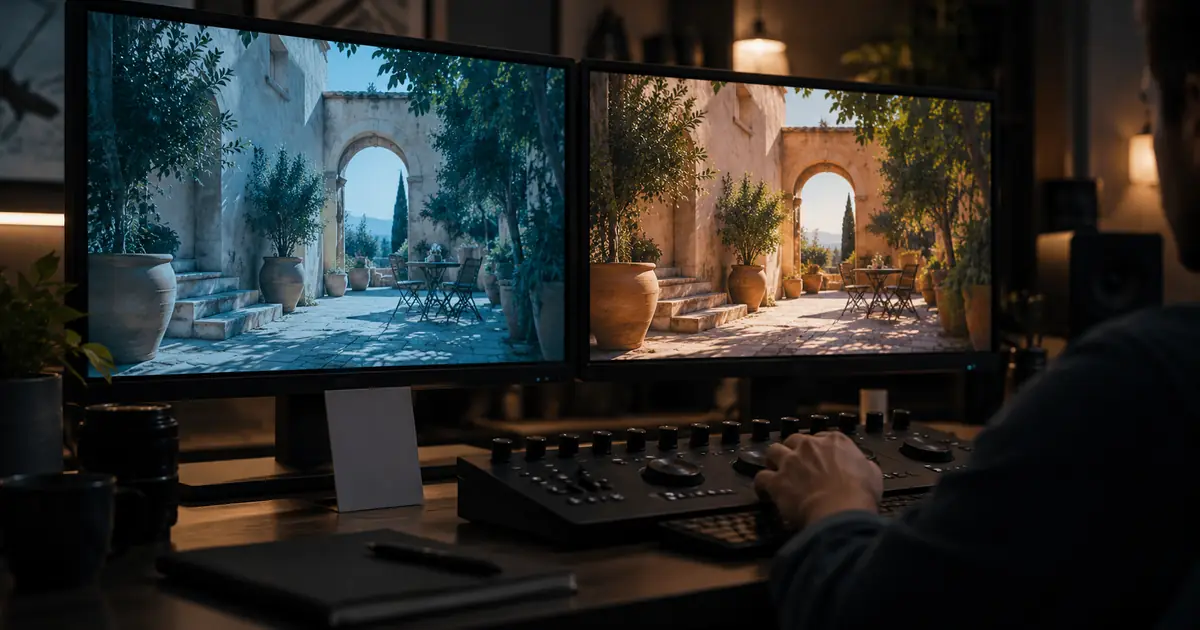

To use Relight in DaVinci Resolve Studio, open the Color page, add a serial node to the shot, and apply the Relight effect from the Effects library. For a first pass, generate the surface map internally and leave Export Surface Map off. Choose a light type and direction, then adjust the effect while checking the shot in motion.
Start with a specific reason to relight. If the entire shot is just too dark, correct the base exposure first. Relight earns its place when one side of a face needs a soft lift or the direction feels different from the next shot. Keep the adjustment separate so you can turn it off for a fair comparison.
Choose a reference before touching the effect
Find a nearby shot with light that makes sense for the scene. Pause it and note which side of the subject catches the light, where the shadow starts, and how soft the boundary looks. The wall or window behind the person can be a useful clue to the direction. If the light is meant to come from a window on camera left, brightening the opposite cheek can create a jump when you cut between angles.
Balance white point and exposure with your ordinary grading tools before reaching for a local light. Set the reference beside the target or grab a still. The video color matching guide covers the broader comparison when several cameras or grades need to agree.
Set up a single Relight node
- On the Color page, select the target clip and add a serial node. Label it Relight so you can bypass it by itself.
- Add Relight from the Effects library. Set the surface map to Generate Internally for this first pass. Leave Export Surface Map unchecked so the node shows the composite.
- Start with Directional for a broad light that comes from one side. For a more local source or beam, compare Point Source or Spotlight after establishing a baseline.
- Use the effect's viewer controls or position settings to aim the light. If the controls are hidden, check the Open FX overlay in the viewer.
- Adjust the effect's grade and softness. Use Relighting Map Preview to inspect the area receiving the effect, then turn it off and review the color image.
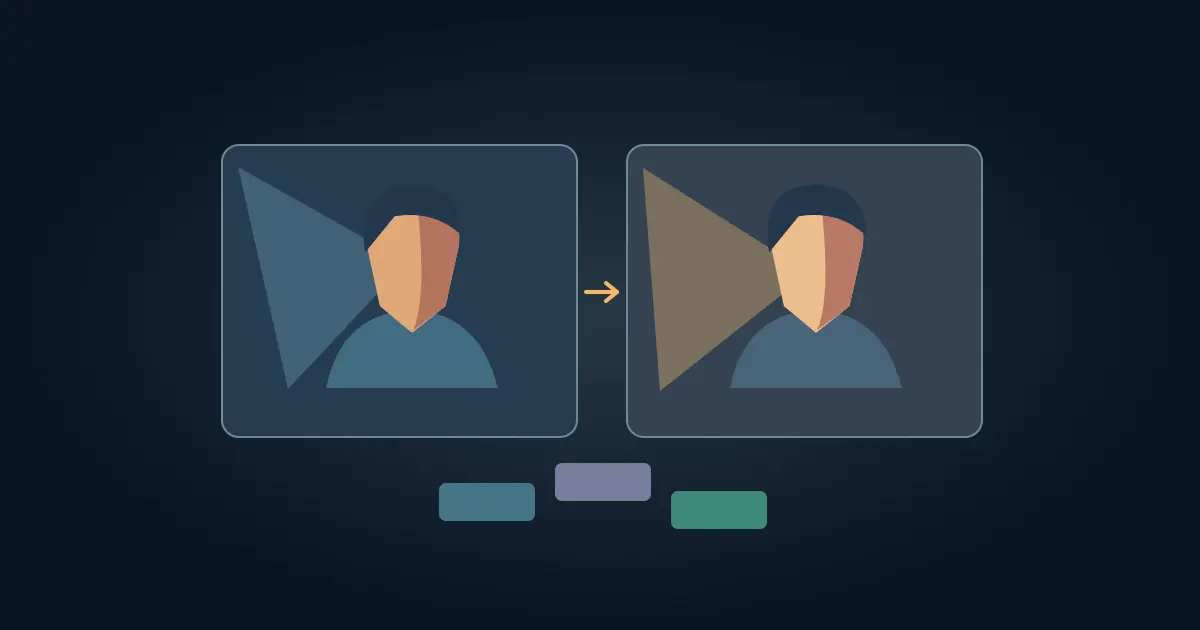
Blackmagic's Relight setup and controls document the single-node mode and the optional dual-node setup. The map estimates surface orientation from the image. It can make a correction wrap around a cheek or object, but it does not reconstruct the set or calculate new cast shadows.
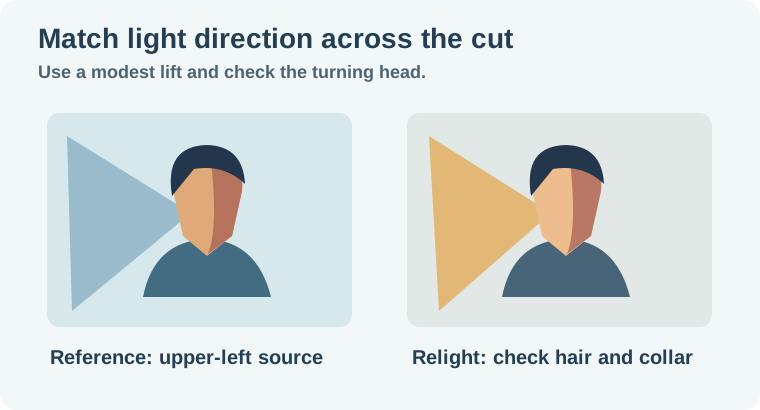
Worked example: match a face across a workshop cut
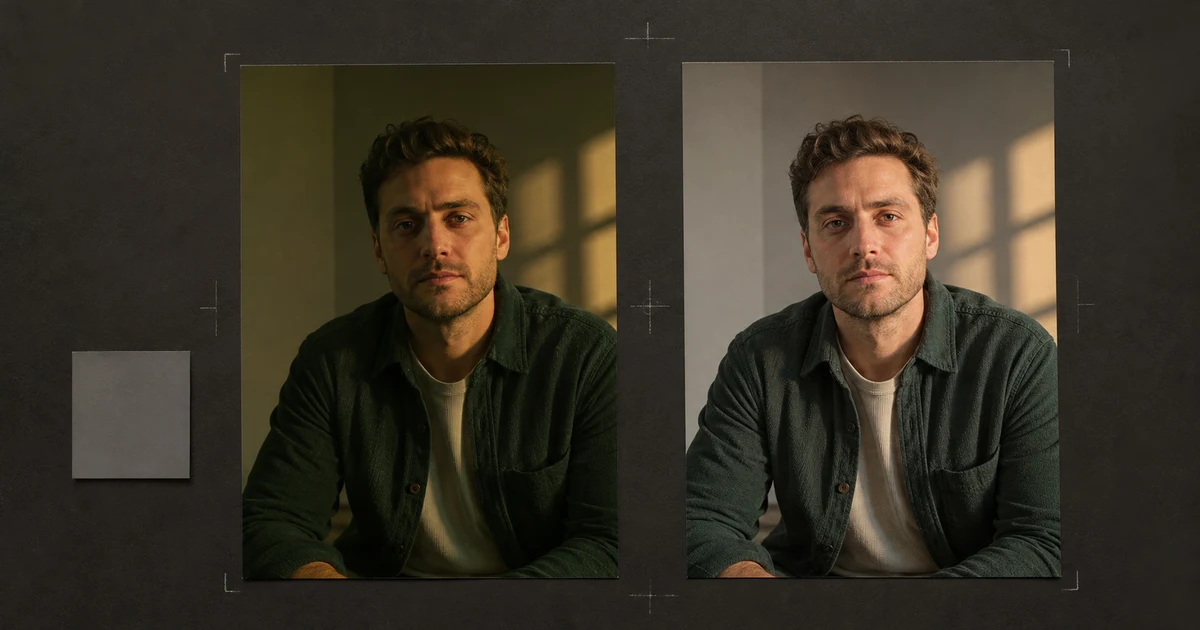
Imagine a wide shot where a soft source comes from the upper left. The matching closeup is flatter. Start with a directional light from the same side and look for a modest lift on the upper left cheek and forehead. Keep enough shadow to preserve the direction. Compare the uncorrected and corrected closeup while cutting back to the wide shot.
Then inspect three points in the clip. Check the first clear frame, the middle of a head turn, and the last frame before the cut. In the middle, look at the hair edge and collar where a surface estimate can shift as the angle changes. If the lift jumps onto the wall or the neck becomes a bright patch, reduce the contribution and tighten the affected area if a mask can hold up through motion.
Do a small adjustment before trying a new lighting setup. If more strength only makes the face look flatter, consider a softer but narrower region. Use the bad lighting repair guide for a still image that needs separate source or exposure decisions.
Diagnose problems in the actual clip
If you see a multicolored map instead of a grade, confirm you are viewing the composite node and that Export Surface Map is off there. In a two-node setup, the first node provides the map, and the second reads it through the secondary RGB input. Use the wiring diagram in Blackmagic's reference before changing the input connections. Start with a single node so you can isolate the issue.
If playback becomes choppy, cache the affected shot or render a short proof before judging how the light behaves. Dropped preview frames can hide edge flicker. Keep a close look at glasses, hair and moving fingers. A mask can limit where the effect acts, but its edge needs the same playback check. If the source has clipped highlights or motion blur, choose a correction that works with the captured detail.
If the viewer preview makes the affected area hard to read, check the map on a frame where the subject is separated from the background. Then go back to the frame where the person turns or crosses a similar-colored object. A map that looks plausible on the easy frame can break on the difficult one. Record the worse moment and use it when reviewing the next pass.
Before exporting, turn the entire Relight node off and on at the same playback time. A correction that feels more dramatic in isolation can make the cut less believable. Accept the smaller change if it keeps the eyes readable, the light direction consistent, and the background calm.
How QuestStudio helps
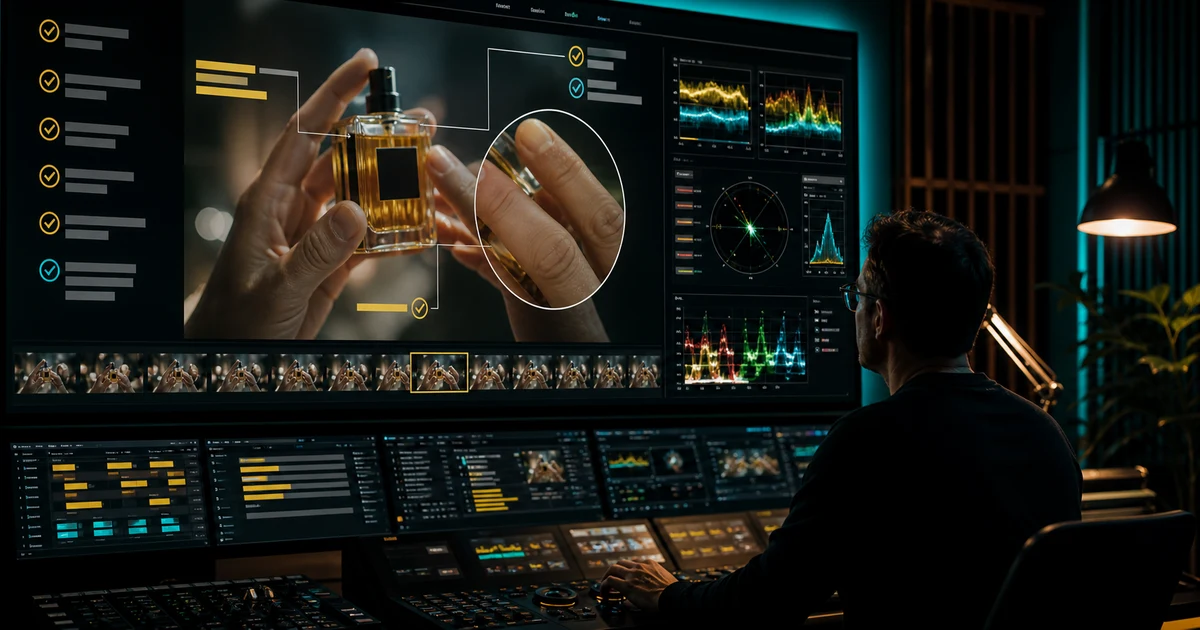
Use Video Lab for a separate supporting cutaway if your scene needs another view. Match its direction to the real footage in the final edit. The video quality-control checklist gives a final pass for detail, motion, and continuity after the grade.
Render the short section and watch it as a cut. If the direction feels consistent and the edges stay quiet, record the node and reference in the worksheet before moving on.
Download the relight shot-match worksheet.
Frequently asked questions
Is Relight available in free DaVinci Resolve?
Blackmagic lists Relight as a Resolve Studio effect. For basic correction, try ordinary grading controls and a tracked window where suitable.
Do I need two nodes?
Start with one node. The optional two-node setup separates map generation from lighting and can help when caching or performance is an issue.
Why do I see a colorful surface map?
Check Export Surface Map and select the node that produces the final composite.
Can Relight add a new cast shadow?
The effect estimates surfaces from the image. It does not calculate new scene geometry and shadows like a physical light in a 3D render.
How can I tell if the light matches?
Compare the same side of the face in the reference and target, then watch the transition and moving edges in the rendered cut.