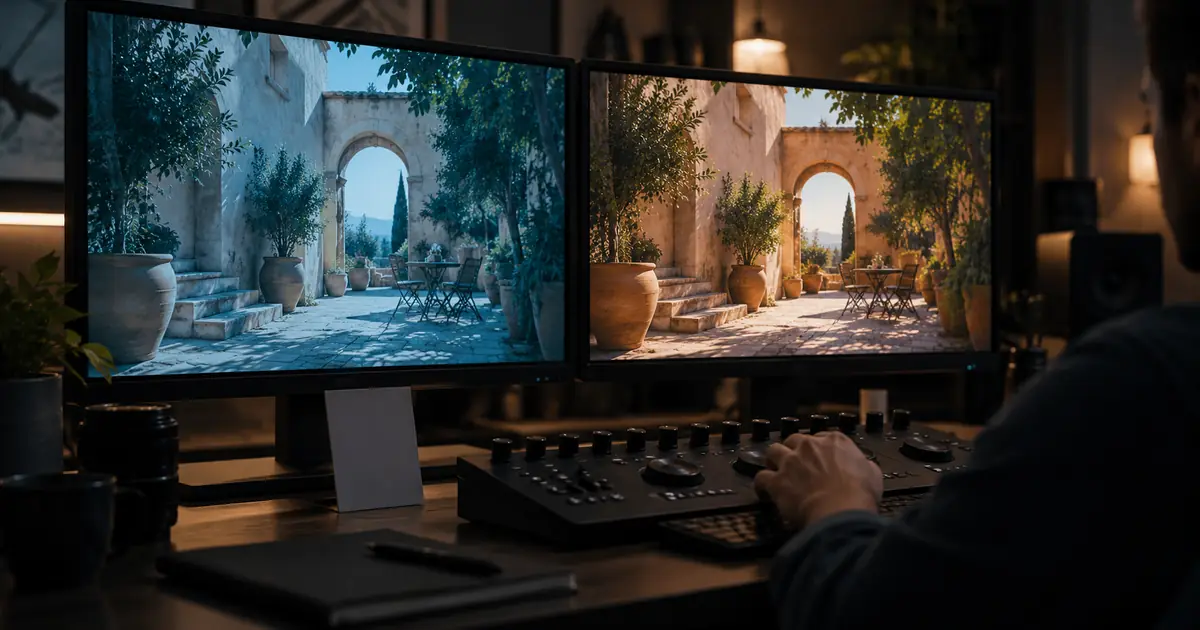

To color match AI video clips, choose a representative shot, check how each source is interpreted in your editor, then correct the differences that distract at the cut. Review the beginning, middle and end of every adjusted clip before adding a shared creative look.
A filter applied to the whole sequence does not necessarily make the shots agree. One clip may have a green cast, another may have clipped highlights, and a third may deliberately show a warmer area of the room. Those differences need separate decisions.
Name what jumps at the cut
Play the sequence without stopping. Mark the cuts where your attention moves from the story to the image treatment. Use concrete notes: “face turns orange,” “white cup becomes blue,” or “window loses all detail.”
Then compare the two shots side by side. Is the problem overall brightness, color balance, contrast or saturation? Does it affect the subject, the background or both? A precise diagnosis keeps you from moving several controls when only one needs attention.
For an original example, imagine three generated cafe shots: a wide view, a close-up of a person holding a white cup, and a detail of the cup on the table. The wide shot feels neutral, the close-up is warm, and the detail is much darker. The goal is a believable sequence, not identical histograms.
Check source interpretation before grading
Inspect the files and the editor's color-management settings. Use the source information actually available. Do not assume an AI-generated clip uses a camera log curve because a preset produces a dramatic result.
If a source is already being converted by the editor, adding another conversion can distort it. If source metadata is absent or ambiguous, note that uncertainty and test your interpretation against the intended delivery workflow. Avoid making an undocumented guess permanent across the whole project.
Keep source conversion separate from corrective adjustments and the creative look. Naming those stages in the project helps you undo the right operation later. Otherwise a contrast problem can be hidden inside a stack of unrelated presets.
Choose a reference that represents the scene
Pick a shot with a clear subject and lighting that represents most of the sequence. Avoid a deliberately extreme moment, such as a face lit by a glowing sign, unless that effect is the intended look for the whole scene.
Correct obvious problems in the reference first. If you match every other shot to a green cast, the sequence may become consistent while remaining wrong. Save a reference still after you approve the technical balance.
For the cafe example, the neutral wide shot may provide a useful starting point. The white cup helps compare a familiar object across views, but do not assume it must have identical values under different light. Its role is to reveal a suspicious jump, not to override scene lighting.
Correct the largest mismatch first
Begin with exposure and contrast when the subject brightness changes abruptly. Preserve useful highlight and shadow detail where the source contains it. Raising a severely clipped region cannot reconstruct the original detail that is missing.
Next inspect color balance. Compare the same subject or object where possible. A background dominated by green plants should not force a face toward magenta simply to make a scope resemble another shot.
Then adjust saturation if one clip appears noticeably more intense. Keep the subject and the scene's purpose in view. A deliberately muted detail shot may need less adjustment than an automatic match suggests.
Video scopes help you evaluate the signal, while the image and edit determine whether the result makes sense. Avoid setting every shot to identical waveform shapes; different framing naturally changes how much dark or bright material the frame contains.
Use automatic matching as a proposal
If your editor offers shot matching, select a useful reference and a representative target frame. Run the match, then compare the result with the unadjusted version. Keep it only if it improves the actual cut.
Adobe's Color Match and Curves tutorial shows a reference-based workflow in Premiere. The controls and names belong to that editor; they are not a universal command available in every generation tool.
Watch for a match that improves the background but damages skin, or one that brings the first frame closer while making the end of the shot worse. Refine the specific remaining issue. Repeatedly applying automatic matching can make the adjustment harder to understand.
Review three frames and both neighboring cuts
Download the three-frame color worksheet. Record observations near the start, middle and end of each clip, avoiding transition frames when selecting representative samples.
| Clip | Beginning | Middle | Ending | Decision |
|---|---|---|---|---|
| Cafe wide | Neutral subject | Stable room | Stable room | Reference candidate |
| Cup close-up | Warm face | Face becomes greener | Warm again | Inspect within-shot change |
| Cup detail | Dark cup | Same dark level | Same dark level | Consistent correction may work |
These are fictional review notes, not benchmark results. They show why one still is insufficient. A stable exposure difference can often be corrected differently from a color shift that develops inside the shot.
If the color changes over time, consider a controlled keyframed adjustment or a local correction in your editor. If the source visibly flickers or changes material identity, regeneration may be more useful than an increasingly complicated grade. Color tools cannot turn a changing object into a consistent one.
Preserve intentional lighting differences
Write down the differences you want to keep. A close-up beside a warm lamp can remain warmer than the wide shot. A character stepping into shade should not stay as bright as the sunlit background merely to match a reference.
Judge those differences at the cut and through motion. Ask whether the viewer can understand why the lighting changed. If the source introduces a new light direction with no visual explanation, decide whether to revise the generation or accept a different shot.
The AI video editing workflow helps place these decisions inside the larger assembly process. Color matching should support the sequence rather than become an isolated exercise in making still frames similar.
Add the look after the sequence holds together
Once the shots agree well enough to play as a scene, apply or refine the creative grade. Recheck the sequence afterward. A strong look can exaggerate differences in skin, shadows and highlight saturation that were less obvious before.
Export a short section through your actual delivery settings. Open that file outside the editing timeline and review the same problem cuts. Keep the approved project and exported sample so later changes have a clear comparison point.
Use the video quality checklist before release. The final judgment includes motion, text and sound as well as color.
How QuestStudio helps
Use Video Lab to generate revised shots with a consistent lighting brief when the source footage is the problem. Record the intended light direction, scene palette and subject appearance across prompts.
Complete shot matching, scopes, keyframes and final grading in your video editor. A more consistent source can reduce corrective work, but repeating a prompt does not guarantee identical color across generated clips.
Frequently asked questions
Will one LUT make all AI clips match?
Not necessarily. A shared mapping can give clips a related look while preserving their original exposure or color differences. Correct distracting mismatches before judging the final look.
Should every shot have the same brightness?
No. Different angles and lighting can justify differences. Match the scene's visual logic and the subject's readability rather than forcing identical measurements.
Why does a matched frame fail later in the clip?
The generated color or lighting may change over time. Review multiple moments and consider a time-varying correction or a replacement source when necessary.
Can grading restore clipped highlights?
It can change their appearance, but it cannot reliably recover source detail that is absent. Check whether a different generation or exposure treatment gives you a better starting point.
Does QuestStudio include this grading workflow?
Use QuestStudio to develop or revise source shots. The matching and finishing steps described here belong in an external editor with the relevant color tools.
Match the scene, then finish the look
Keep a useful reference, correct one observable mismatch at a time and inspect the exported sequence in motion. The cut should carry the viewer forward without making the color treatment the main event.
Revise an inconsistent source in Video Lab
Hero image: AI-generated editorial illustration. Examples are original planning exercises, not measured model tests.