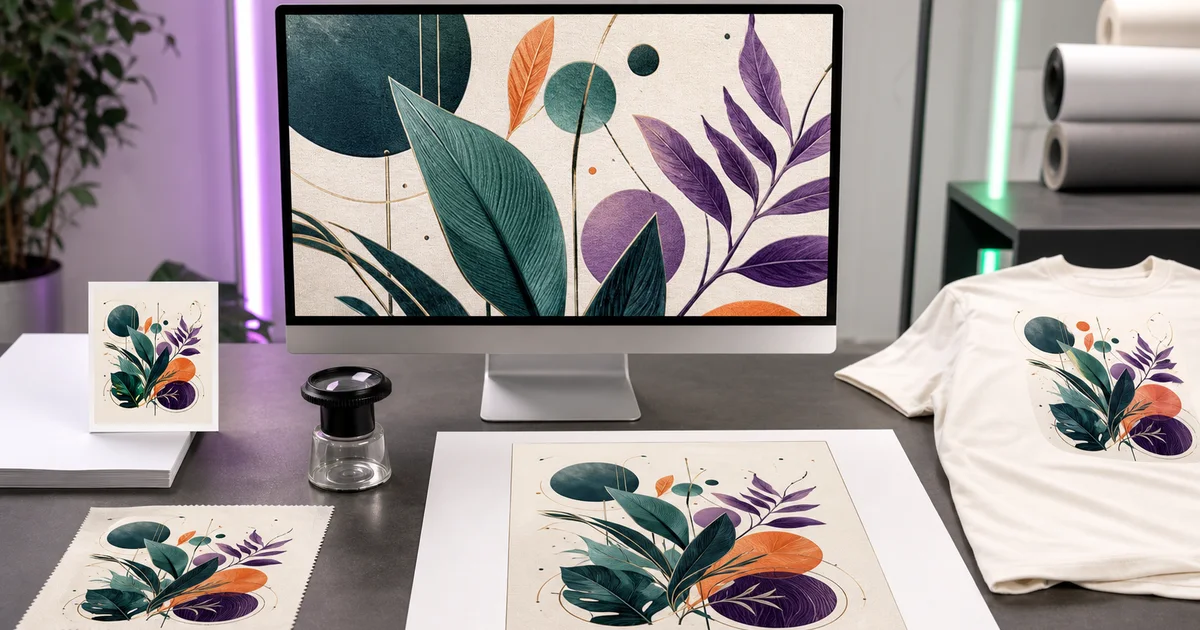

To design a shirt in Canva, start with the print area specified by the printer, create the artwork inside it, and preview it on the actual shirt color. Export the artwork in the format the printer requests. Keep a separate mockup for review. The mockup shows how the design might look on the shirt, while the print file contains the artwork the printer needs.
Start with the destination before choosing a Canva template. A finished-looking design can fail because its background is baked in, a thin line disappears on fabric, or the file has the wrong dimensions for the shirt you ordered.
Get the real print area
Find the printer's instructions for the product, placement, and print method. Confirm the allowed size and whether they want a transparent raster file, vector artwork, or another format. The print area can vary by shirt size and placement. A center chest design and a small left chest mark need different artwork bounds.
Canva's shirt design guide explains the design and mockup workflow. For an external printer, use that printer's specifications. If a fictional printer calls for a 12 by 16 inch area at 300 pixels per inch, the corresponding raster file is 3,600 by 4,800 pixels. That arithmetic is an example. Start with your actual product template.
Keep a copy of the dimensions in the worksheet. If you receive a new product template later, compare its actual printable region rather than assuming the first export fits.
Build the artwork as a separate design
Create or resize the design to match the required artwork area. Use the source illustration and separate text so you can edit either. Check the font at the intended print size. Small text that reads clearly when zoomed in can become difficult on fabric. Use the Canva text workflow to keep the wording editable and to check the exported heading.
Leave space between the artwork and the edge of the printable area. Center the intended subject rather than an invisible artboard containing excess padding. If you receive a logo with a large transparent border, trim or account for that border before positioning the design in the printer's preview.
If the artwork is a small raster image, compare its detail against the physical size you want. The print-on-demand image preparation guide explains how to review detail before increasing size. If the artwork is intended to stay vector, use the image-to-SVG workflow to check whether you have real paths and a usable source.
Preview the real shirt color
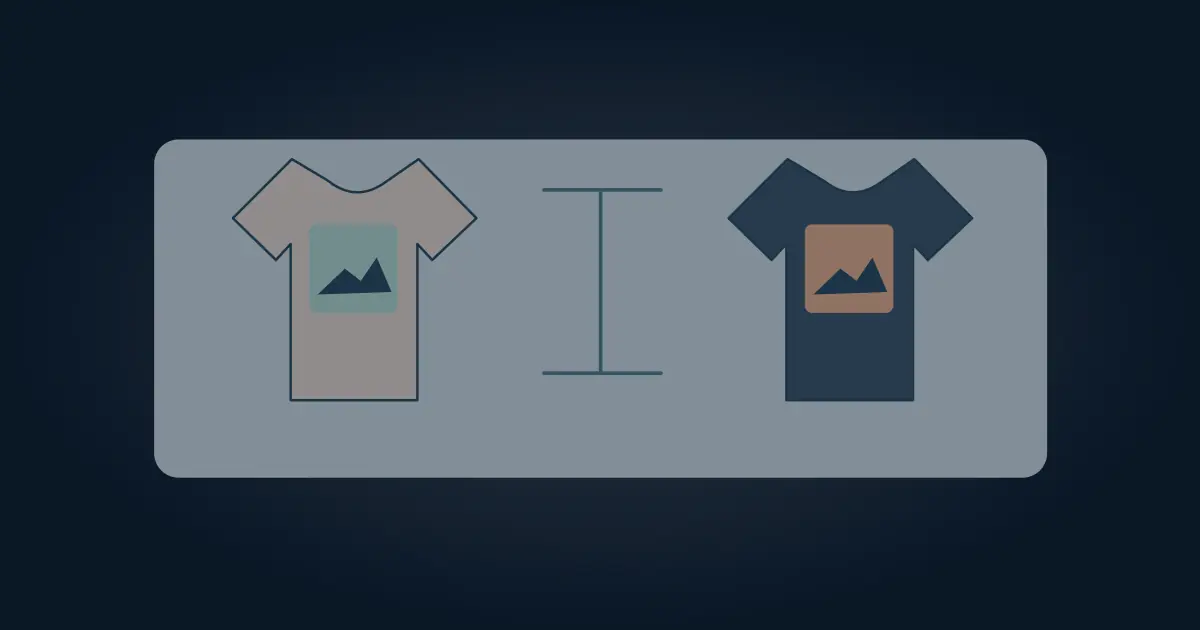
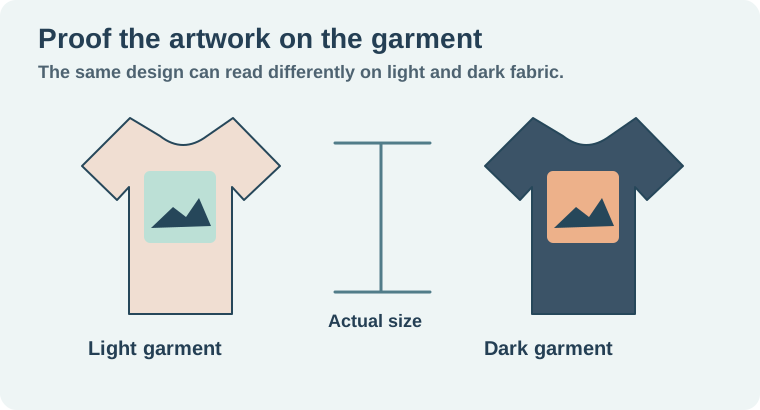
Imagine a navy shirt with cream type and a small orange icon. Put the artwork on a navy proof and check the thinnest stroke, the smallest words, and the negative spaces. The same cream text may look weaker on a pale shirt. Make a separate proof for each colorway if the design will be available on more than one fabric.
Zoom out until the shirt looks close to how someone will see it in a listing or from a few feet away. The heading should read before the decorative detail. Then inspect the artwork at the actual size. Check that thin edges and small gaps are intentional. If you have a physical proof, view it on the real material rather than relying on the mockup's lighting.
A color on the monitor is an appearance reference. The printer and fabric can change the result. Use an approved proof if an exact brand shade or a tight registration matters.
Inspect the file you send
Download the artwork in the required format and open the exact file. Confirm that a transparent area really is transparent. A white rectangle that appears invisible on the editor's white canvas can become a visible printed block on a dark garment. Inspect the area outside the design and any holes inside the lettering.
Compare the exported size with the printer's dimensions. Upload the artwork to the intended placement and review its scale, center line, and edges. Save a separate image of the approved mockup if someone needs to sign off on location. Name the files so the production artwork cannot be confused with the shirt preview.
Use artwork, fonts, and brand elements you have permission to print. Keep the source file and the final proof together so later shirt colors or sizes can use the correct version.
Use physical dimensions for the proof
If a printer asks for a 12 × 16-inch print area at 300 pixels per inch, the corresponding raster canvas is 3,600 × 4,800 pixels. Treat those numbers as an example of the conversion. Use the shop’s actual print-area and file requirements for the order. Measure the art inside the canvas as well. A logo occupying half the width of a 12-inch print area prints about six inches wide before any adjustments by the printer. For a small left-chest version, proof a separate placement. Thin lines, a line of small type, or the hole in a letter can survive at the larger size and become indistinct on the smaller version. Check dark and light garments separately because the fabric color shows through empty areas.
How QuestStudio helps
Use Image Lab to explore a separate illustration direction. Keep approved type, print dimensions, and exact placement in the Canva production design or the printer's template. Approve the actual print file and the intended shirt proof before placing an order.
Download the canva shirt print checklist.
Frequently asked questions
Can I send the shirt mockup to the printer?
Use the artwork file the printer requests. The mockup is a placement and appearance proof.
What dimensions should I use?
Start with the exact print area and resolution required for the product and placement.
How do I check for a white box?
Open the artwork over a dark background and inspect the area outside the design and inside cutouts.
Can the same artwork work on every shirt color?
Make a proof for each colorway and review contrast, detail, and the actual printer's instructions.
What should I save for future edits?
Keep the editable design, the exported artwork, the product template, and the approved placement proof.