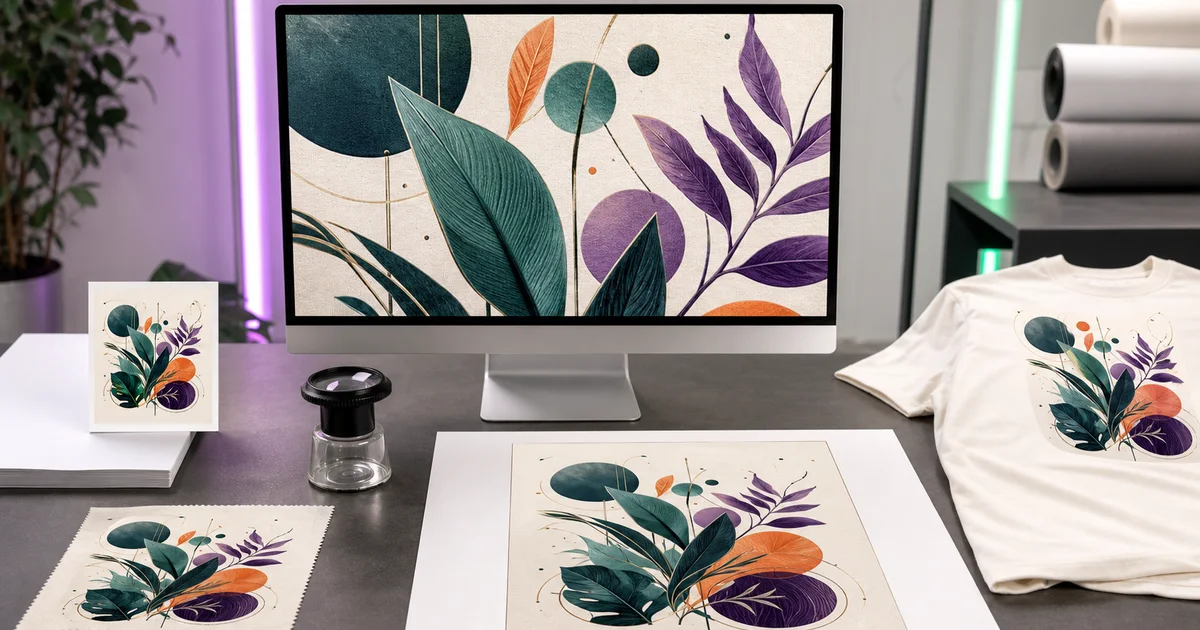

AI upscaling for print-on-demand is a file-preparation job, not a magic quality switch. Calculate the required pixels from the supplier's print area, reject weak sources before enlargement, and inspect the final artwork at the size a customer will receive.
Pixels first, DPI second
DPI or PPI describes how image pixels map to physical size. Changing a metadata field from 72 to 300 does not create detail. The useful calculation is simple: print width in inches multiplied by the supplier's required pixels per inch equals the target pixel width. Do the same for height.
Target pixel height = print height in inches × required PPI
Example: a 12 × 16 inch print at 300 PPI needs 3,600 × 4,800 pixels before bleed or template-specific adjustments.
Use the exact product template. Posters, shirts, mugs, embroidery, and all-over print have different safe areas, bleed, file types, and practical resolution limits.
Begin at the destination template
Printful's current guidance recommends checking the File guidelines tab and product template rather than guessing dimensions. The same principle applies to any supplier. Download the template before generating or cropping. Record print area, safe area, bleed, color guidance, supported formats, transparency requirements, and maximum file size.
| Product | Early decision | Common late failure |
|---|---|---|
| Poster or art print | Aspect ratio, border, viewing distance | Important subject cropped or insufficient pixels |
| Garment | Print area, background, fabric color | White halo, thin lines, muddy dark tones |
| Mug or wrap | Seam, handle safe area, wrap direction | Artwork split at the seam |
| Sticker | Cut line and transparent edge | Jagged fringe or tiny unsupported detail |
| Embroidery | Simplified shapes and stitch limits | Detail that cannot translate to thread |
Reject weak source files before upscaling
Upscaling can enlarge a good source. It can also make a bad source look confidently wrong. Inspect at 100 percent before adding pixels. Check spelling, anatomy, product geometry, perspective, edge integrity, repeated motifs, banding, gradients, signatures, and accidental marks. If the source has broken text or an invented hand, regenerate or repair it first.
- The design is authorized for the intended commercial use.
- Every word, number, symbol, and mark is correct.
- Important edges are complete and not blurred into the background.
- Repeating patterns tile without a visible seam.
- Faces, hands, products, and recognizable objects pass factual review.
- The composition fits the supplier template without emergency stretching.
Choose the right enlargement method
Traditional resampling
Useful for small size changes and clean originals. It interpolates pixels without inventing a new scene.
Generative upscaling
Can reconstruct texture and edges for larger jumps, but may invent detail, alter faces, warp letters, or change products.
Vector rebuilding
Best for simple shapes, logos you own, line art, and type that should remain exact. Automatic tracing still needs cleanup.
Regeneration
Best when the source is fundamentally too damaged, badly composed, or factually wrong.
Do not select a method because it produces the sharpest thumbnail. Choose the method that preserves the design's truth at print size.
Use one controlled upscale pass
- Duplicate the approved source and preserve the original.
- Set the target pixel dimensions from the template, including required bleed.
- Choose a model or method suited to photography, illustration, or line art.
- Run one enlargement to the required size rather than several undocumented passes.
- Compare source and output side by side at matched scale.
- Record the tool, settings, output size, and approval decision.
Repeated generative passes can accumulate invented texture and halos. If one pass cannot reach the target cleanly, test a different method or reduce the product size instead of blindly upscaling the upscaled file.
Inspect the details upscalers commonly damage
| Area | Look for | Safer response |
|---|---|---|
| Small text | Changed letters, filled counters, uneven baselines | Rebuild text as an editable layer |
| Transparent edge | White fringe, clipped hair, rough cut line | Repair mask at final size |
| Line art | Wavy strokes, doubled contours, varying weight | Vector rebuild or line-art model |
| Faces and hands | New pores, jewelry, fingers, or asymmetry | Lower-change method or source repair |
| Product details | Altered label, seam, material, or part | Composite verified detail from the source |
| Patterns | Broken repeat, melted motifs, local style shifts | Check tile edges and rebuild repeat |
Preview at physical size and product context
A 100 percent monitor view is necessary but not sufficient. Place the final file in the supplier mockup and inspect the real crop, wrap, folds, seams, garment color, and expected viewing distance. Print a reduced test at home for edge and type problems when useful, but do not treat a home printer as a color proof for a different production process.
For expensive, large, color-sensitive, or brand-sensitive products, order a sample. Check placement, detail, color, black density, gradients, transparency, and how the material changes the image. Save the approved supplier, product, template version, and file so a later order is repeatable.
Keep export choices supplier-specific
Transparent PNG is common for garment graphics and stickers, while high-quality JPEG or another format may fit full-background prints. Some professional print workflows require PDF, TIFF, CMYK conversion, or a supplied color profile. Do not convert to CMYK or flatten transparency by habit. Follow the vendor's current file instructions.
Embed or outline fonts only when the workflow requires it and you have the right to use them. Keep an editable master, an approved print file, and a web preview as separate assets. Name them with product, dimensions, version, and date rather than “final-final-2.”
How QuestStudio helps
Use QuestStudio's Magic Editor for the focused production step, such as upscaling or background cleanup, after the source passes inspection. Keep the supplier template and target pixel dimensions beside the task. The tool should not decide product size, bleed, licensing, or print approval for you.
After upscaling, follow the image fact-check workflow and compare exact text or product details with the source. A sharper hallucination is still a failed print file.
Sources and freshness note
This workflow was checked against Printful's current guide to preparing print files and current print-resolution and upscaling result patterns on August 26, 2026. Supplier requirements vary by product and can change. The product template and file checker for the exact item are authoritative for dimensions and format.
Frequently asked questions
Does changing an image to 300 DPI improve quality?
Not by itself. The file needs enough actual pixels for the physical print size. Changing metadata without resampling does not create detail.
What pixel size do I need for print-on-demand?
Multiply the physical print width and height by the supplier’s required pixels per inch, then add any template-specific bleed.
Can AI upscaling damage text or logos?
Yes. Generative upscalers can alter letters, edges, marks, and product details. Rebuild exact text and owned logos as controlled layers when needed.
Should I upscale more than once?
Prefer one documented pass to the target size. Repeated generative passes can accumulate invented texture and edge artifacts.
Do I need to order a sample?
Order one when color, material, placement, large size, or brand accuracy creates meaningful risk. A mockup cannot prove the physical result.
For line art intended to be colored on paper, test the shapes, line cleanup, and physical page before making a collection.
For a focused next step, read Krea Enhancer Tutorial: Add Detail Without Redesigning the Image.