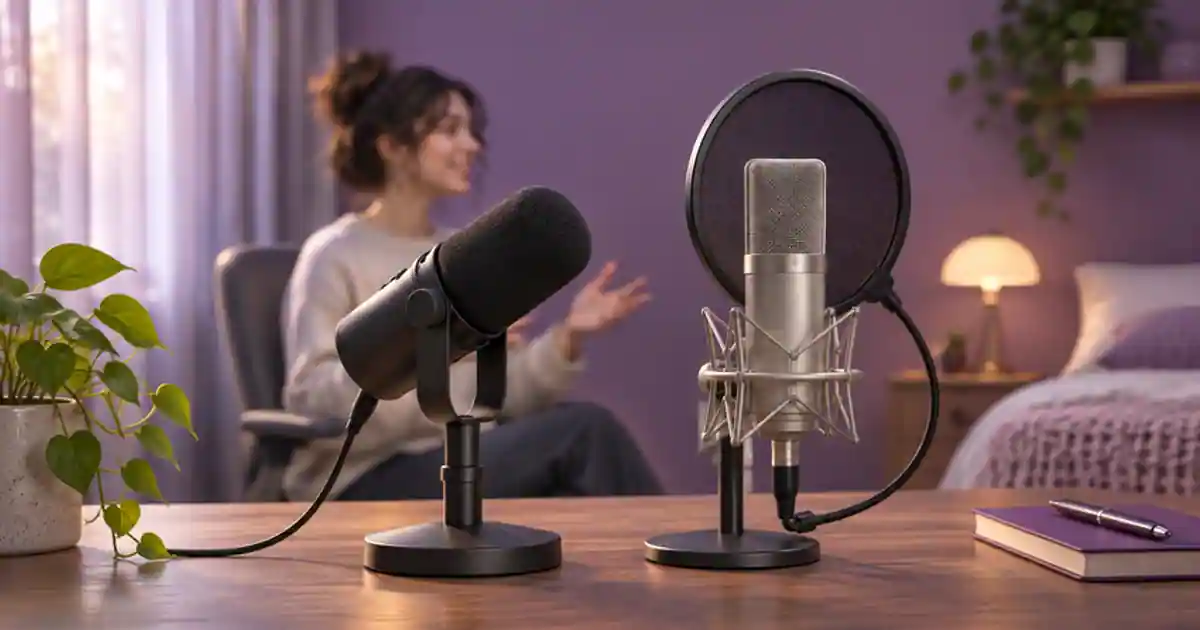

I’d choose the mic that gives you a clear voice at a distance you can maintain. A close dynamic can be practical in a reflective room. A directional condenser can also work well when it is positioned close, aimed correctly, and protected from plosives. Compare the room, the pickup pattern, and the saved take before assuming the capsule type determines what you hear.
My gear pick for this setup
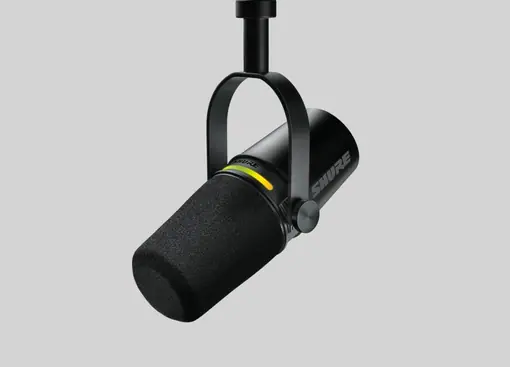
Shure MV7+ microphone only
For spoken work close to the microphone, with USB or XLR routing depending on your setup.
I’d shortlist the MV7+ if close speaking sounds better in your room and you need a dependable way to hold that position. Try the same distance on your current mic first.
Listen to the room before comparing mics
Record a few seconds where you actually sit. Say a short line and leave a pause. Listen for a fan, reflections after words, and traffic or other steady noise. Turn off optional noise sources safely, and move the setup away from a hard corner if you can. Curtains, rugs, or soft furnishings may change some reflections depending on the room. Compare the saved audio after each move. You are looking for one change you can repeat, such as turning the desk or sitting closer to the existing mic.
A less sensitive mic can produce a lower signal at the same gain. When you bring the saved voice to the same playback level, that alone does not guarantee less room noise. What matters is the balance between your voice and what reaches the mic from the room, plus the noise the equipment adds. A mic with a useful pickup pattern, closer placement, or a workable rejection angle can improve that balance. Read the specific model’s pattern rather than using capsule type as a shortcut.
Match position and distance before deciding
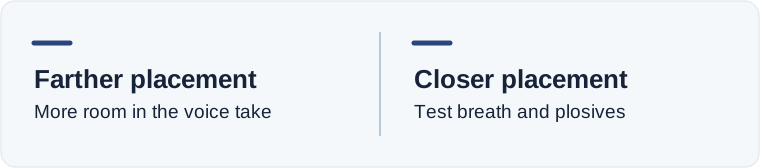
Check where the mic is meant to be addressed. A side-address condenser and an end-address broadcast mic need different orientation. Mark your chair and put the capsule at a comparable distance for each. Speak at the level you actually use. Then compare each at the distance that suits its design and your delivery. A borrowed mic or a dealer demo in a similar space can help, but your final choice needs to work at your own desk.
At close range, check strong consonants, mouth noise, and changes in tone as you move. A pop filter or slightly off-axis position may help. If the voice gets too bass-heavy, move back a little and compare rather than applying a big correction immediately. Keep the mic out of a position where you have to lean or hold your head unnaturally. A microphone that sounds good for one line still has to work when you read an entire chapter.
Compare two finished takes at the same loudness
Record a quiet line, a natural line, and a louder line. Avoid clipping at the input. Keep processing neutral for the comparison where possible, or label the settings used. Bring the normal spoken line to a similar playback level before switching files. Listen to the tail of a sentence, the space between words, and the effort it takes to understand the quiet line. If two clips are similarly clear, look at which setup is easier to return to and which records a safer margin for louder moments.
If one route has audible electronic hiss, check gain staging and the interface or USB settings. If both recordings have the same reflection, fix placement or the room first. If close placement improves both, choose the model that makes close speaking comfortable and repeatable. The MV7+ connection guide covers the monitoring and routing choices after you select the mic.
Keep a reference for future pickups
Save a short reference from the position you choose. Include the normal line, a pause, and a louder word. Record the distance, angle, and input settings so a pickup is easier to match. If you audition a line you are authorized to use in Voice Lab, compare its pacing and clarity against that reference. Keep your original take available so you can tell which differences come from the recording and which come from the later voice workflow.
I’d spend on a microphone after the comparison shows a concrete improvement. If the current mic works with a better mount or a change in position, buy that first. If the new route keeps the words clear in more of the positions you can actually hold, then it earns a place in the setup.
Check how the mic behaves while you move
Record the same passage while turning one page or looking between a script and the screen. Mark where the level or tone changes enough to distract from the words. Move the script closer to your speaking line or change the mic angle and repeat. For a weekly voiceover, this test can matter more than a controlled comparison where you never move. A close mic makes the balance with the room easier in many setups, but it can also reveal head movements. Check the distance you can sustain without watching the meter for every sentence.
Before ordering, check the price of the complete position you tested. Include the mount and any wind or pop protection the mic needs to sit there comfortably.
A same-room, two-distance test
Read a sentence that includes a plosive and a quiet ending, such as “Please put the parcel by the back door.” Make one take at your regular distance and one closer with a pop screen, then repeat on the other mic if available. Match the playback level of the middle phrase and listen to the pause after it. Note whether the problem is reflections, breath noise, or hiss. Choose the setup that makes the last word intelligible while remaining comfortable for a full take.
Download the voiceover microphone choice worksheet (CSV)
Frequently asked questions
Will a dynamic mic remove echo?
No. Distance, placement, pickup pattern, and room acoustics still determine how much reflection you record.
Should I test a condenser close up?
Yes, if its design and your delivery allow it. Use suitable pop protection and compare at a similar playback level.
Can a noise gate fix a reflective room?
It can change quiet gaps. Reflections mixed into spoken words still need placement, room changes, or a careful edit.
Do I need phantom power?
Check your exact mic and connection. Many XLR condensers require it. USB models get power through their supported USB connection.
Sources and further reading
- Shure microphone selection and placement
- LEWITT untreated-room microphone comparison
- Shure MV7+ user guide
Affiliate disclosure
As an Amazon Associate I earn from qualifying purchases.
Continue with a useful next step
 Creator Workflows
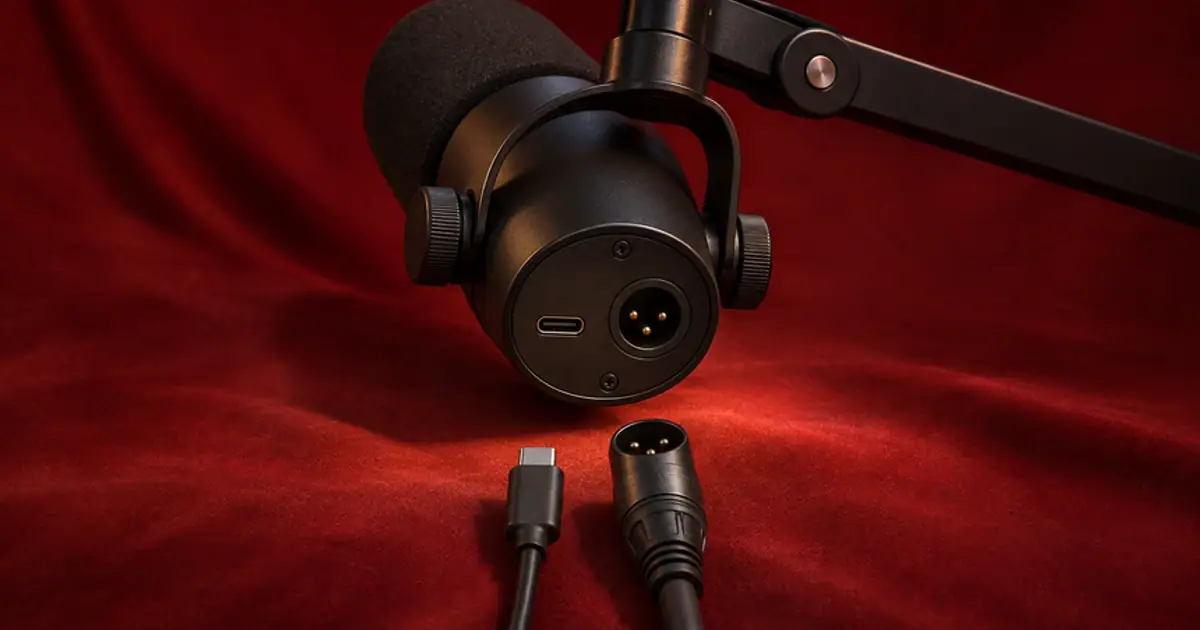
Shure MV7+ USB vs XLR: Which Connection Should You Use?
Choose USB or XLR for the Shure MV7+ based on your podcast recording and monitoring needs. Compare both paths before paying for an audio interface.
 Voice
How to Record Room Tone for Cleaner Voiceover Edits
Record room tone with your voiceover mic and use it to smooth narration cuts. Learn what to capture, where to crossfade and how to check a repaired pause.
 Voice
Pop Filter vs Windscreen: Fix Plosives in Voiceovers
Choose a pop filter or windscreen for voiceover. Learn when the Rode WS14 fits a PodMic, check included accessories, and compare placement with a simple test.