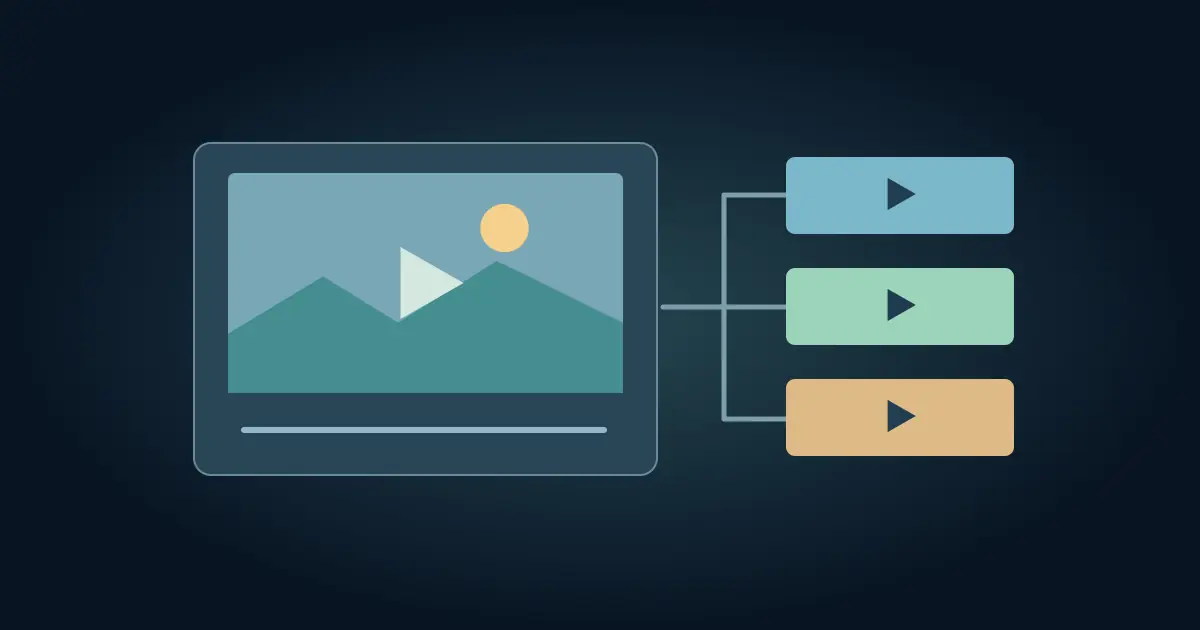

To embed a video in Canva, open your design, go to Apps, and find Embeds. Paste a supported video link and insert it on the page. If you have an approved video file and need more control over the handoff, upload it to Canva and place it on the slide instead. Test the final presentation or downloaded file where the recipient will open it.
A video that plays inside the editor may fail for someone else if the source is private, the network is unavailable, or the export is static. Pick your delivery format before spending time styling the player.
Decide between a link and an uploaded clip
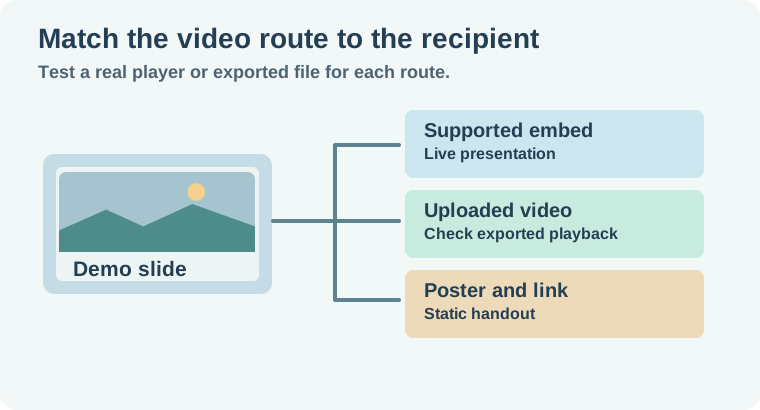
Use a supported embed when the video is already hosted and the presentation will be viewed in a setting that can play it. Keep the source accessible to the audience. A link from a private account may work for you and fail for a recipient who has a different sign-in. Canva's embed help explains where to add supported media in the design editor.
Use an uploaded file when you are working from an approved clip and need to place it in the design as media. Check the upload requirements and confirm it actually plays. Keep the source file nearby in case you need a different trim or delivery format. If the final product is a video, test a downloaded proof rather than assuming a linked embed will become part of the rendered file.
Use a poster image and a useful link for a static handout. Choose a frame that explains what the viewer would see. Write a link label that identifies the video rather than leaving a bare play icon with no destination. Open the final handout in the intended viewer to check that the link survived.
Put the video on a slide without breaking the design
Insert the media, size it, and check it against the title and any caption. Preserve the framing for important edges. An embedded player and an uploaded clip can have different controls, so test the exact object you chose. If the first frame is black or visually confusing, use a readable cover or a separate still where the workflow supports it.
For a visual with a crop, use the Canva frame replacement guide to check which part of the source remains visible. If you need the original aspect ratio, give the clip room in the layout rather than stretching it. Test on the presentation display, where an important object can become too small even though the whole frame is present.
Check the slide with media unloaded or paused. The viewer should still know what the clip is for and where to find it. Leave enough space for a readable title and a fallback link that works if the presentation is shared as a static file.
Check autoplay and sound in the actual presentation
Open the presentation mode you plan to use and advance from the previous slide. See whether the video starts at the expected time. Canva's video playback help describes controls such as autoplay and loop for supported media. Embedded players and browser settings can behave differently. If the timing is essential, test on the event device and make a plan for a manual start.
Play the sound on the actual output device. A video could be audible through your headphones while the presentation machine is set to a different output. If you include separate narration, follow the Canva AI Voice export check to confirm the clip and voice do not talk over each other. Preview the entry and the end rather than listening only to the middle.
Open the shared design from a viewer session. Confirm the source video plays without your private permissions. When a room or client has restricted internet access, verify the planned route there. Use an approved local file or a still and explanation if the linked player cannot load reliably.
Work through one presentation handoff
Imagine a three-slide workshop deck. Slide two contains a ten-second demo. For the live Canva presentation, use the approved hosted clip and test its sound and access. For a recorded recap, use the approved uploaded clip and reopen the downloaded video. For the printed handout, use a still from the demo and include a descriptive link.
Check the last moment before advancing. If the speaker needs to explain the result while the clip loops, test whether the loop restarts at a distracting moment. When the demo needs a clean ending, leave the last frame visible long enough to discuss it. Save the exact version planned for each route.
For a real presentation, prepare a short backup route. If the linked clip fails, you should be able to show the still, describe the result, and continue to the next slide. If the clip contains an essential instruction, give that instruction in the text or speaker notes as well. Test this fallback once so the event can continue without waiting for a player to load.
How QuestStudio helps
Use Video Lab to prepare a separate supporting clip if you need a clear insert for the deck. Bring the approved result into Canva and verify the delivered presentation. The hero layout guide helps if the same clip's still needs a wider or narrower crop on another destination.
Use the handoff sheet to identify the player, export, and fallback you tested. The right answer is the one that plays for your audience.
Download the canva video playback handoff sheet.
Frequently asked questions
Can I embed any video link in Canva?
Use a provider and link Canva supports. Verify the actual embed and audience access.
What is the difference between embedding and uploading?
An embed references hosted media. An upload gives your design a media file to place and test for export.
Will a PDF play the embedded video?
Treat the PDF as a static handout. Use a descriptive link and verify it in the intended viewer.
Why does my embedded video play only for me?
The hosted source may require permissions or a login. Test from the recipient's view.
Does Canva autoplay always work?
Playback depends on the media, presentation mode and viewer. Test in the actual presentation setup.